
Starting to research
Beginning to Present - Lesson 2
Objectives
- Word process text directly at the computer rather than ‘copying up’ written work.
- Select appropriate text, images and sounds to add to work.
- Use and explore buttons, arrows, menus and hyperlinks to navigate a website
- Using keywords to search a specific resource for information
- Locate specific, age appropriate websites by typing a website address (URL)
Lesson Resources
- Lesson slides
- 2Connect
Lesson 1 - Planning a non-linear presentation
Lesson 2 - Starting to Research
Lesson 3 - Collecting and Converting
Lesson 4 & 5 - Creating the Presentation
Lesson 6 - Adding animations
Introduction
Prior to this lesson, prepare a selection of websites that will be suitable for your students to use for their research.
There are different ways to create links to sites to make life easier for your students. You can put shortcuts in your shared area where they can access them, or a useful way to share a number of website links with your students is to collect them together in a Word or Google document, even if your children don’t have Google accounts, and they won't have to do any logging in!
Here’s how:
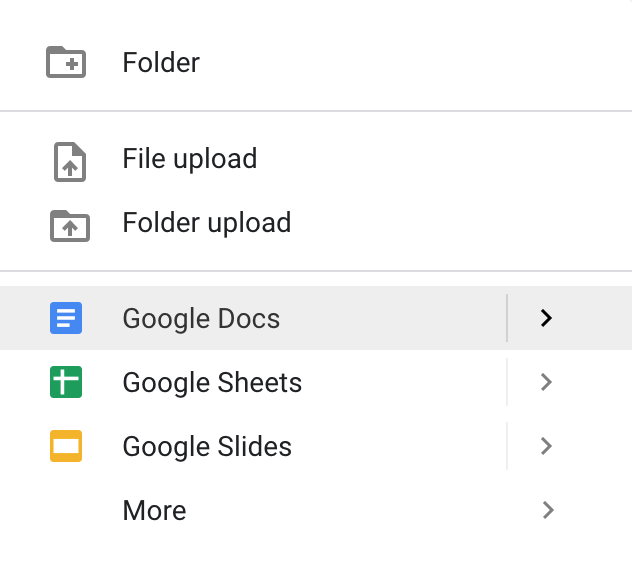
1. Go to your Google Drive and click on ‘New’ to make a new Google Doc.
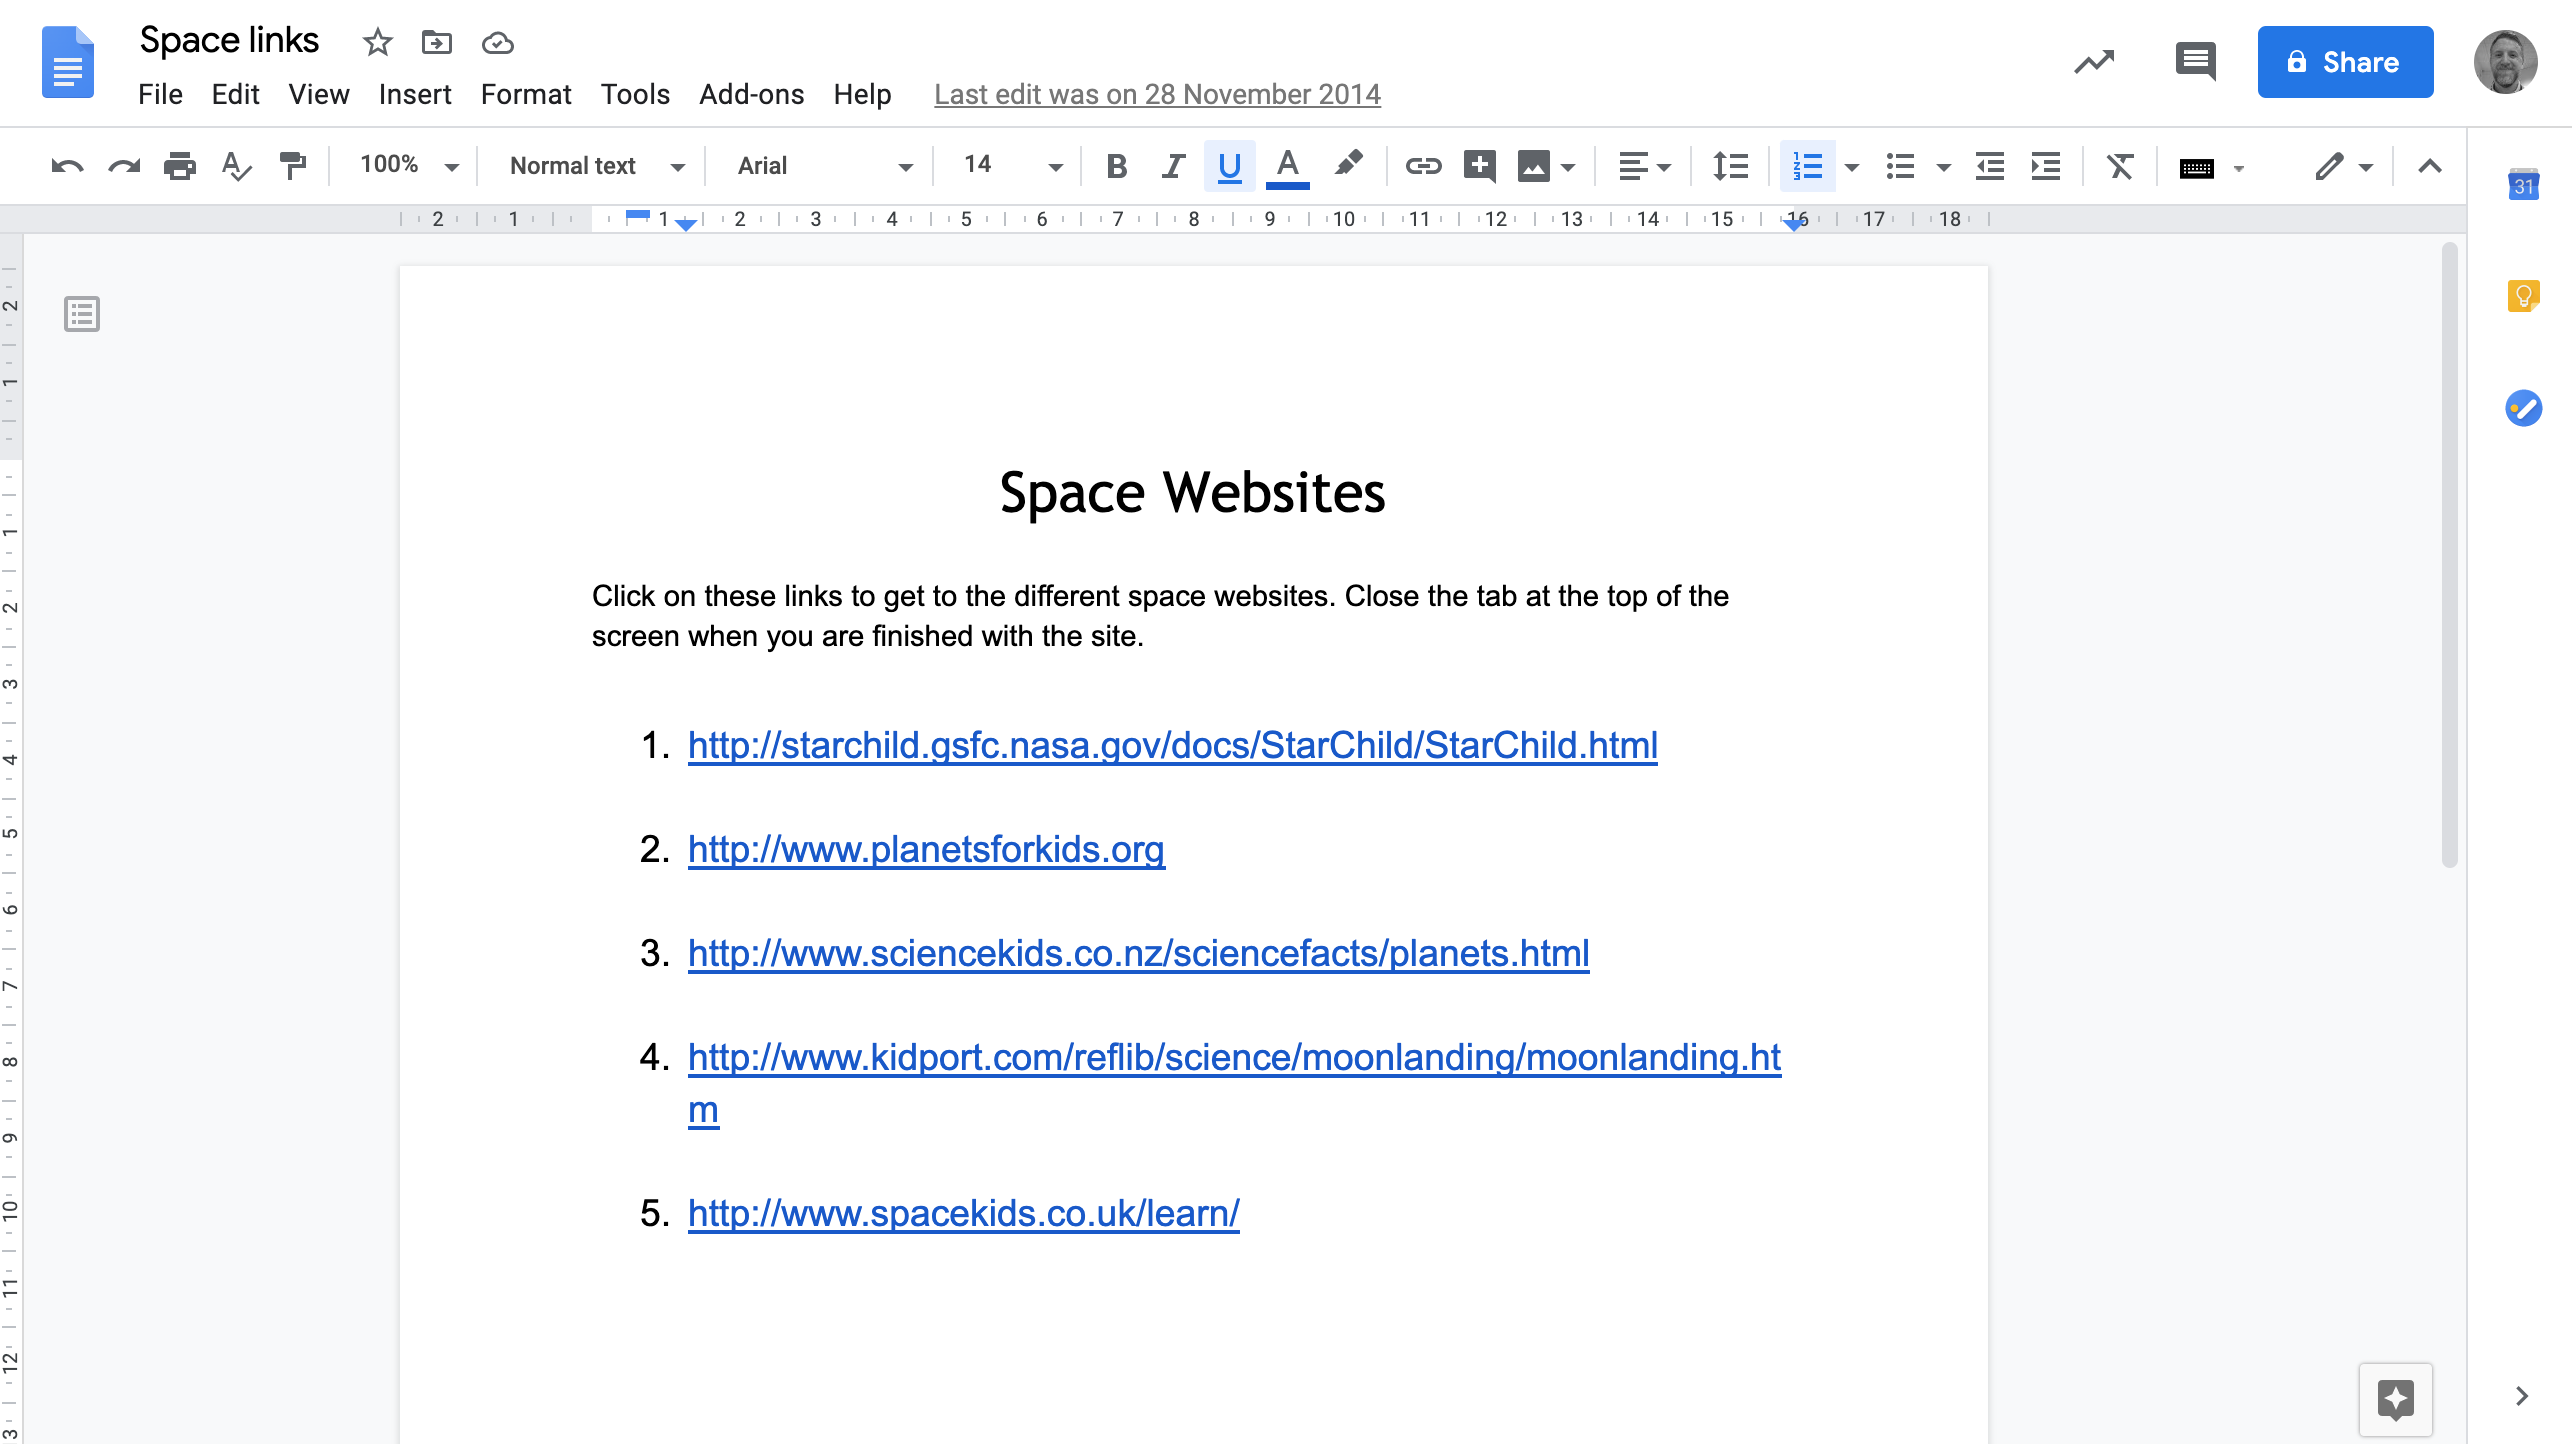
2. Find the sites you want to use and copy and paste the web links to the document, make them a nice big font and separate them so they can easily be clicked on.
3. Go to the blue Share button in the top right of your screen.
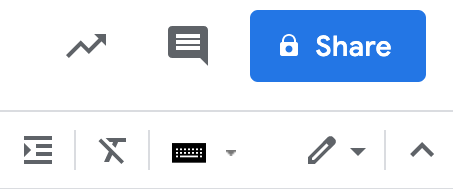
4. In the Get Link section, click Change.
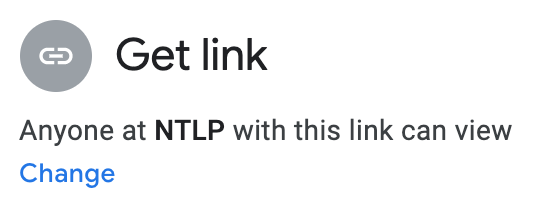
5. Change Restricted to Anyone with the link.
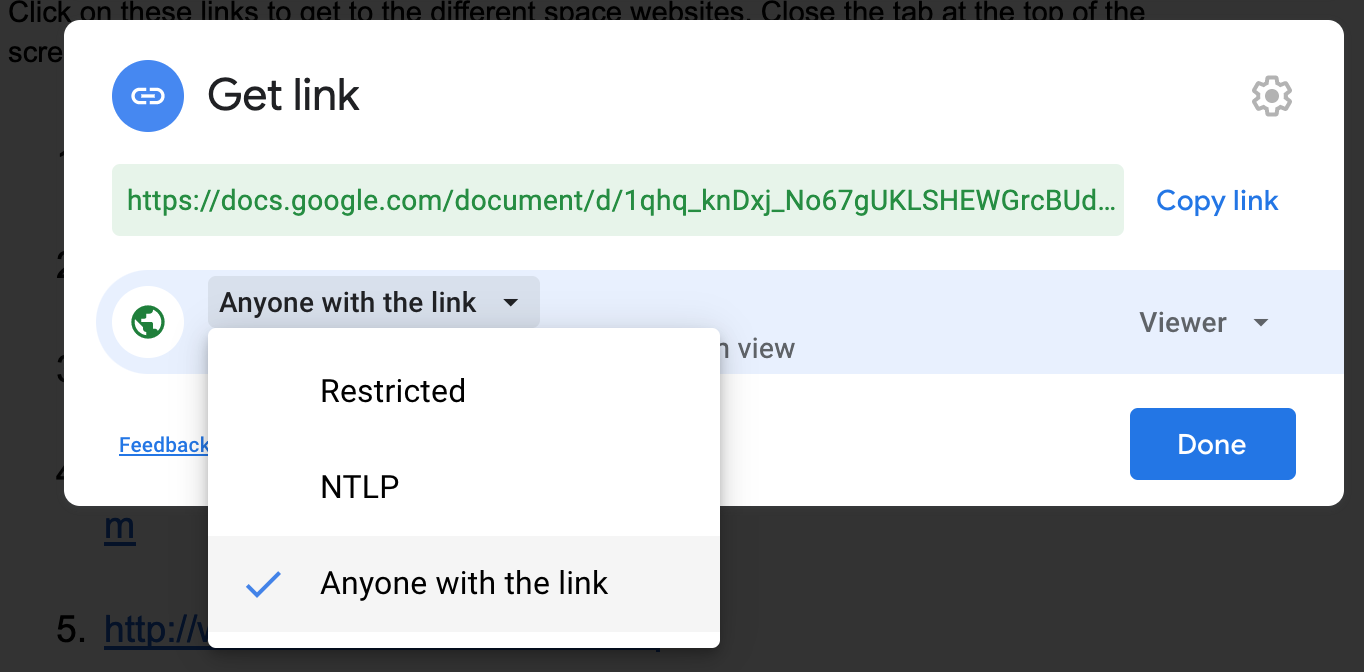
6. Click Copy link
![]()
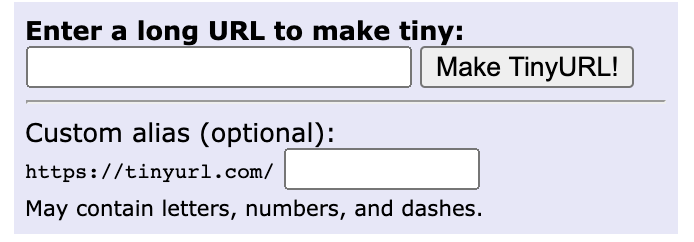
7. To make things easier for the students, we’ll shorten this huge URL. So in a new tab go to tinyurl.com (a URL shortening service)
8. Paste (Ctrl + V) the link to share into the box at the top of the screen and click ‘Make TinyURL’, or alternatively add your own URL ending to make your custom address.
9. The new URL it gives you will take you to your document and be much easier for the children to type in. They can even miss off the ‘http://’ when they type it in the address bar, then hit enter. In the example below the shortened address is: ‘tinyurl.com/yxn5n4dy’ Bear in mind that the addresses are case sensitive.

Time to research
Open up their 2Connect planning document from last week. Ask the children to go to each subtopic, one at a time and begin to look for answers to the questions they added to the notes section last week. They should double click on the sub-topic boxes to reopen the notes and add to them as they find out information.
They may find it easier to research by splitting their screen. They do this by clicking on the green arrow in the top right of the screen and choosing Web research. This will shrink your 2Connect screen and open your default web browser on your computer, from here you can find websites and have your notes open at the same time on the other side of the screen to take notes or copy facts across into the notes area:


Look at one of the sites as an example and demonstrate how to look for the information they need. Point out any relevant menus and search boxes. For these demonstrate that only key words are needed when searching the site, not whole sentences. Finally, point out the browser buttons for back and forwards and how to return to the site’s homepage and also that the other site links will still be at the top of their screen in another tab.
Give them the rest of the lesson to fact find for the sub-topics and questions that they chose. Remind them to save their work as they go and again at the end of the lesson.
Plenary
Review some of the things they have found out from their research at the end of the lesson. Did you have any problems finding the information you needed? Which key words did you use when you searched? How can you get around different pages on a website?