
Tip Top Typing
Making Multimedia Stories - Lesson 1
Objectives
- Begin to use two hands for typing
- Name parts of a computer
- Add text to a text box
Lesson Resources
Lesson 1 - Tip Top Typing
Lesson 2 - Spell Recipes Continued
Lesson 3 - Making Pictures Move
Lesson 4 - Adding Sound
Lessons 5 & 6 - Interactive stories
Introduction
Explain that over the next few weeks we are going to be creating stories on the computers.
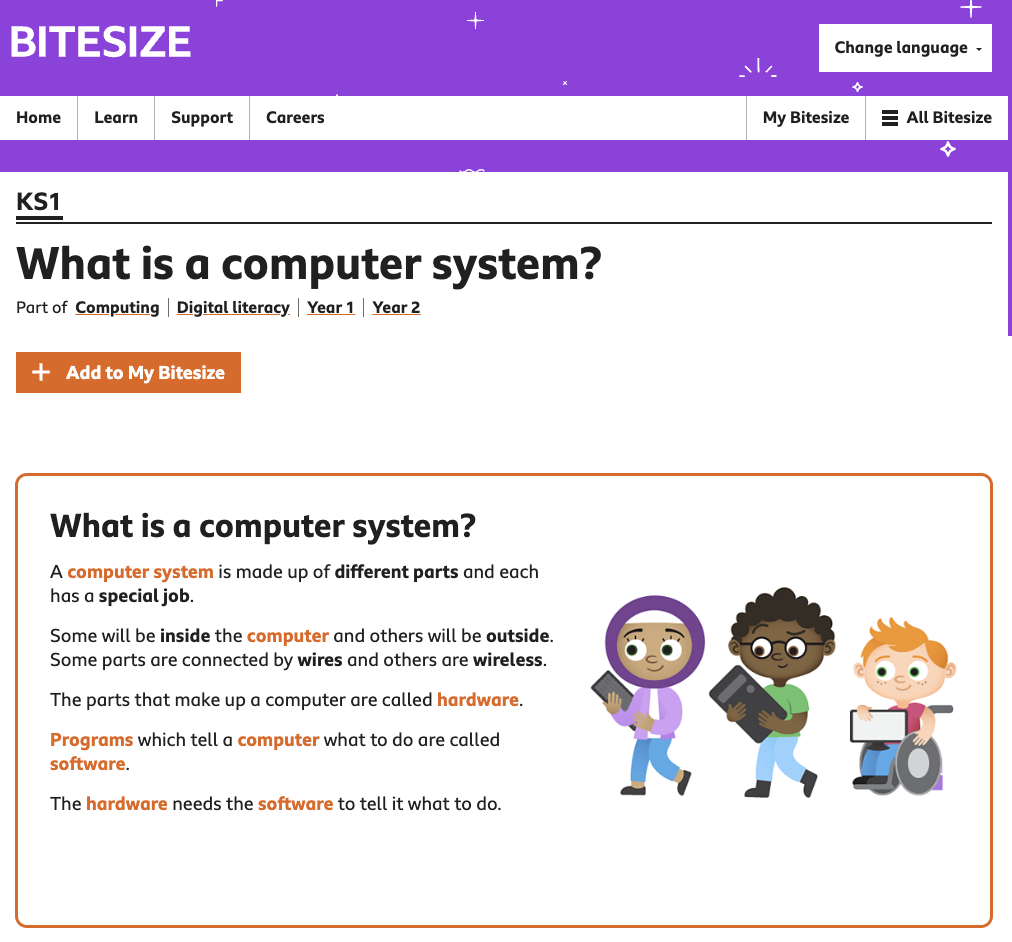
Do you know the different parts of a computer system? Open up this page from BBC Bitesize. Explore the top three sections with the children to find out a bit about the different parts that make up a computer system. The thrid section covers the hardware. Talk through each one to see if they know what they are. Use the terms input and output devices and explain that this just means information goes in or comes out of the computer.
Which bit of the computer is going to be our most important piece of equipment for writing stories? The keyboard! If we’re going to be good writers it’s going to be important to improve our keyboard skills too, so that’s where we are going to start.
Part of accurate typing is being comfortable and sitting well at your computer, has anyone got any tips?
- Sit up straight to avoid hurting your back (no slouching and keep your feet on the floor)
- Don’t sit with your eyes too close to the screen (around 50 cm away is about right)
- Take a short break every 10 minutes to rest your eyes and body
- Try not to rest your wrists on anything when you type
Let's have a look at the keyboard layout. Ask the class - What do you know already?
Typing Games
Begin by watching the Typing Instruction video, which can be found in Purple Mash. Log in and select Tools > 2Type (in the English section)
Ask the class what they learned from the video.
Two hands
Highlight the fact that while it might feel difficult to begin with, it's important that they try to get used to using two hands to type as, with some practise, it will make them much faster at typing.
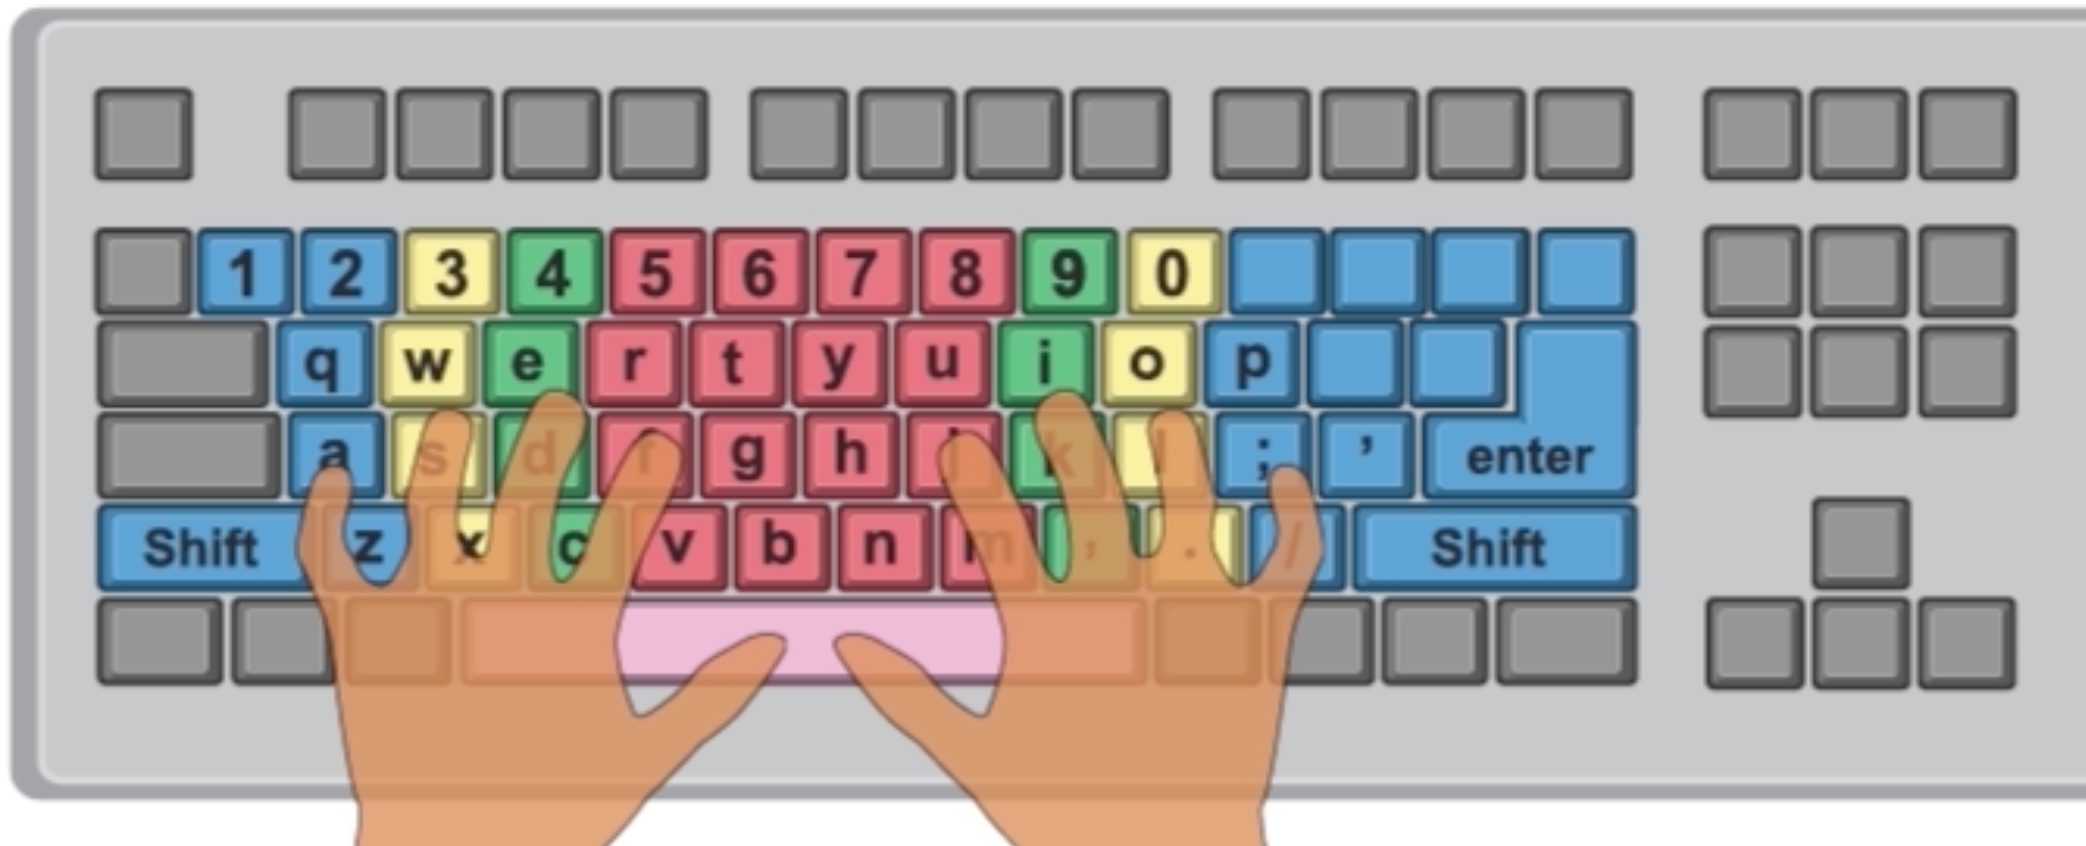
Our hands should be positioned above the ‘home row’ (the row beginning with a) and we should try and use all our fingers to reach the different parts of the keyboard.
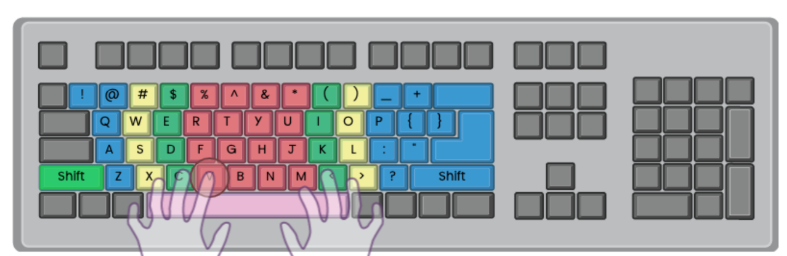
2Type colour codes the keys on the keyboard and the fingers that you should use for each colour.
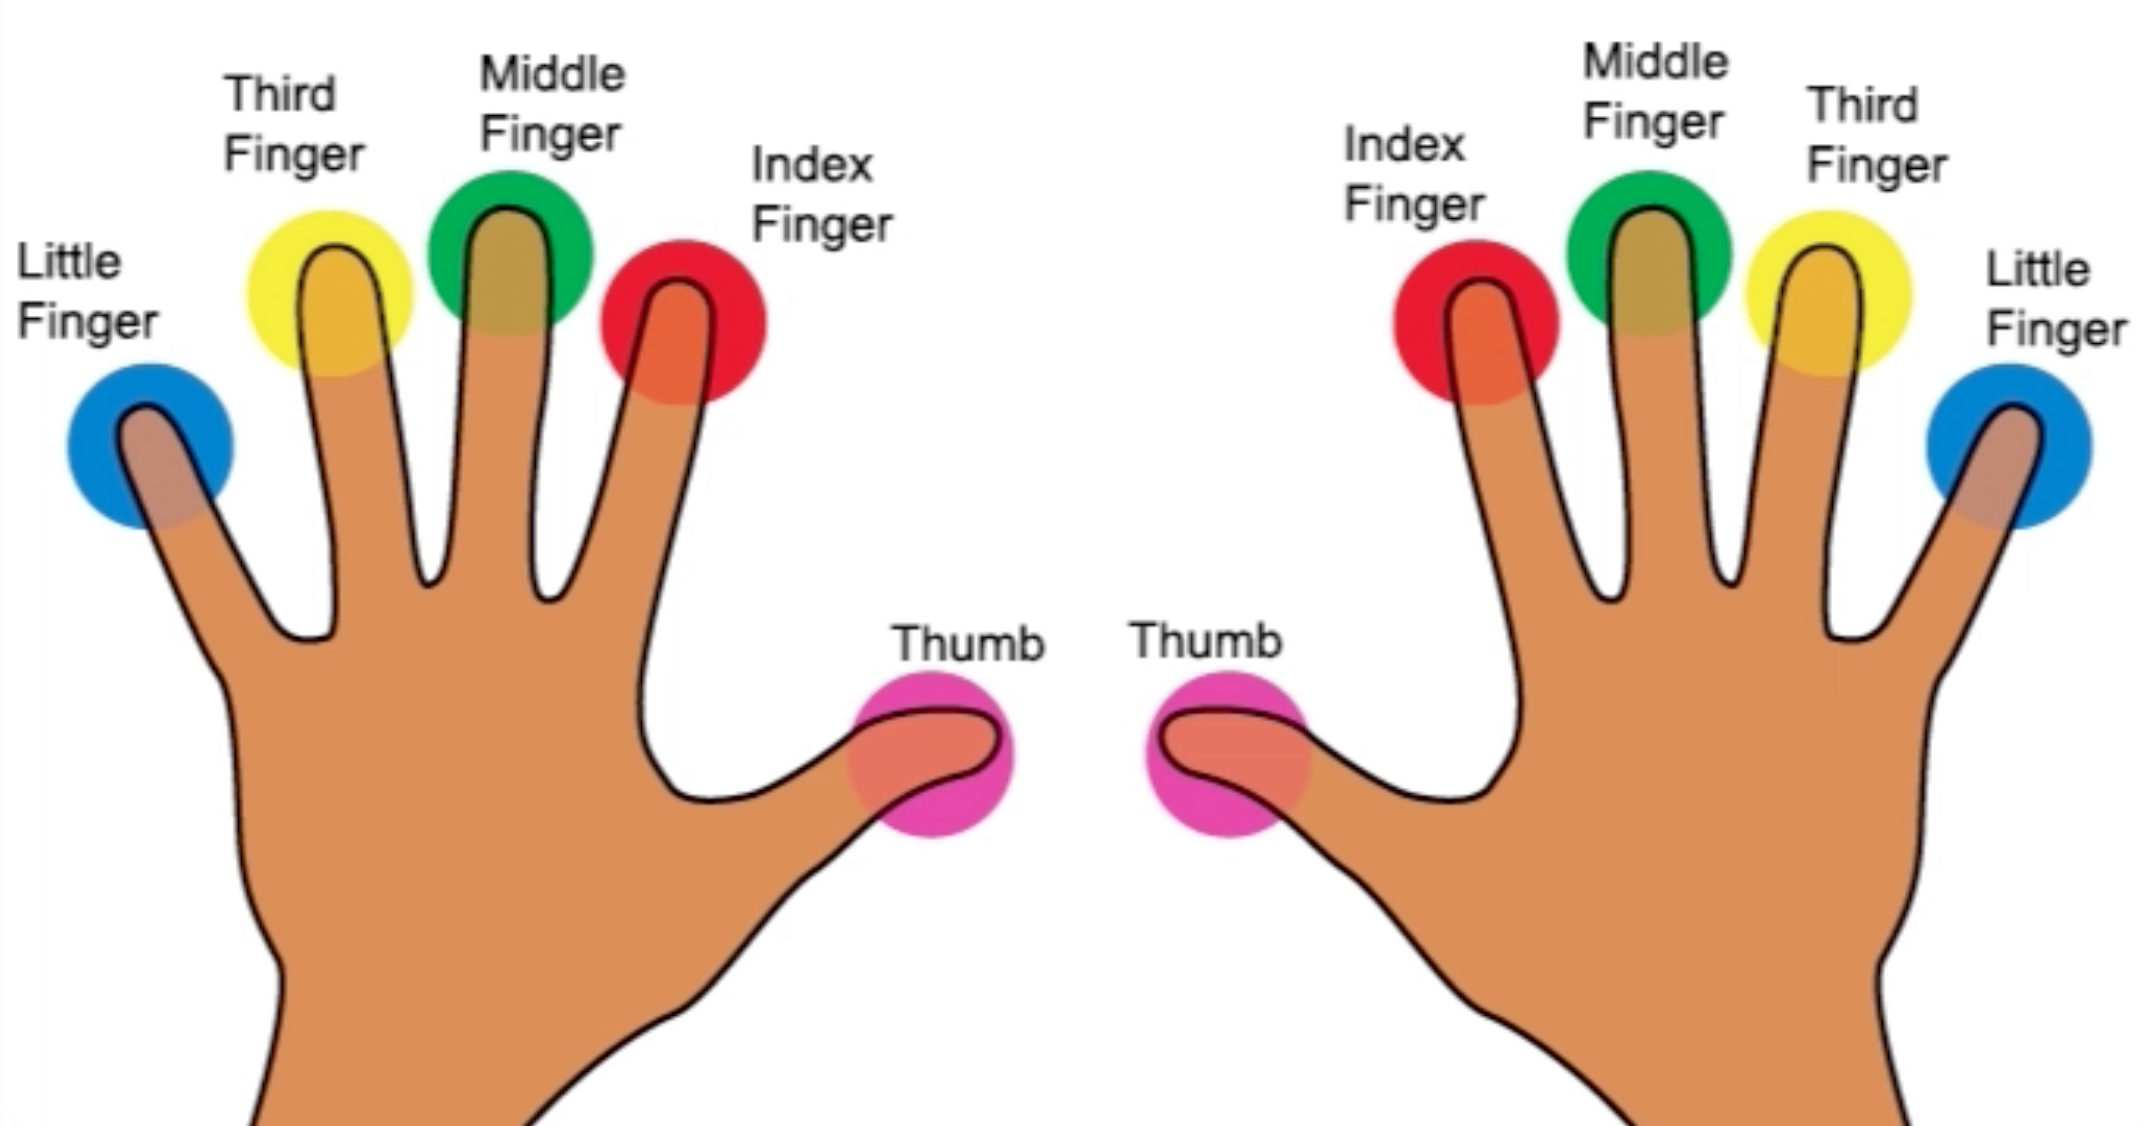
Ask the class to make sure they are sitting comfortably and then hold their fingers over the home row. Ask them to use their index fingers to reach for the T key, and then the U key. Explain that Their index fingers should be used for the red keys. Their little fingers should be used for the Blue keys etc.
Typing challenges
There are lots of different typing challenges within 2Type that offer great progression opportunities. We will work through a number of them in this lesson and also as a starter activity in all the other lessons in this unit.
You may want to return to these through the year in any gaps you have or as warm up before other computing lessons. Practice makes perfect!
Ask the class to log in to Purple Mash and select Tools > 2Type > Home, Top and Bottom Row Keys.
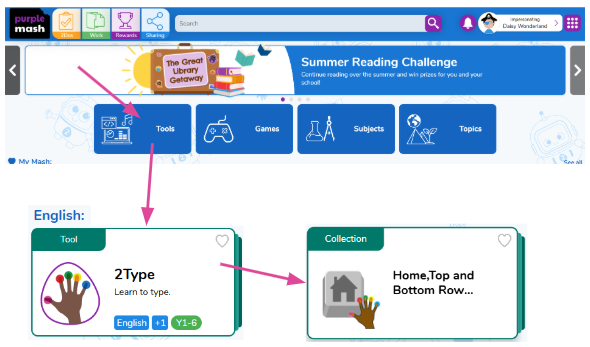
They should start with Activity 1 - Home Row Keys.
In these activities you just have to find each single letter, but they will only be from the home row, so there are only nine letter possibilities.
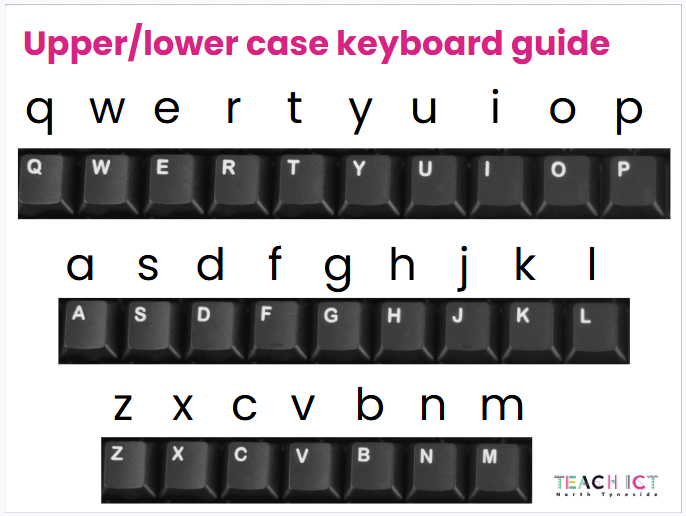
Unless you have lowercase keyboards, point out that letters on the screen will appear in lower case. But your keyboard might show uppercase letters. We have created a help sheet, for any pupils that need it, which shows lowercase letters beside the uppercase keys on a keyboard.
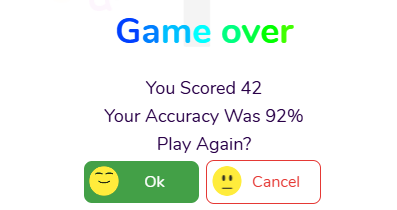
At the end of the game you’ll get a score (how many correct letters you pressed) and an accuracy score (what percentage of correct keys you pressed).
Ask the class to try out the three Activity 1 challenges:
- 1- Home Row Keys
- 1- Bottom Row Keys
- 1 - Top Row keys
For each one, ask them to keep the game timer on 2 minutes, use two hands and try to use the correct finger. Point out that the diagram at the bottom of the screen highlights the letter and which finger to use.
Capital letters and shift
When should we use capital letters in our writing? How do we create a capital letter using a computer keyboard? Discuss that Caps lock can be used if you are writing a whole sentence or more in capital letters as that turns all letters into capitals, but that holding the shift key should be used most of the time. This also make letters into capitals (while you are holding it).
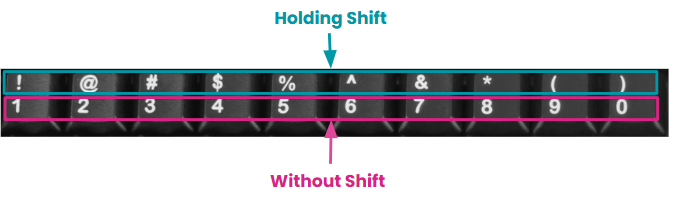
Explain that the shift key also has other uses. Any keys that have two symbols on them (there are many) have two jobs. Holding shift will make the top symbol appear. Pressing it without shift will make the bottom symbol appear.
A simple publication
Let’s put some of that typing practice to use and have a go at creating our first digital publication. Today we’re just going to focus on writing and pictures.
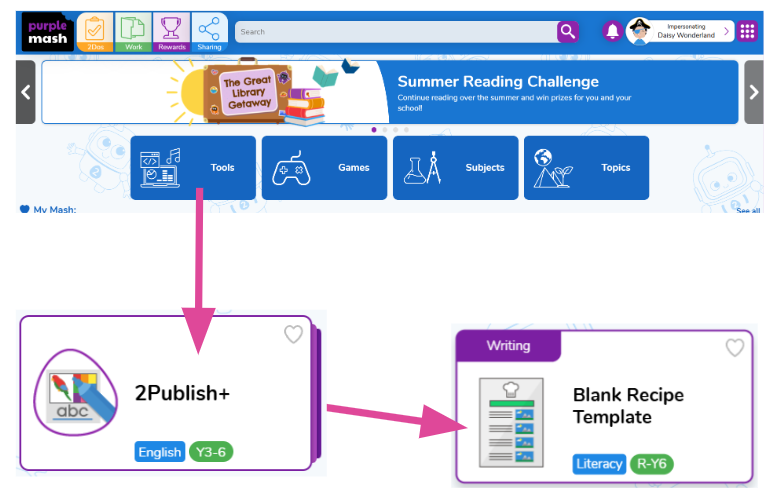
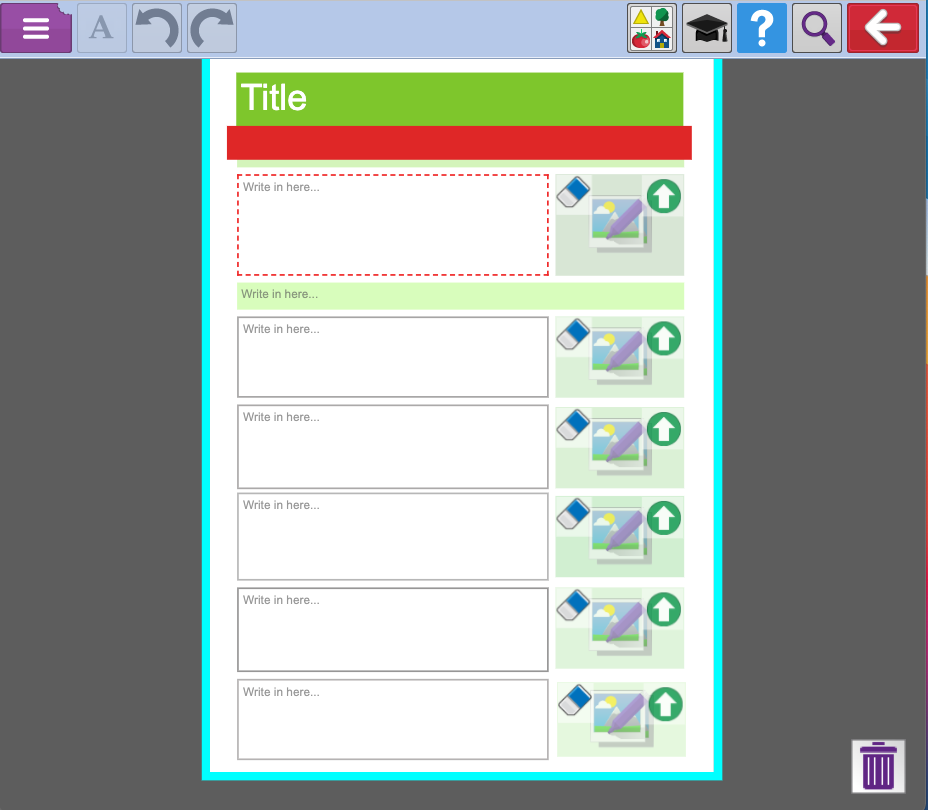
Open Purple Mash and choose 2Publish+ from Tools > English. Then choose the Blank Recipe Template.
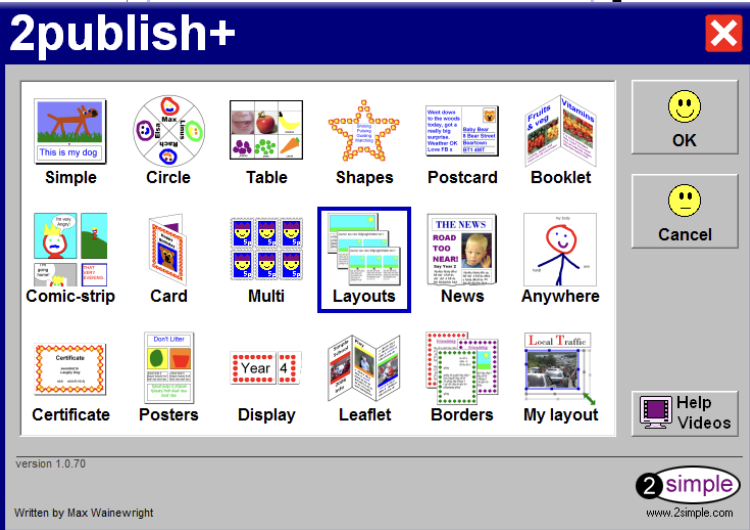
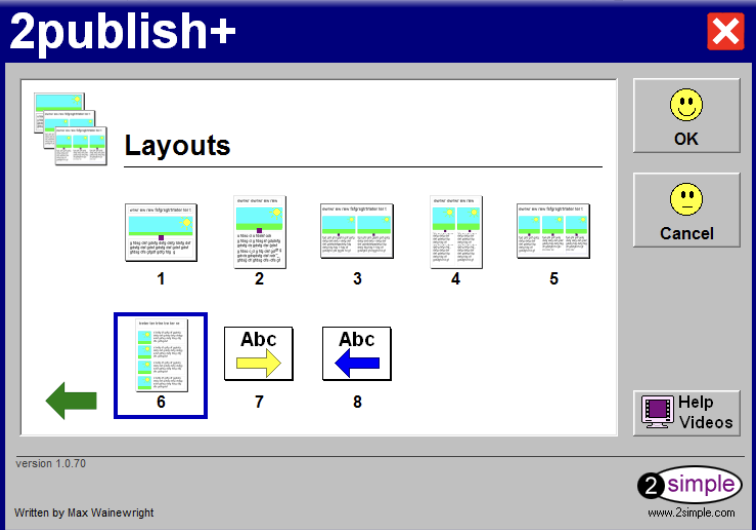
If you are using the old 2Simple Collection, choose Layouts and then option 6
Writing a spell recipe
Show how to add text to the boxes. Let’s add a title to the top box. This recipe is going to be a magic spell recipe! What sort of spell shall we create?
When should we use capital letters in our writing? How do we create a capital letter using a computer keyboard?
Discuss that Caps lock can be used if you are writing a whole sentence or more in capital letters as that turns all letters into capitals, but remind them that holding the shift key also makes letters into capitals (while you are holding it) and that this is a more efficient method.
They should practice holding it with their little fingers (depending on which side is easiest) and using their other fingers to type the letter key they need.
Add the title in.
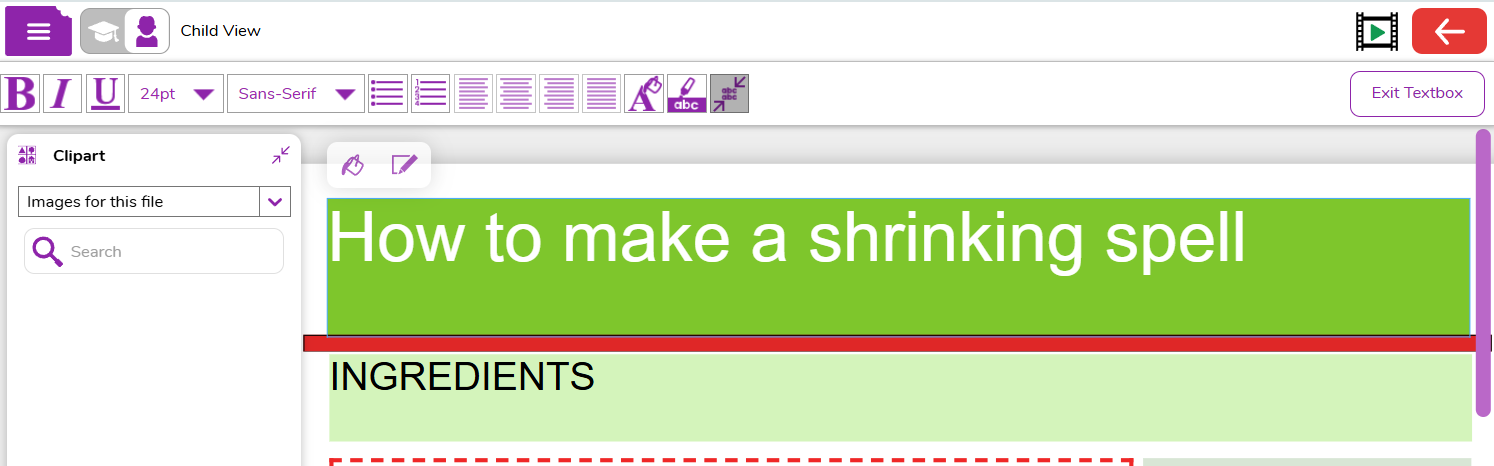
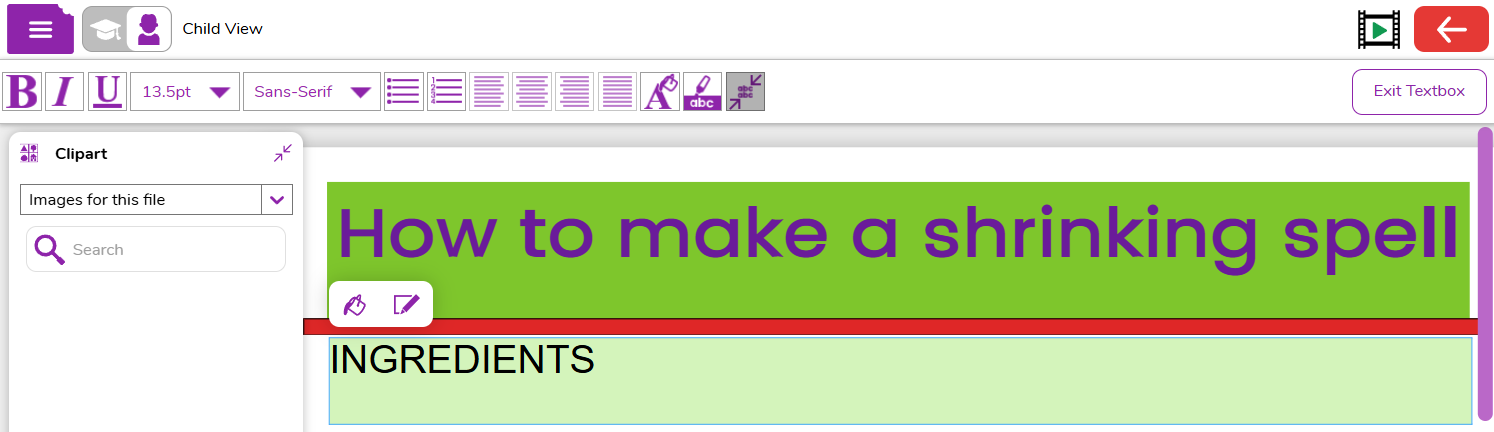
Once you've added a title, explain that formatting means changing the way that something looks. What choices do you think we have here for formatting our writing? What is a font?
Demonstrate some of the options available:
- Bold, italic, underlined
- Justification
- Bulleted list
- Numbered list
- Font size
- Font family
- Text colour
- Text highlight colour
Note - You do NOT need to highlight the text, just click in the text box to apply the formatting to the text.
Main task
Ask the children to open up their own ‘Layout’ publication and think of a spell type of their own, such as:
- Growing
- Shrinking
- Vanishing
- Flying
- Super speed
- Super strength
- Brain power
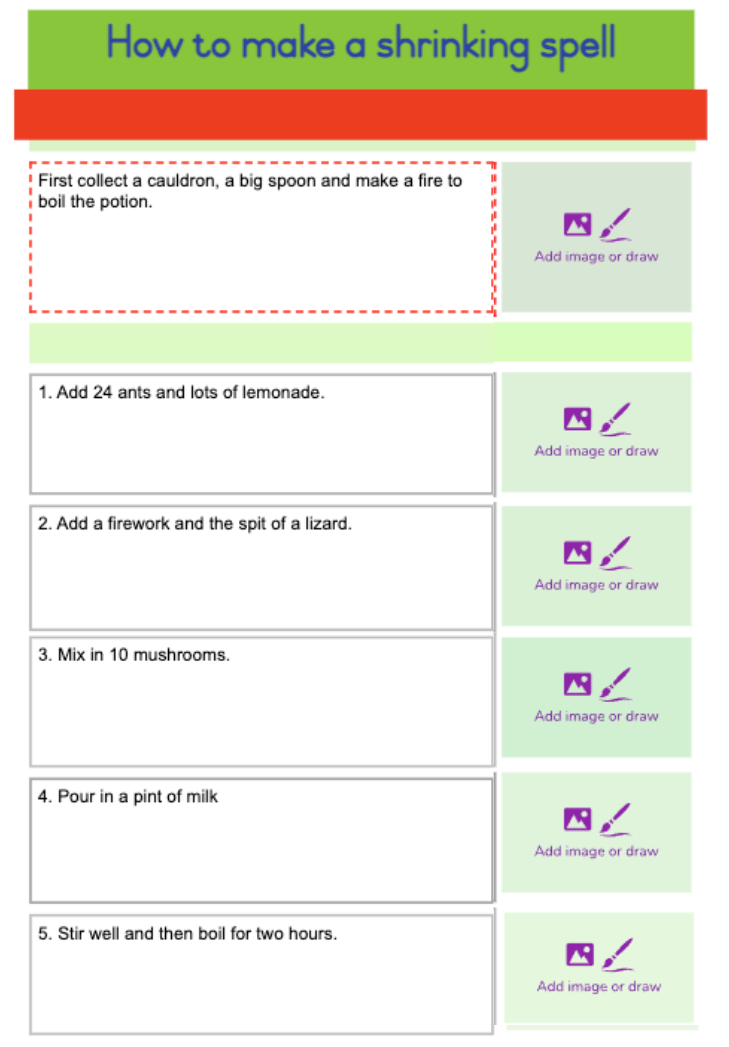
Ask them to add in their title and then think of the five steps that are needed to make their spell. You might want to give them ideas of interesting ingredients or keywords to support them.
First, add all their text.
Save your work
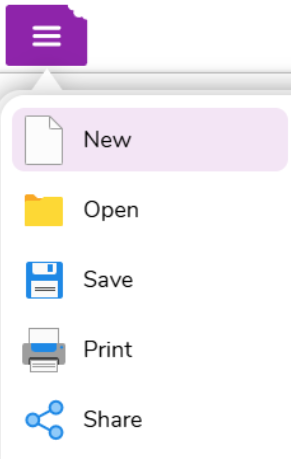
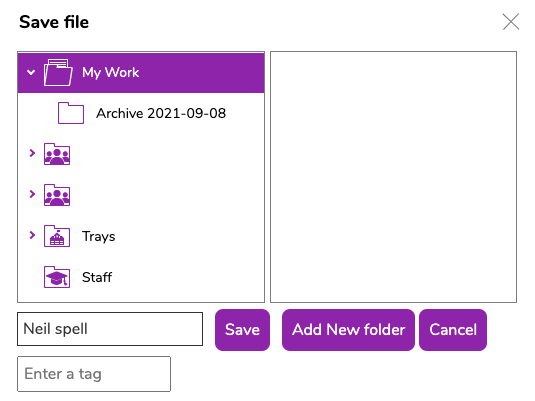
Show them how to save their work by clicking on the three lines in the top left, Save and then adding their name and ‘spell’, this is important so we will be able to find it easily next week.
Plenary
Recap the main points of the lesson and gauge the students' learning with the following questions.
- Who used two hands today with typing?
- Who can point at the shift key?
- How have we used it today?
- Why is it better for us to use for capital letters (most of the time)?