Air Hockey part 1
Kodu Sports - Lesson 1
Objectives
- Plan and design a 3D game environment
- Create and refine sequences of commands to accomplish specific goals
- Use logical reasoning to predict outcomes debug algorithms
Lesson Resources
Lesson 1 - Air Hockey part 1
Lesson 2 - Air Hockey part 2
Lesson 3 - Kodu Football part 1
Lesson 4 - Kodu Football part 2
Lesson 5 - Kodu Speed Pool part 1
Lesson 6 - Kodu Speed Pool part 2
Introduction
Begin by discussing what the children have already done with Kodu. Introduce the theme for the projects that will be covered in this unit; sports and games.
The first project is going to be making a two player air hockey game.
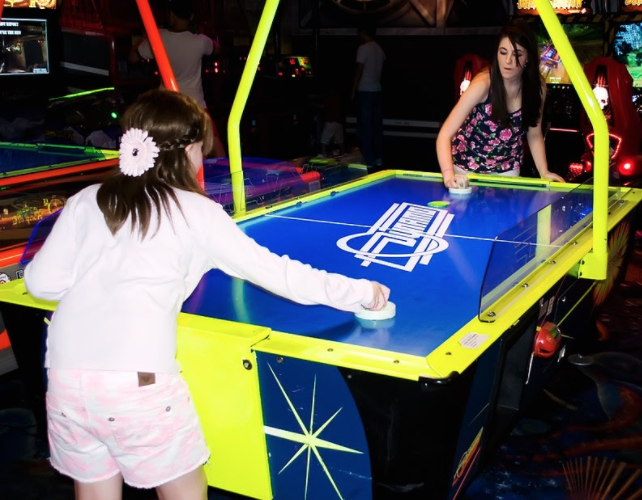
Image courtesy: https://www.flickr.com/photos/72005145@N00/6030667643
Air hockey is a fast and exciting arcade game. Two players battle it out to score goals by hitting a puck into their opponent's goal using a hand held air hockey mallet. On a proper air hockey table a small cushion of air is created by air blowing through tiny holes on the table top. This reduces friction for the puck which makes it travel across the table very quickly. Players must not hit the puck with their hands or cross the centre line on the table into their opponent’s half.
Ensure the children are familiar with the game and ask;
- What things do we need to consider if we are going to make a digital version of this game with Kodu?
- What features does our game need?
- What will present the biggest challenges?
- What would you do first?
Discuss their ideas and suggestions as a group and begin by taking them through some guidance for creating the table.
Creating the board
Size and scale of the table is really important and not always easy to judge when building your world in Kodu. Adding a character to the world at the beginning really helps with this though, so start by adding two flying saucer characters to the board, these will be our air hockey mallets. Choose a different colour for each flying saucer.
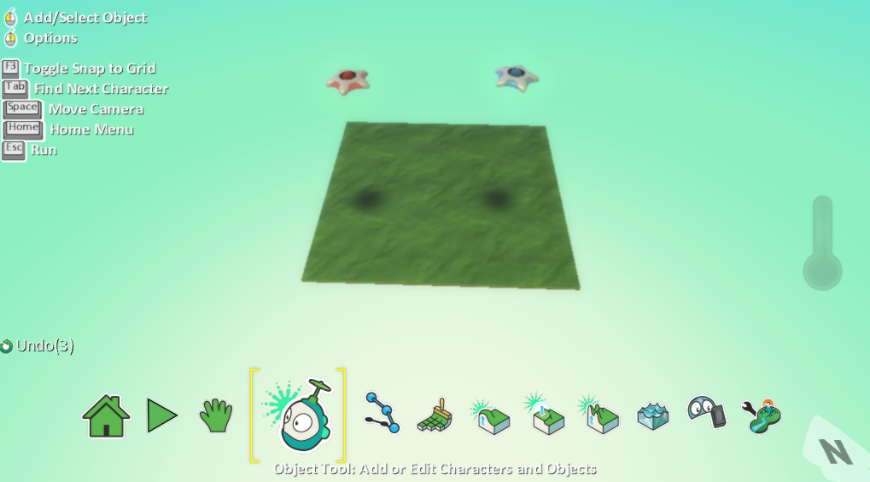
The saucers work well as a mallet as they don’t have a front and back and therefore don’t need to turn when they change direction, this gives the speed and responsiveness needed to be a good mallet!
You may also want to change the size of the flying saucers, which will also change the size of the table relative to them. In our example version we have set the size to 1.4. You can get to change size by right clicking the flying saucer when using the object tool.
Once you’ve adjusted the size, it’s also recommended that you change the height of the saucer from the floor. In our example the height is set at 0.65. Again, you can get to change height by right clicking the flying saucer when using the object tool.
Note - In some versions of Kodu the saucers appear not to stay low to the ground, even as you reduce the height slider. When exit the coding, and enter the game (with the Esc key) the saucers do then drop to the ground.
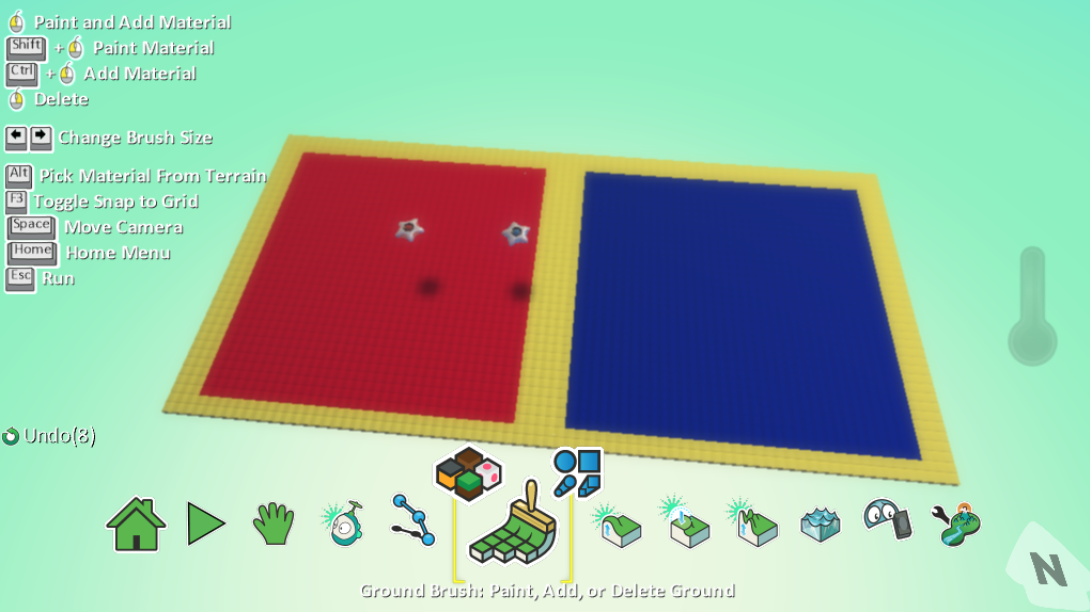
Next, go to the ground brush and choose a colour of flooring that will be the colour for just the edges of the board. Then choose a square brush. Use the left and right arrow keys to make the brush much larger and create a rectangular base for the table with just two clicks of the brush.
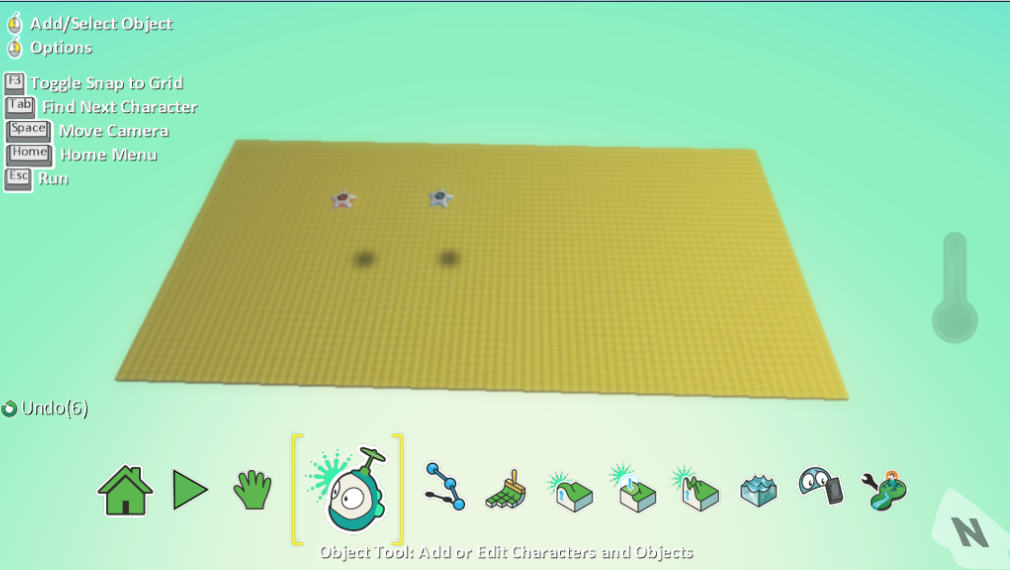
Next, choose another colour of flooring to match the colour of one of your saucers. Make your square brush a little smaller and paint a coloured half on the board, repeat this on the other side with your other saucer’s colour, but leave a dividing line down the centre. It should look a bit like this:
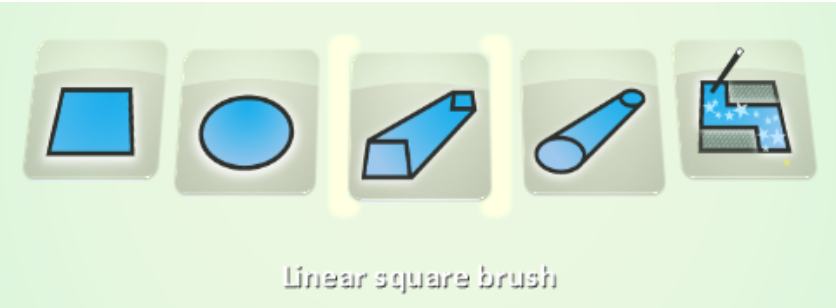
Next add the goals, this is done by first painting the goal footprint on the floor. Choose a new colour that is different to anything you have used so far. Use the linear square brush with the same thickness as the outside border for your table.
At each end of the board paint a thin line centrally over the top of the outside border. Ensure these are two different colours.
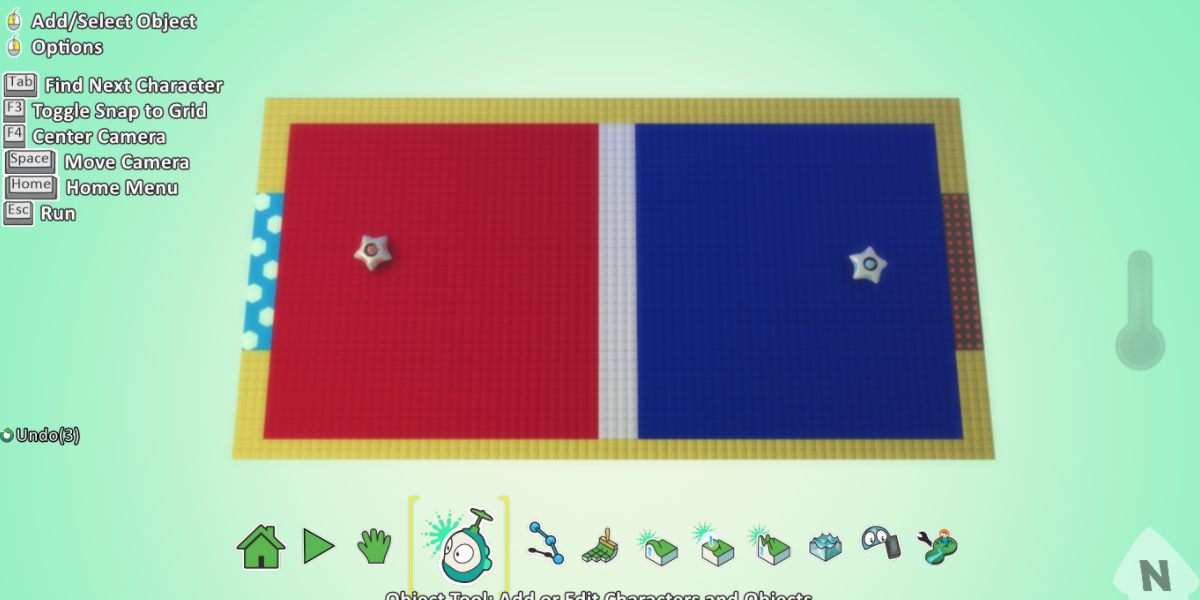
Finally, choose yet another colour of flooring and paint a centre line to divide the two halves of the board, again, this should be a new colour that has not been used anywhere else on your board.
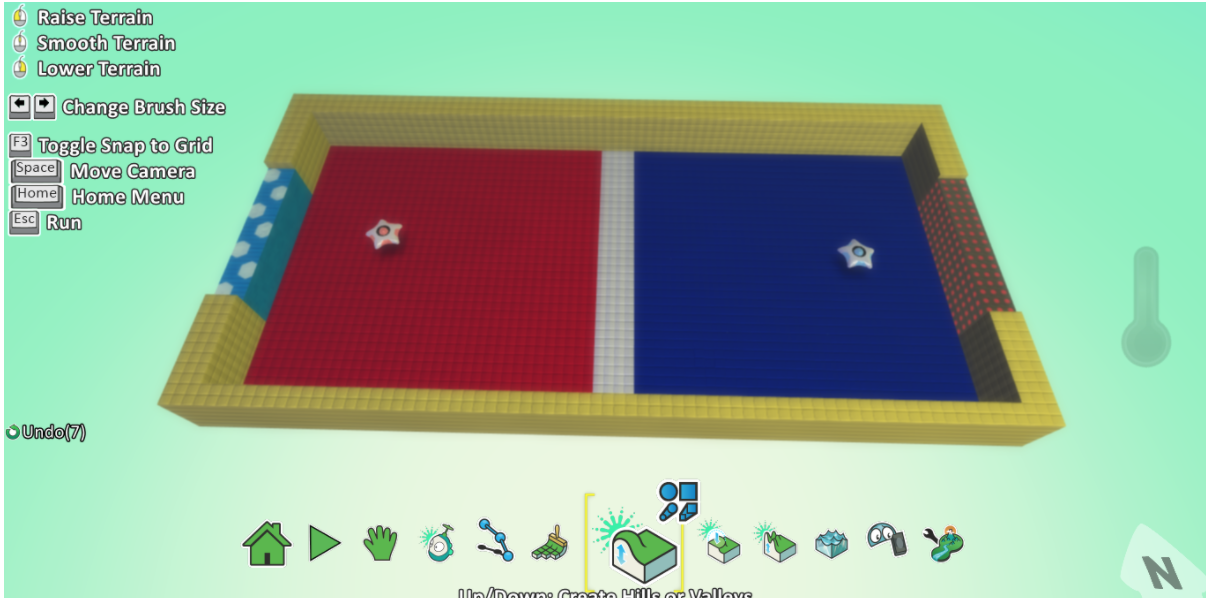
The last job to create the board is to lift up some elements such as the walls and the goals. Choose the Up/Down tool and the Magic brush option within this tool:

This lets you apply a rise or fall in height to anything of the same colour on our floor. So raise the walls by left-clicking them until they reach a suitable height. Do the same thing for the central goal areas. You may need to move the camera as you go to make this easier (tip - hold the spacebar to jump to the Move camera tool when building your world). If you make any mistakes, just right-click an area to lower it again.
When you’re done it should look a bit like this:
Setting the camera
It’s possible to have a variety of camera viewpoints for different types of games in Kodu. In the default view the camera follows the sprite that the player is controlling and automatically turns and moves as they do. It is also possible to have an offset or first person viewpoint from a character, but for this game we require the camera to be fixed in one position so the whole board can be seen at all times by both players, which makes the game fairer.
To set the camera position to fixed, go to the World settings on the main toolbar and scroll down until you get to Camera mode and choose Fixed position.

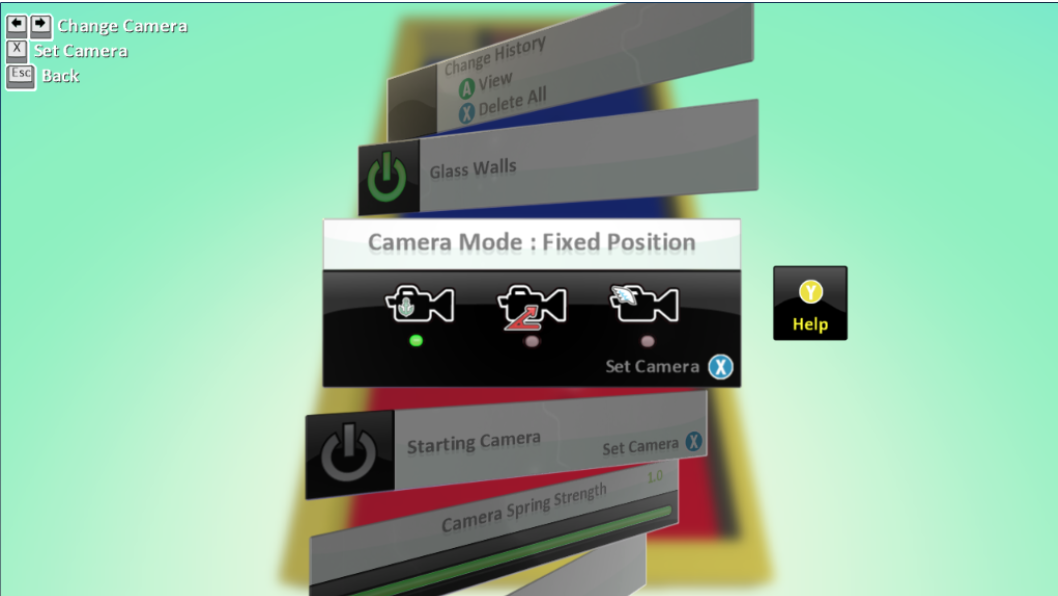
Then click on the X button (or press it on the keyboard) and you will be taken to a view of your world. Position the world the way you would like it to be seen when the game is being played, horizontally or vertically both work fine for this kind of game, then press Enter to set the camera.

Coding the sprites
Set the students the challenge of making their saucers move, one with the arrow keys and the other with WASD. They must also figure out a way to stop the saucers entering the other half of the board (so the blue saucer cannot go on the red area and vice versa).
Plenary
Finish off the lesson by discussing their games so far:
- What is working?
- What isn’t?
- Does anyone have ideas for solutions?
- What is still to add next time?
In the next lesson we will look at the coding for the two flying saucers, add the puck and code that, add a scoring system, game mechanisms and sound effects.
Ensure all students save their game from the Home menu, adding a title and their name to the Creator box.
