
Video Calls and Collaborative Drawing
Communication and Collaboration - Google Lesson 6
Objectives
- Understand how to communicate safely using video chat tools.
- Understand the need for certain rules of conduct, particularly when using live forums of communication.
- To work effectively with others on a collaborative document or application.
- Explore the use of graphics and paint packages to design and plan an idea.
Lesson Resources
- Lesson Slides
- A computer with webcam and microphone suitable for video calls.
Lesson 1 - An introduction to email
Lesson 2 - Sending and receiving attachments
Lesson 3 - Collaboration in the cloud
Lesson 4 - Google Forms
Lesson 5 - Collaborative presentations
Lesson 6 - Video calls & Collaborative drawing
This lesson covers tools in Google's Workplace for Education. A Microsoft Office 365 version can be found on the unit homepage.
Introduction
Before the lesson, if possible, make arrangements with another member of staff in school to be able to video call them at the start of the lesson using Google Meet. You will only need a few minutes of their time to be able to demonstrate to the class how to safely use a video chat service and how to present a document over video chat.
Recap last week’s lesson and the shared presentations that they created. Ask them to remind you how to get back to their Google Drive. To complete this unit and further widen the communication and collaborative tools that the students have used, in this lesson we will explore Google Meet for video meetings and Google Drawings as a publishing tool.
Video call safety
Choose a pair from the class that are happy to share their work from the last lesson. Explain that we're going to look at another way to communicate online, via video meeting. We'll also see how we can share a document or presentation over a video call.
Ask who has used a video call service before? Many students will have used services like FaceTime, Zoom, Skype, WhatsApp or other social media services that allow video chat.
These services are great, but can also pose a danger to our safety if not used carefully and responsibly. Ask what sort of things should we think about before using video call apps? You are likely to get a wide range of answers, but some important things to draw our and highlight are:
- Check the age rating of the app you want to use.
- Make sure you have the permission of your parent or guardian before using these services.
- Have a grown up you trust in the room with you on a video call.
- Never video call with strangers or people you have only met online.
- Always dress appropriately for a video call.
- Be careful what is in the background on your call - we can give away personal information about ourselves by the things in the background. This could be photographs, signs, certificates etc.
- Always be polite and respectful on a video call.
This is where you will need a colleague in another room on standby, as described at the start of the lesson.
Explain that you are going to demonstrate making a safe video call to another teacher/class in school and that some volunteers will share their presentation from the last lesson over the video meeting. They will just need to briefly explain what they found from their questionnaire using their slides. Make sure the pair you choose have shared their slides with you before the call.
Google Meet
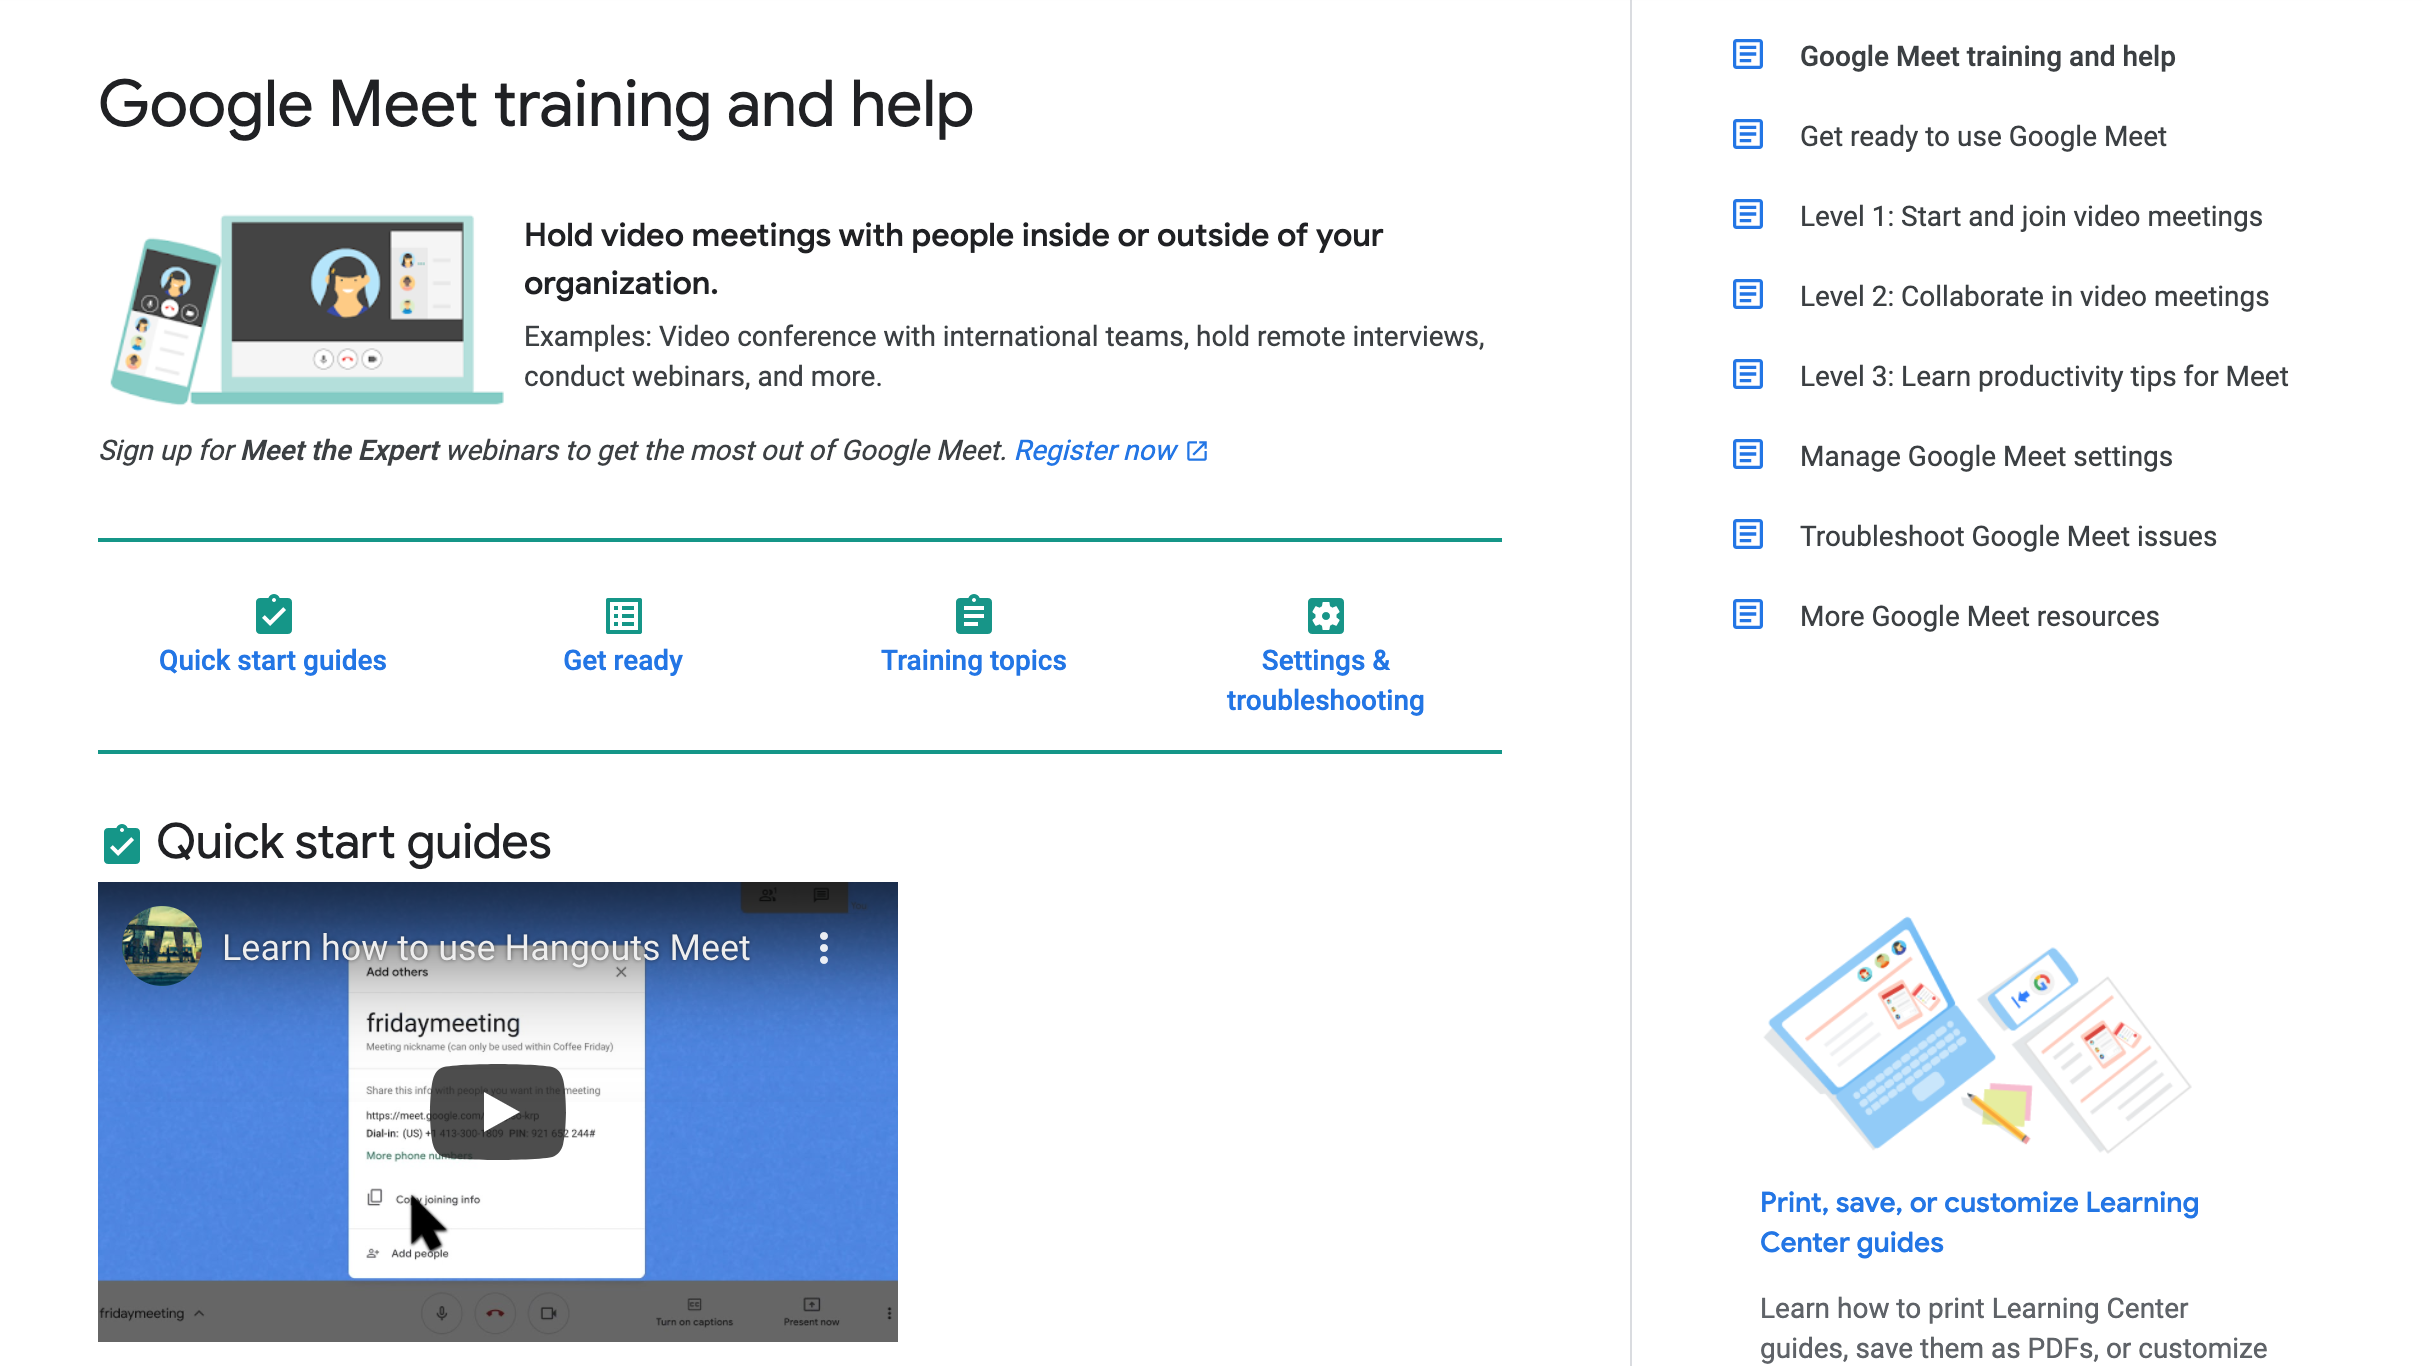
You can find Google's help page for Meet HERE and a 'cheat sheet' HERE
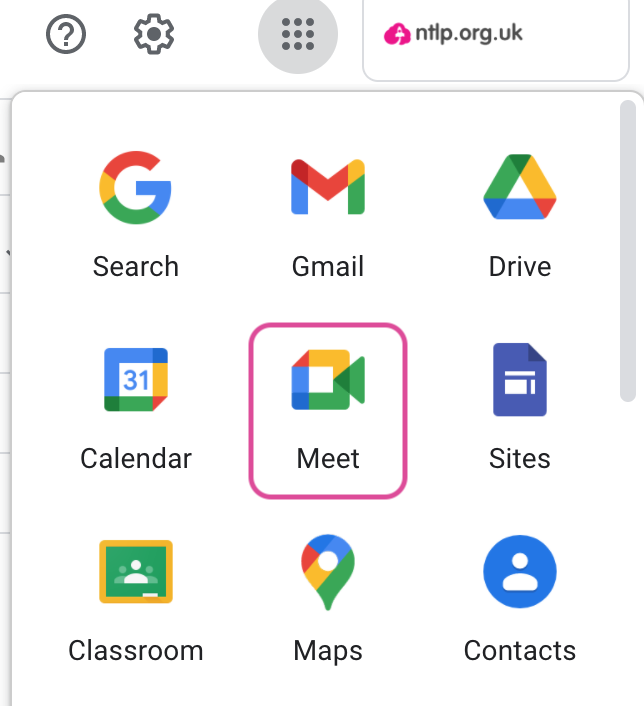
There are different ways to start a Meet, but we're going to start from the Meet app at meet.google.com. You can also find it in your Google Workplace apps from the waffle in your Gmail inbox or Google Drive.
If Meet is not available, contact your Google administrator to request that it be made available. Safety settings are also available (and applied for schools using NTLP Google accounts) so that students cannot start their own Meets but only join those that staff initiate.
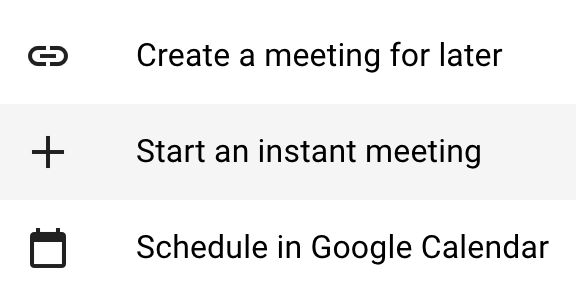
Start a new meeting from the Meet home page and start an instant meeting.

Give the meeting a name or leave it blank and click continue.
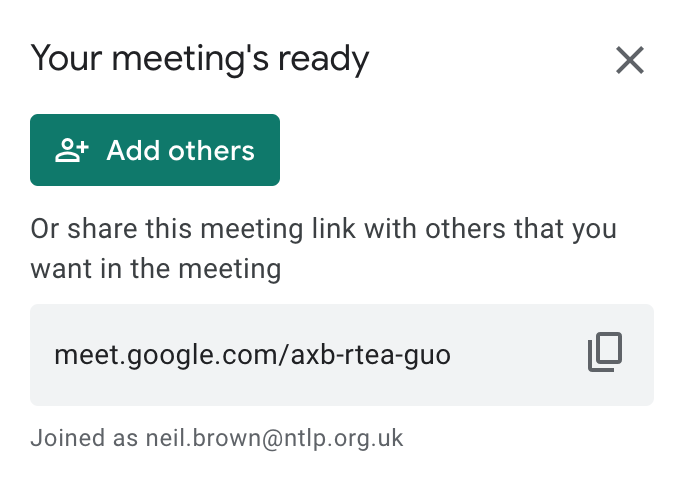
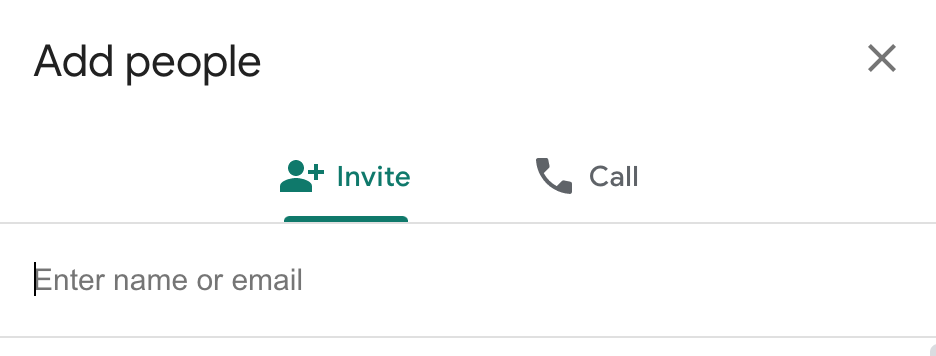
When the option appears, click add others and add your colleague's email address and click send email.

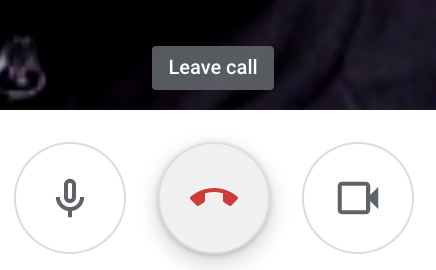
While you wait for them to join the call, you can look at some of the main features of Meet. The 3 buttons at the bottom of the screen allow you to mute your microphone, hang up on the call, and turn your webcam on or off. Ask why might you want to mute your microphone? This is most useful in a call with a number of people, if there's background noise, coughing etc coming from lots of people's computers the camera doesn't know who to focus on. It can also give annoying feedback sounds and be distracting to those that are trying to listen to someone speaking.
Turning off the camera could be an option to give you more privacy, and it can also help if there is a poor internet connection as streaming the video can use more bandwidth than just an audio call.

The three dots in the bottom right of the screen give you some other options, such as the ability to record a video call while it happens. Never use this option without the permission of everyone on the call as some people may not wish to be recorded.
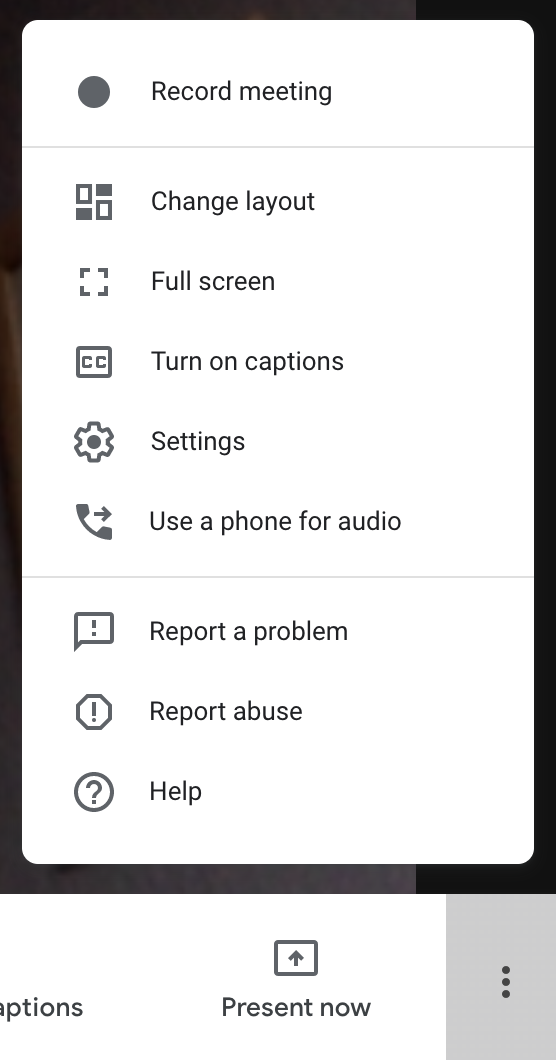
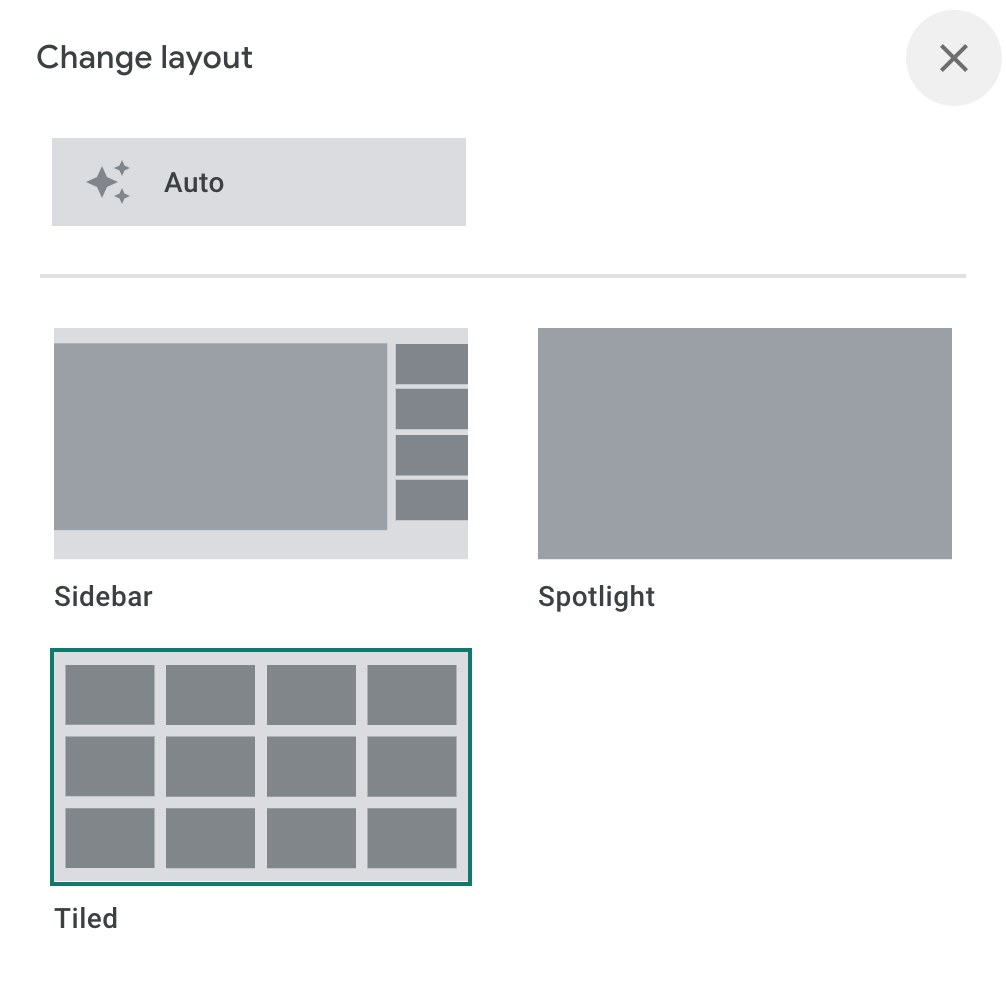
Change layout gives choices for how the different people on the call are displayed on your screen. The tiled layout allows the most people on the screen at the same time, with up to 16 users.
Screen sharing
When your colleague has joined the call, briefly explain what you are doing with the class; that they are learning about safe video calling and also how to share a document across a video call.
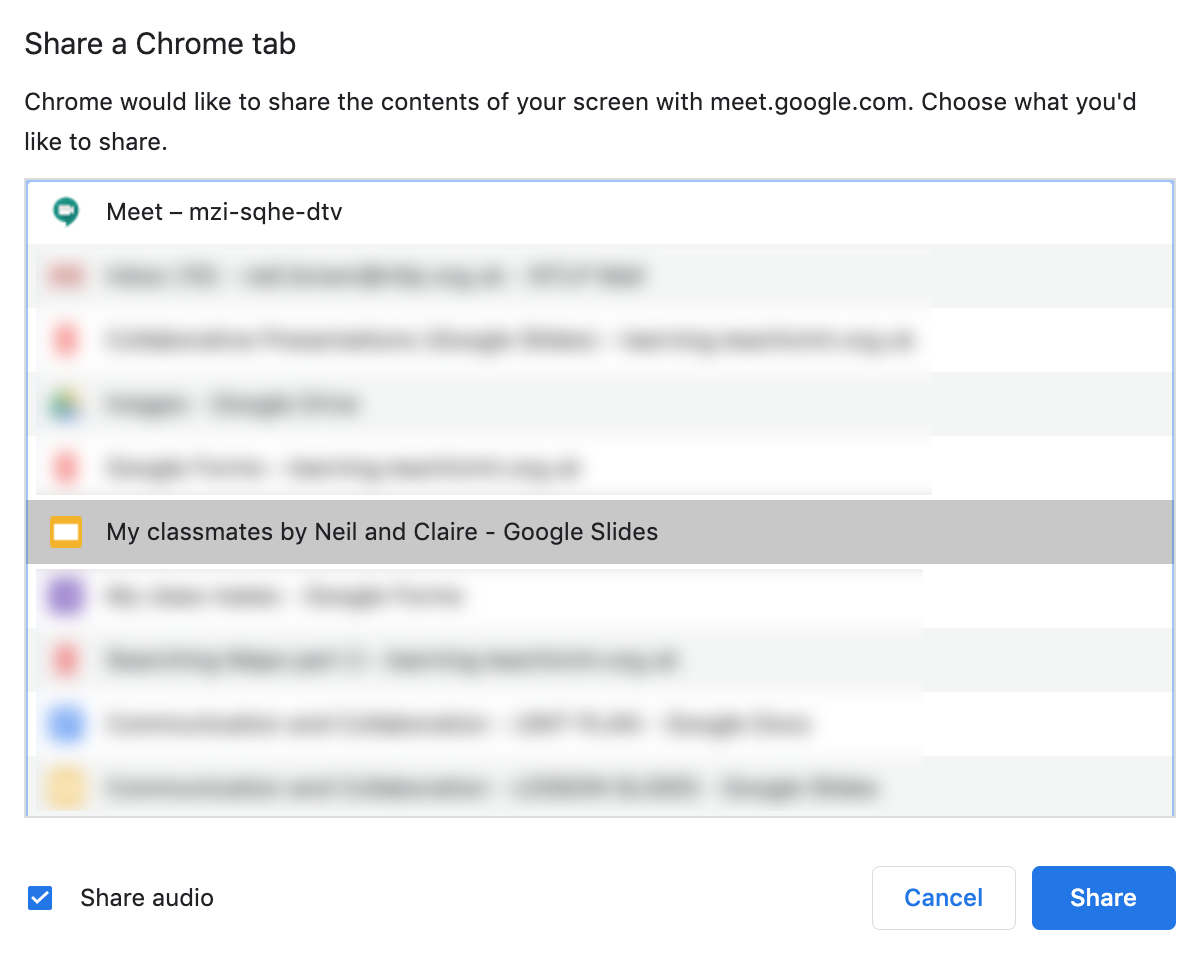
Open your volunteer pair's slides from the previous lesson. Ask them to click the Present now button and choose a Chrome tab or window.
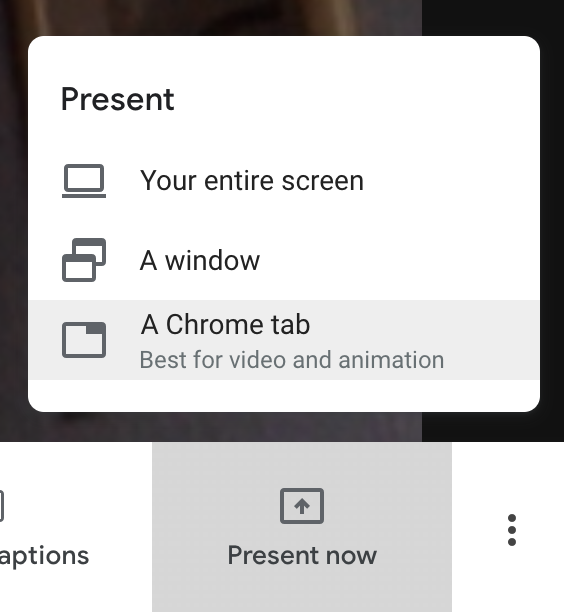
You will then be asked to click on the tab or window you wish to share on the call. Click on the one for the Google Slides, then Share. The other people on the call will then be able to see just part of your screen.
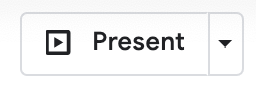
On your own computer, ask the volunteer students to switch to the Slides tab and click the present button so they go into full-screen presentation mode in Slides. From here they can talk about their results and move through the slides by clicking the screen or using the arrow keys on the keyboard.
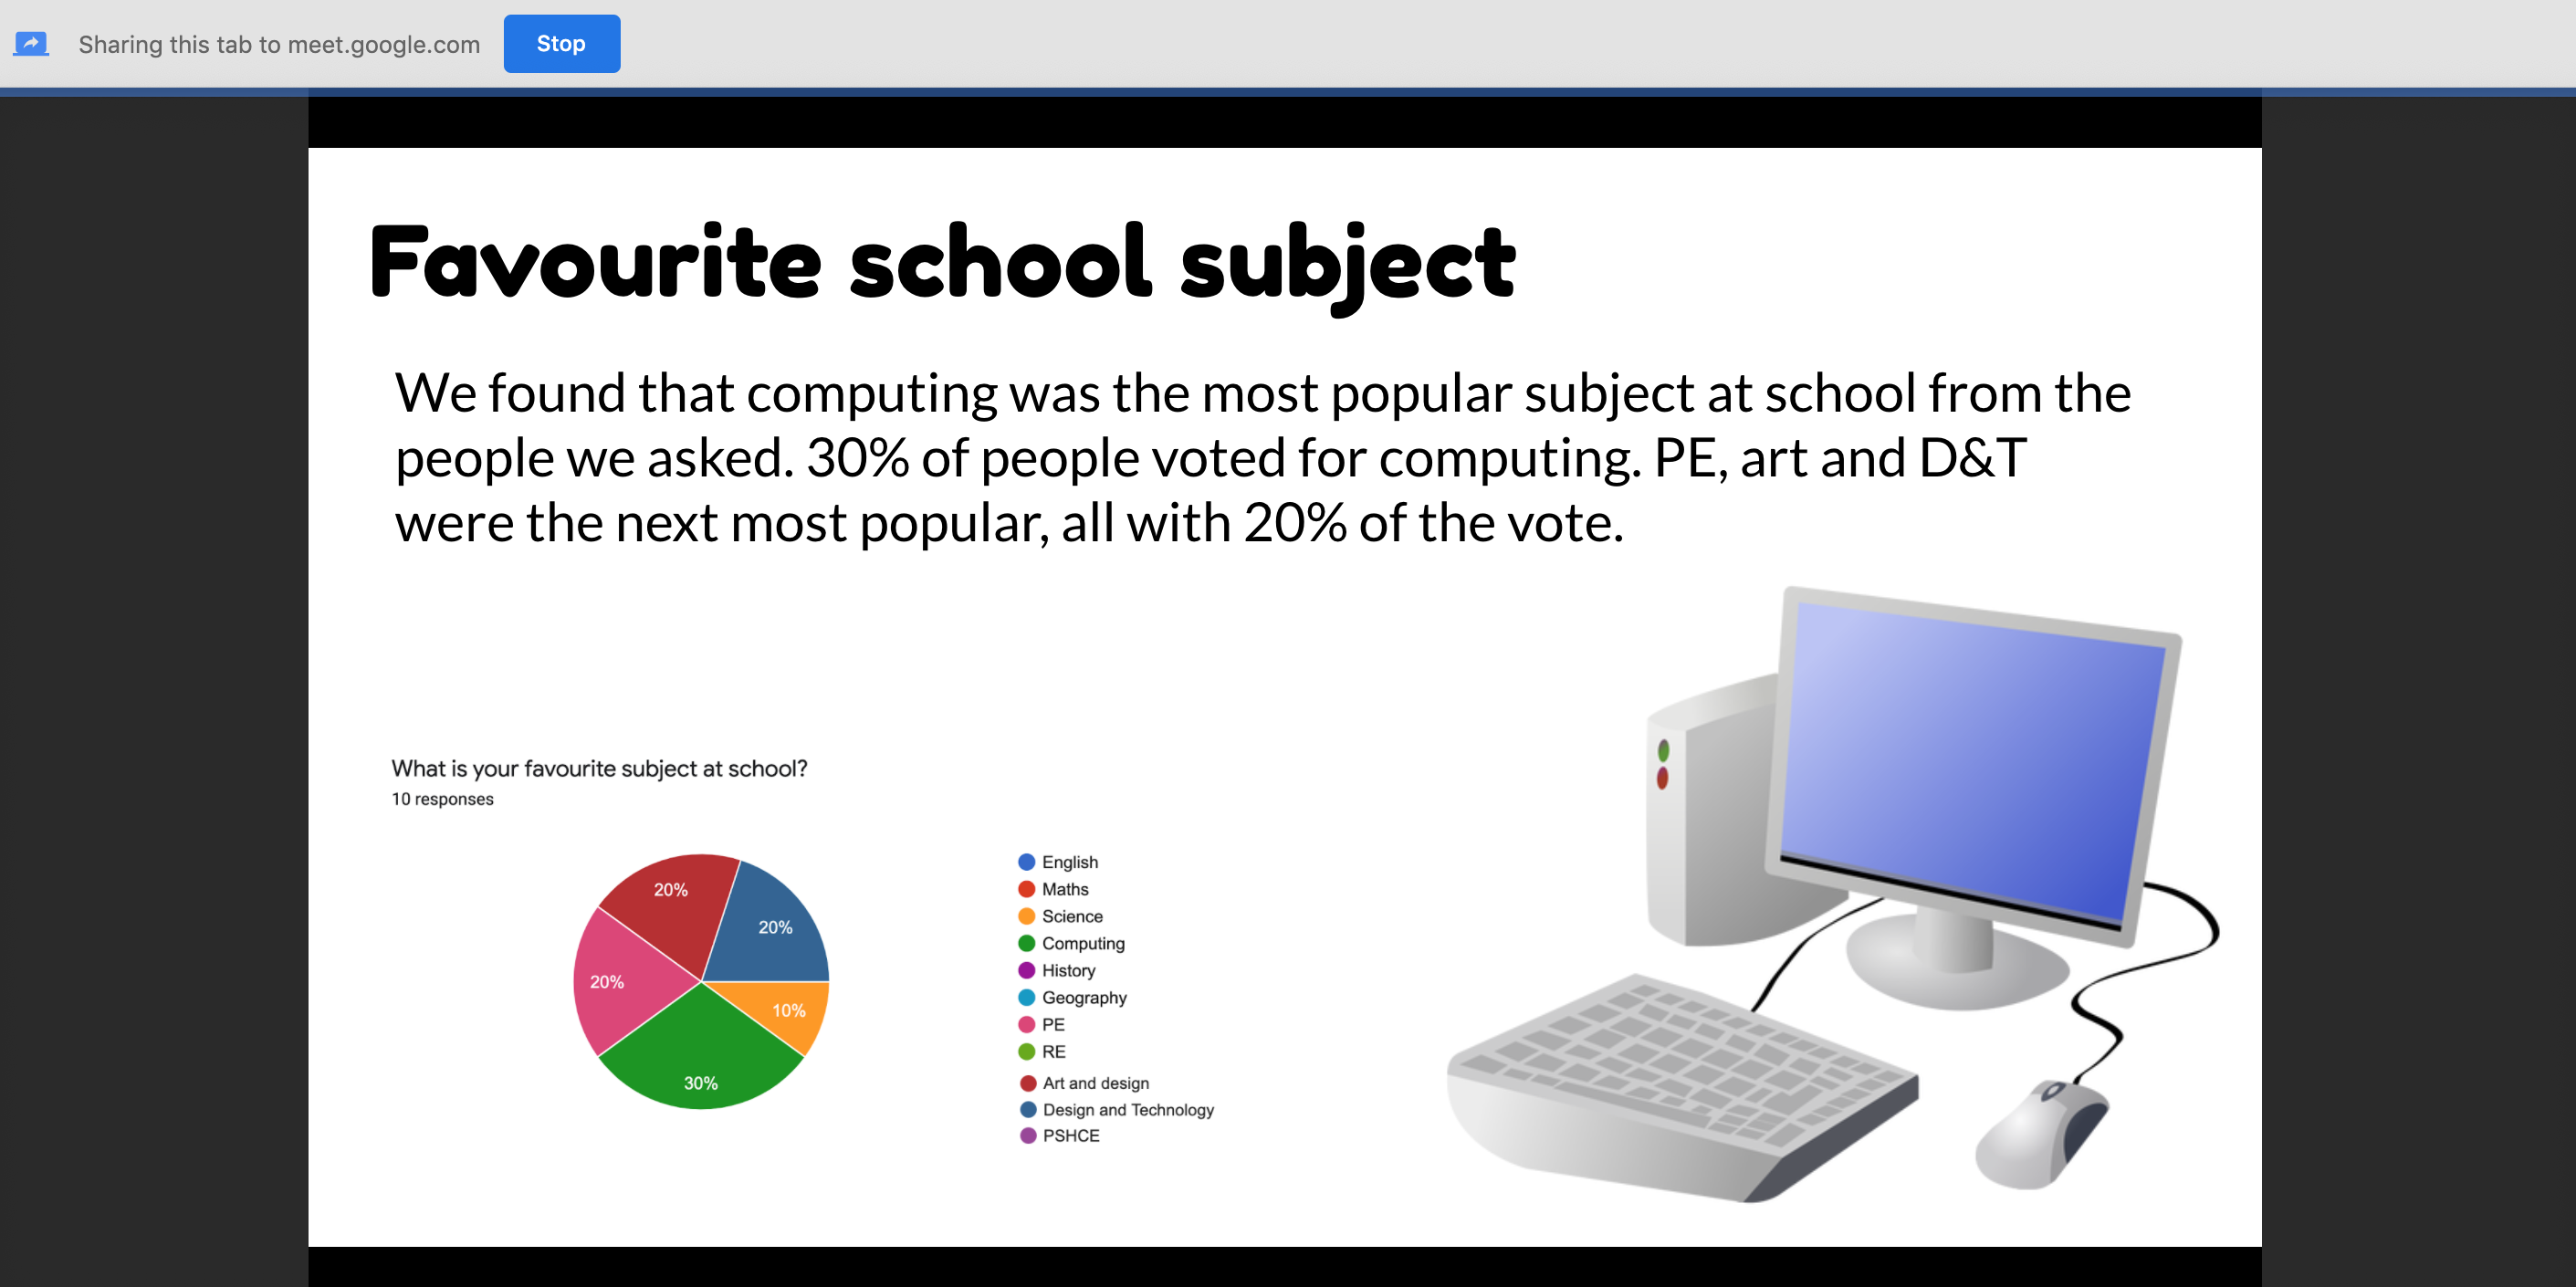
When they have finished they can click the Stop sharing button at the top of the window, then you can thank and say your goodbyes to your colleague before hanging up the call.
Review
Recap this section of the lesson and the important safety points for video calls. Ask what should you do before you make a video call? Who should you make video calls to? What else should you be aware of when you're on a video call? What should you do if something happens on a video call that makes you feel uncomfortable or upset?
Google Drawings
The final tool that we are going to explore in this unit is Google Drawings. This is an object based drawing and publishing tool, rather than a painting tool. It could be compared to a scaled down version of Microsoft Publisher and allows free placement of text, images, shapes, lines/arrows, and so can be used for lots of different purposes, but again, its killer features are that it’s web based, saves straight into your Drive and allows collaborative working.
Drawings can be created as documents in their own right or you can also create one from within a Document (but not a Presentation at the time of writing, although they can be added if saved as an image file first)
Sharing of drawings is done in the same way as any other Google Document. Click Share and add an email address. Put the students back in pairs and ask them to number themselves 1 and 2. Number 1s only should create a new drawing and then share it with their partner and you, the teacher.
Create a new drawing
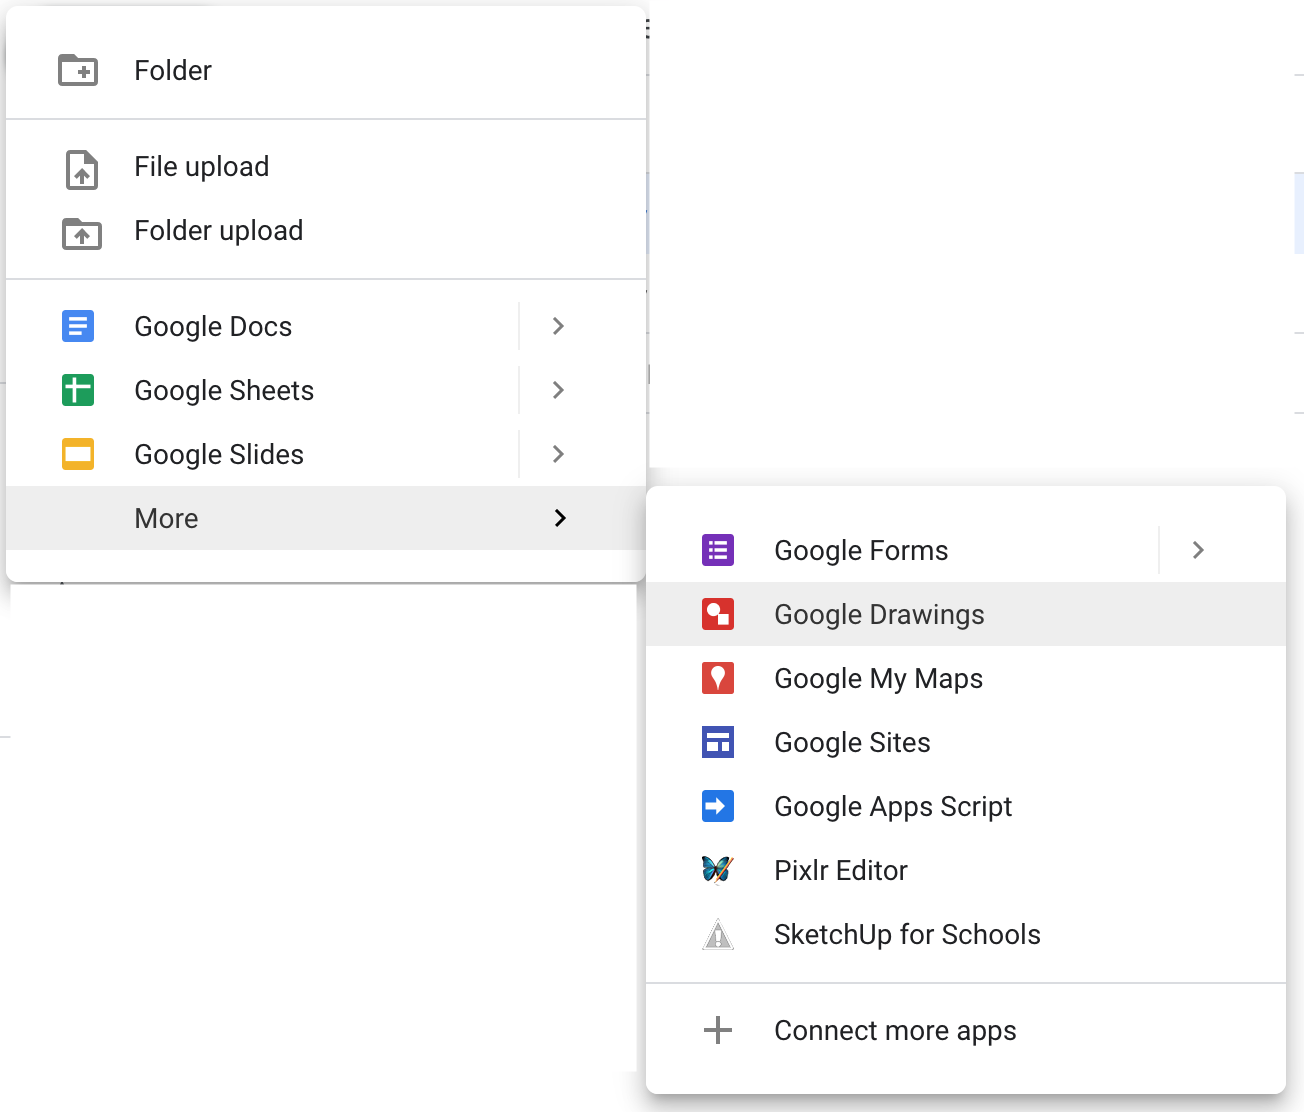
From Drive, click on the New button and Find the Drawing tool, you may need to go into the More menu if it’s not immediately visible.

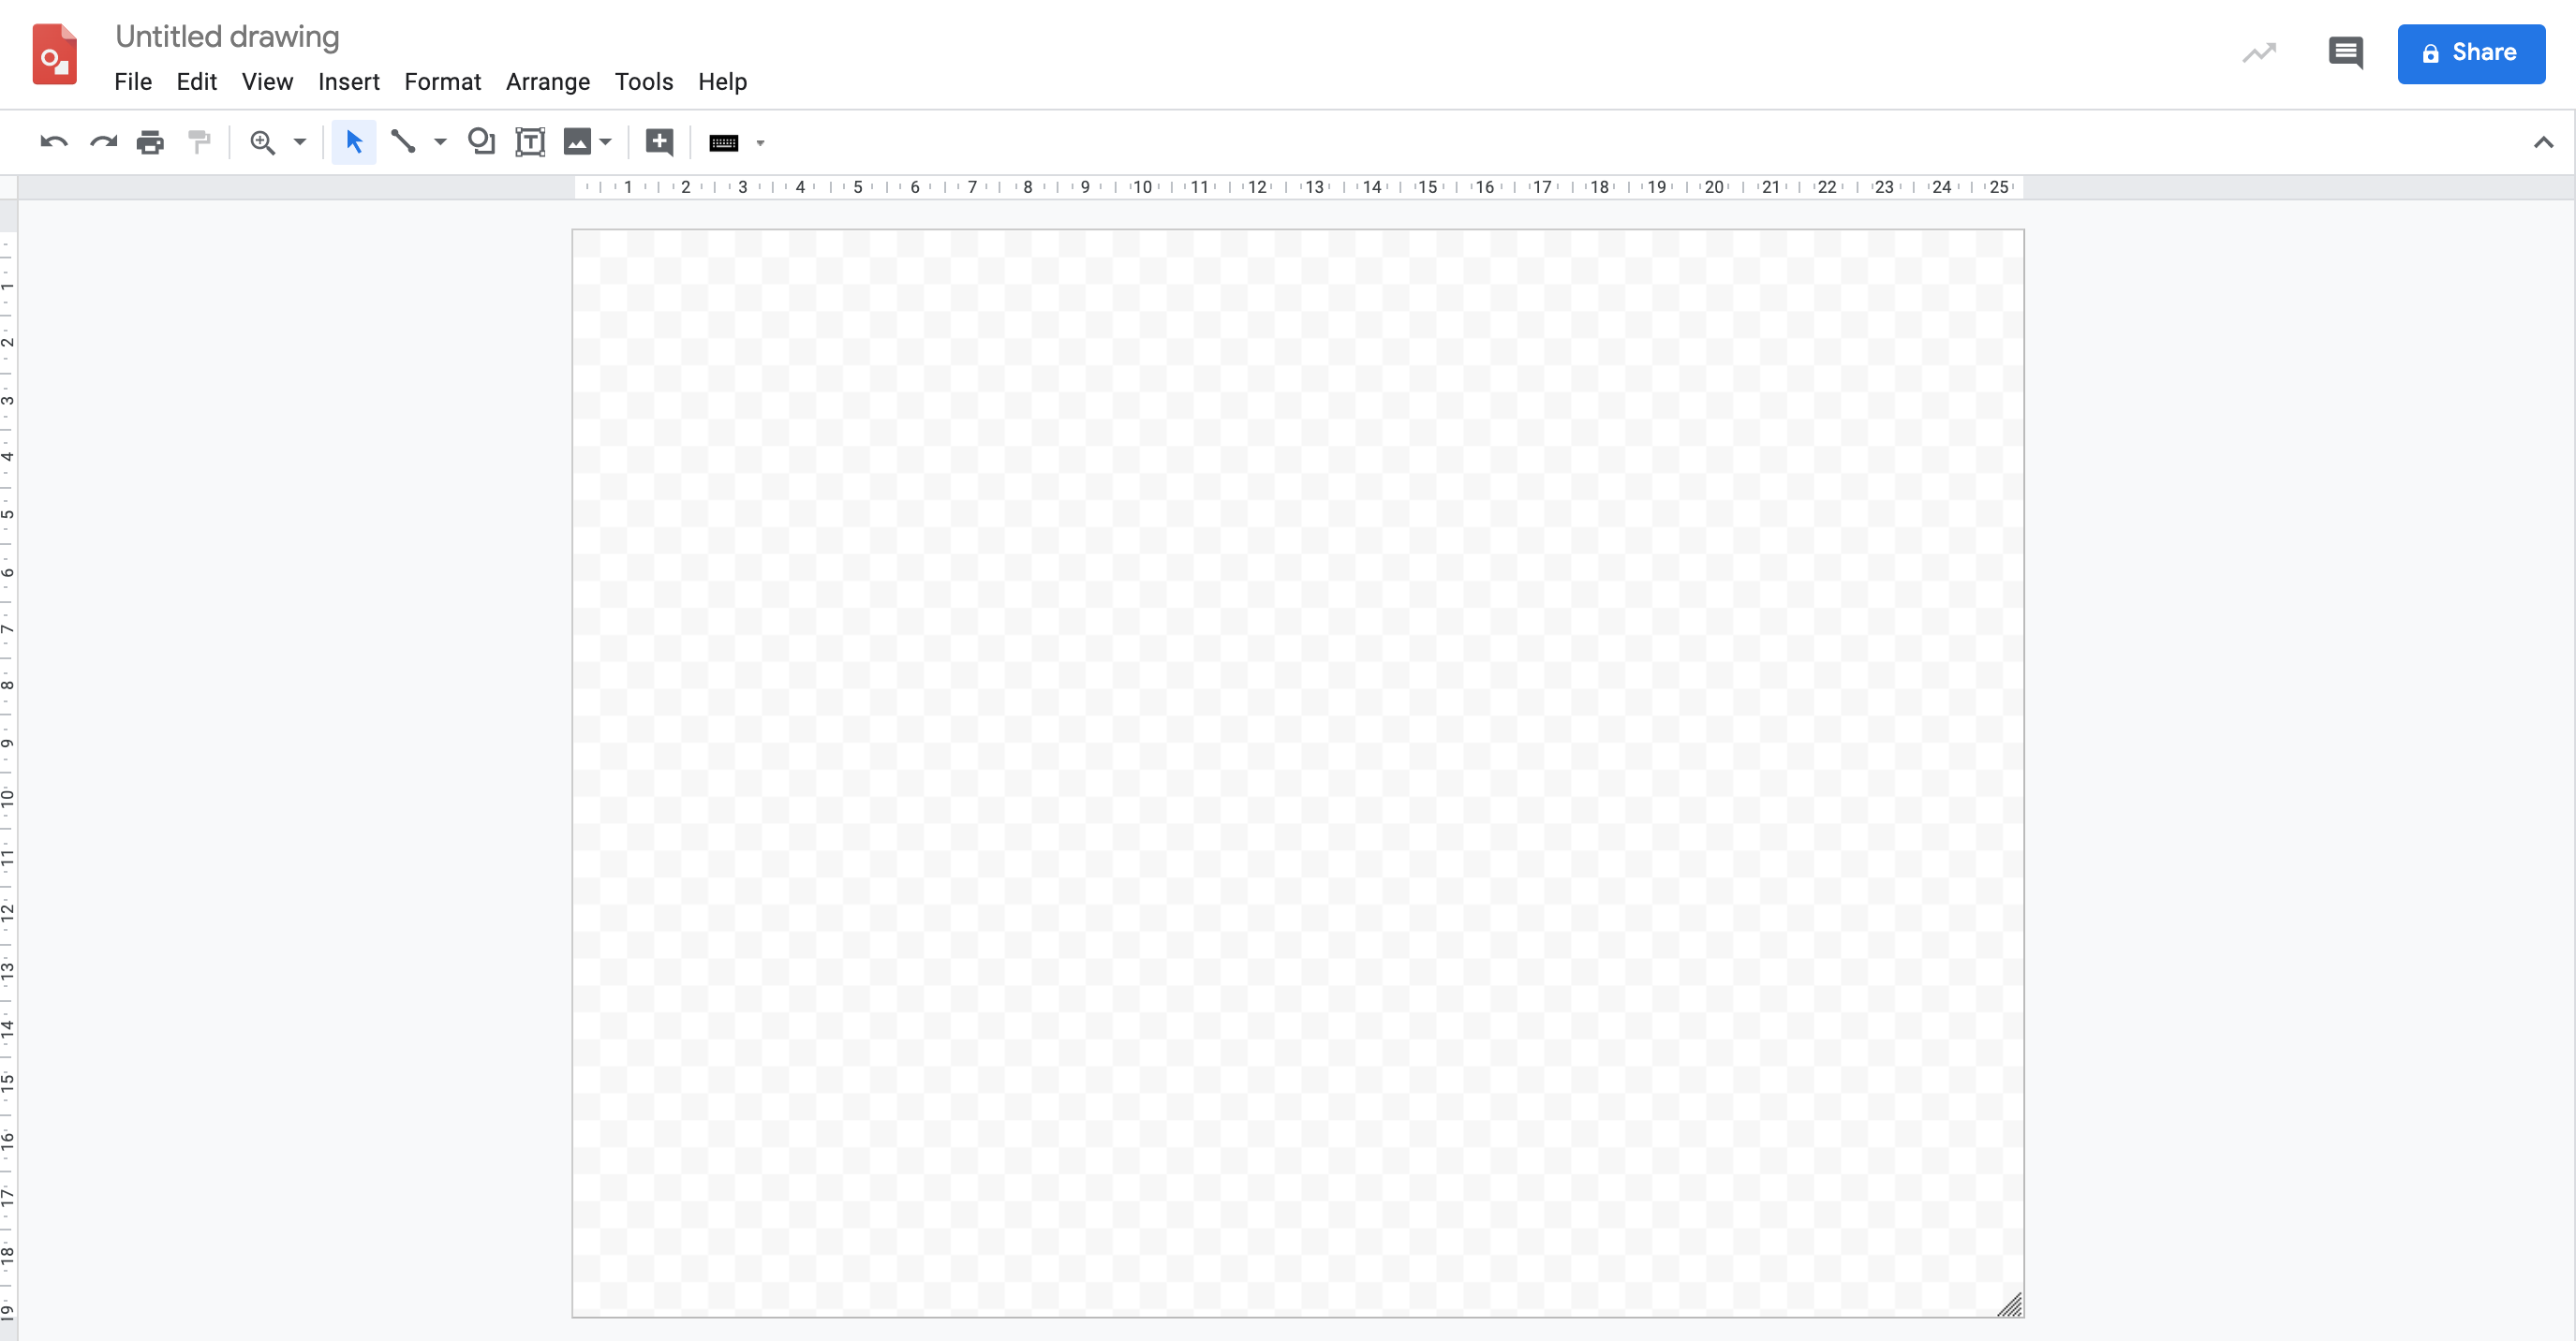
An empty Drawing page will open.
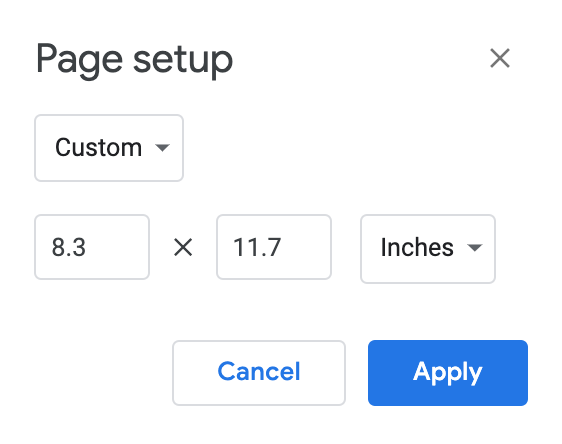
Depending on what you are creating, you might want to set your page size up properly, particularly if you intend to print your creation later. Go to File > Page Setup and, for an A4 size page, choose Custom setup and set the page dimensions to 8.3 x 11.7 inches for portrait or reverse it for landscape.
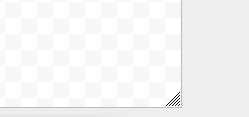
If you don’t intend to print, this step is not necessary, you might just want to roughly size the page with the lined handle in the bottom right of your page.
Publishing activities
Below are two example activities that let your students get creative and collaborative with Google Drawings. You can choose either of them or use a theme of your own, but be sure to demonstrate the key tools such as adding text, images, lines and arrows, and how to format those things once they are on the page.
Add from the toolbar.

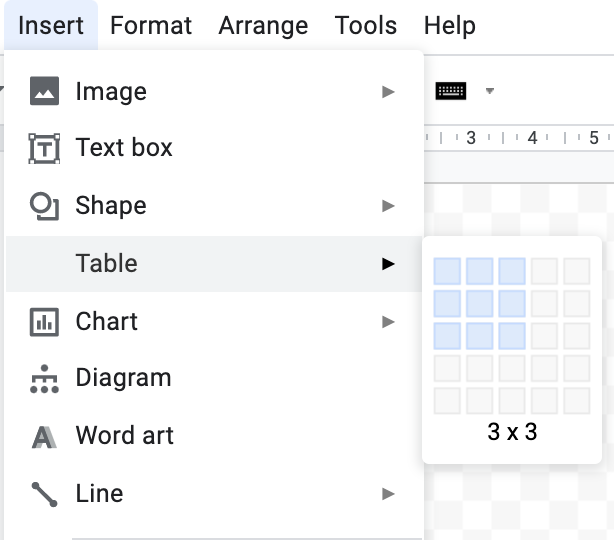
The insert menu gives even more options.

When text is selected formatting options appear.

Lines, shapes and arrows can also be formatted once added.


Collaborative comics
Before they start, ask them to consider How can you do this effectively? How can you divide up the jobs? Where should we start?
Set up a new page as portrait A4
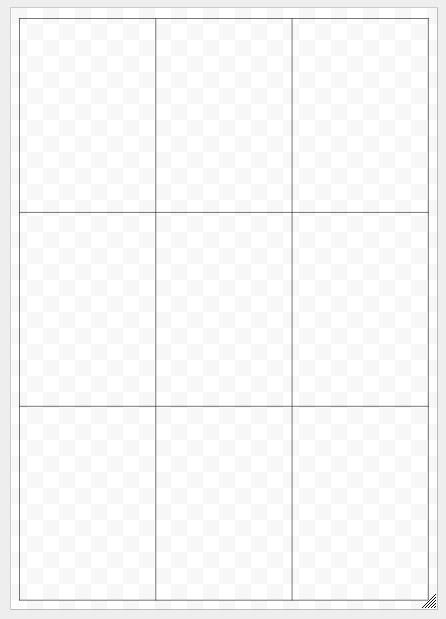
Insert a 3 x 3 table.
Stretch it out to fill the whole page, but not quite going right to the edges (if you intend to print you might lose a bit if you go right to the edge).
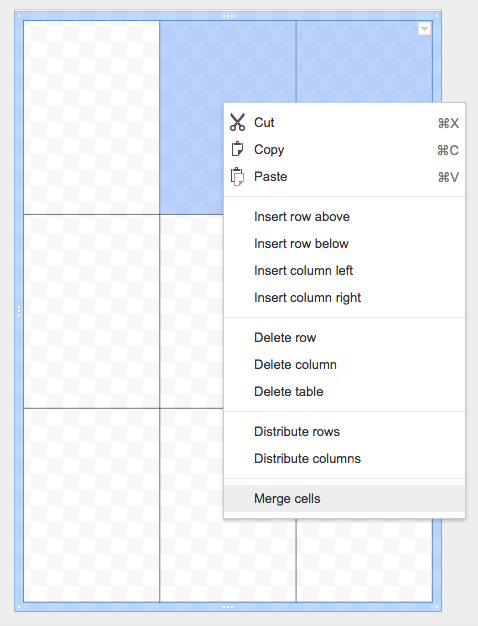
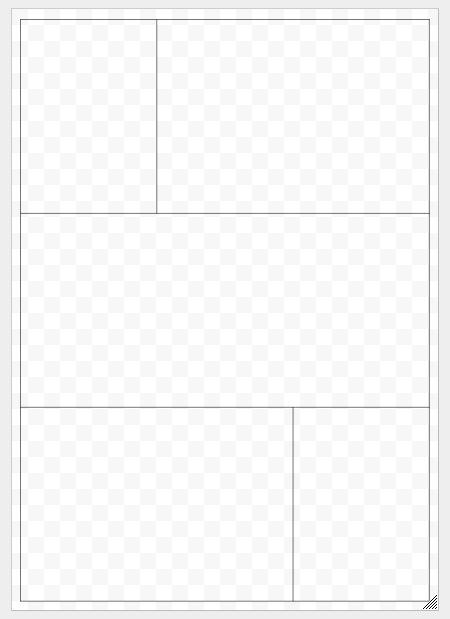
If you want to adjust the layout you can merge cells by highlighting joining cells and right clicking, then Merge Cells.
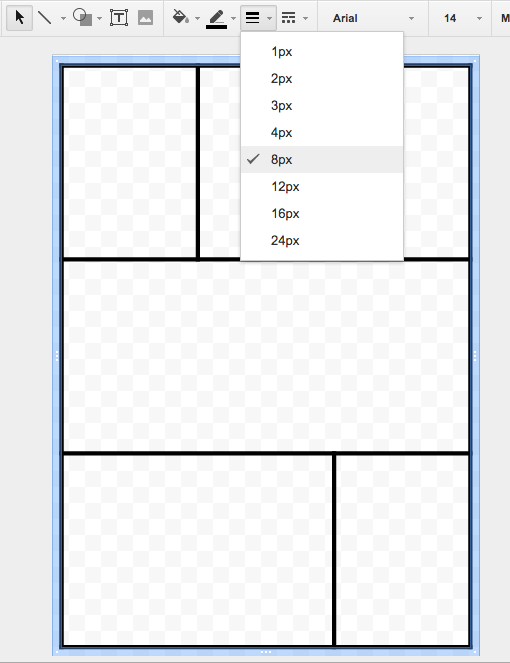
Repeat this in other cells if needed, then thicken the outline by clicking on the outside edge and setting the line thickness to 8px.
You can then add images to your cells. You could use photos you’ve taken yourself if you have some saved on your network. This can be a nice way to do a recount of an event or visit, show instructions for doing something or a different way to write up something like a science experiment.
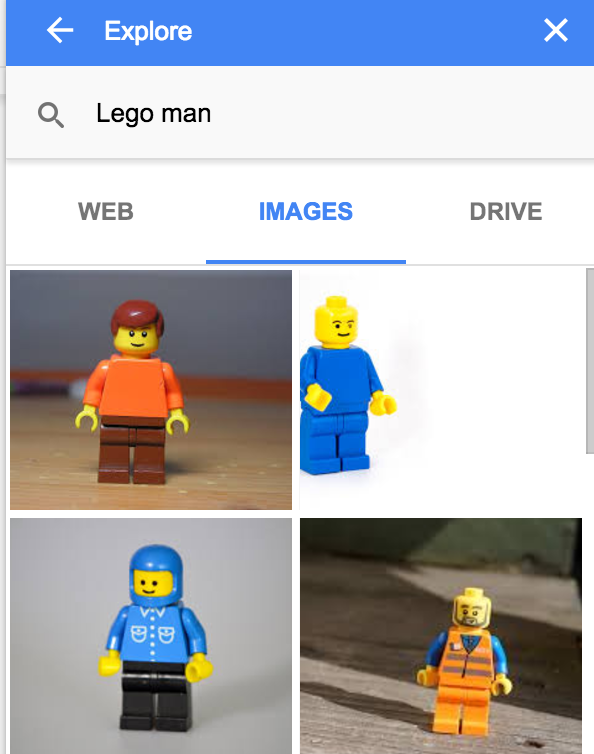
Or you can let them search for images online. The Explore tool can be very handy for this. Go to Tools > Explore, search for what you want and then choose ‘images’.
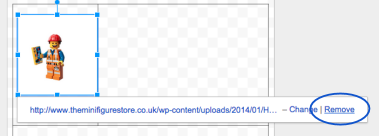
Find an image and drag it onto the page.
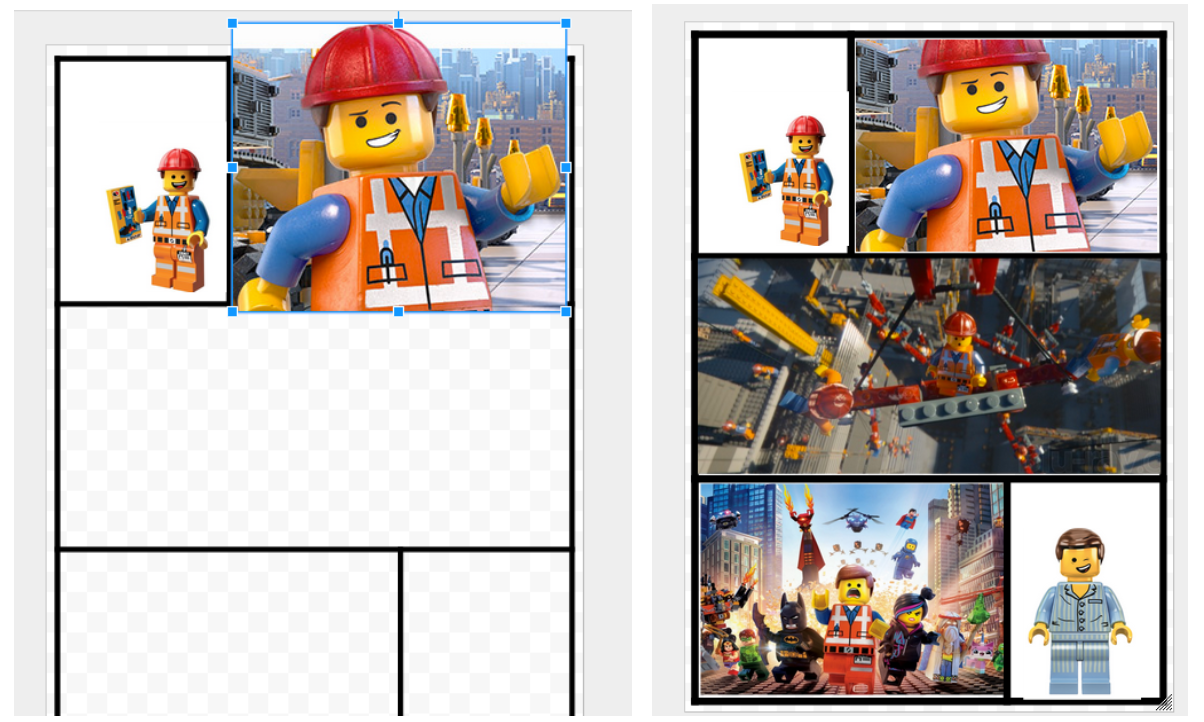
If images don’t fit your boxes there’s a brilliant crop tool built in. Just size it with the blue handles so the main part of the picture fits your box, then double click the image to see the black crop tool handles. Adjust these to trim your image down from the edges. Click to the side to seal the new image.

Continue adding images to your other boxes, cropping where necessary.
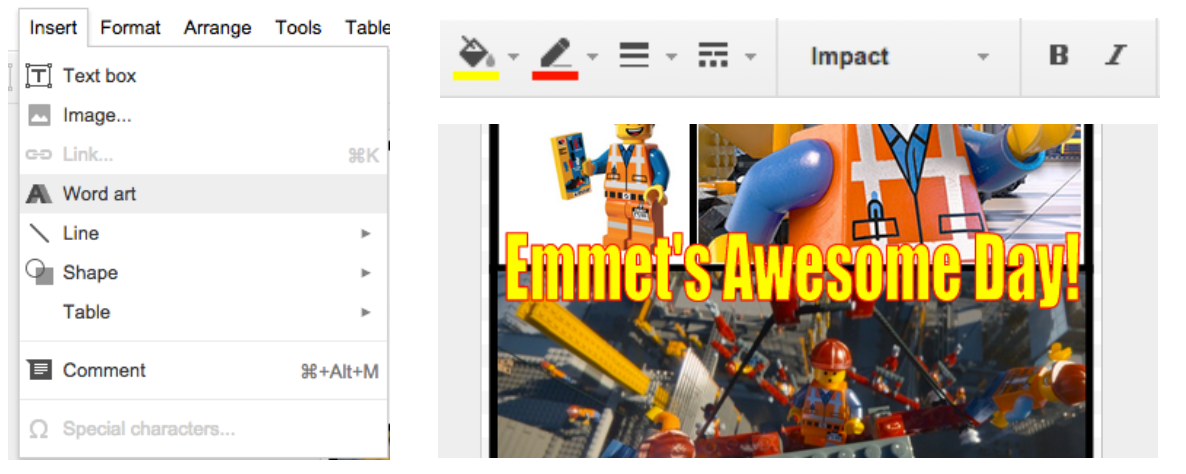
Titles can be added as normal text or Word art: Insert > Word art, which can be customised with the Font, Colour and Outside edge colouring tools on the toolbar.
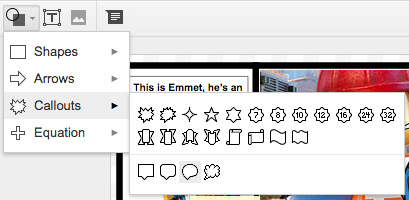
You can then add text boxes (which you can fill to be more visible) and speech bubbles to your comic from the Shapes menu > Callouts and take your pick of the styles.
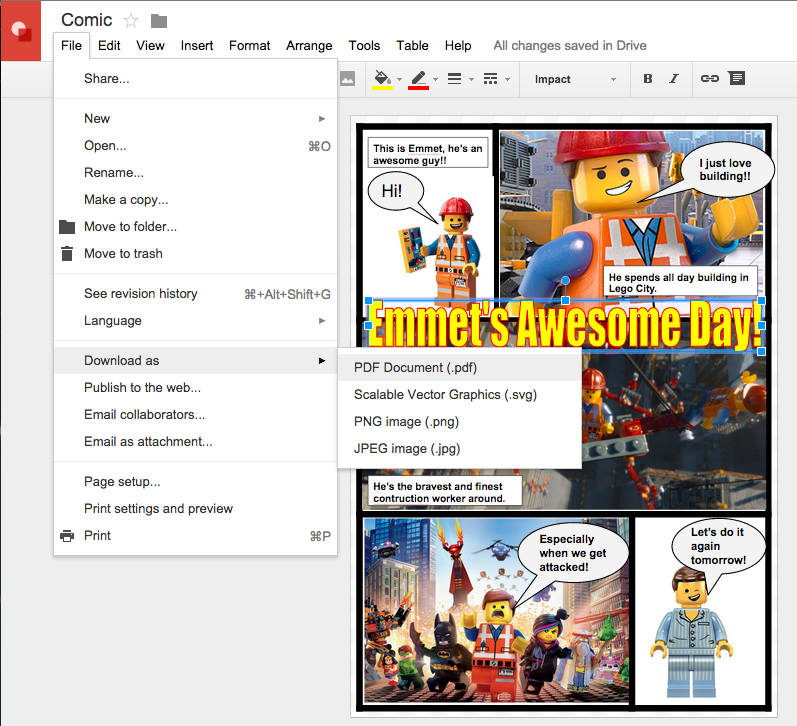
You can leave it in Drive or export it as a document if needed. Go to File > Download as > and choose PDF or PNG/ JPEG for images.
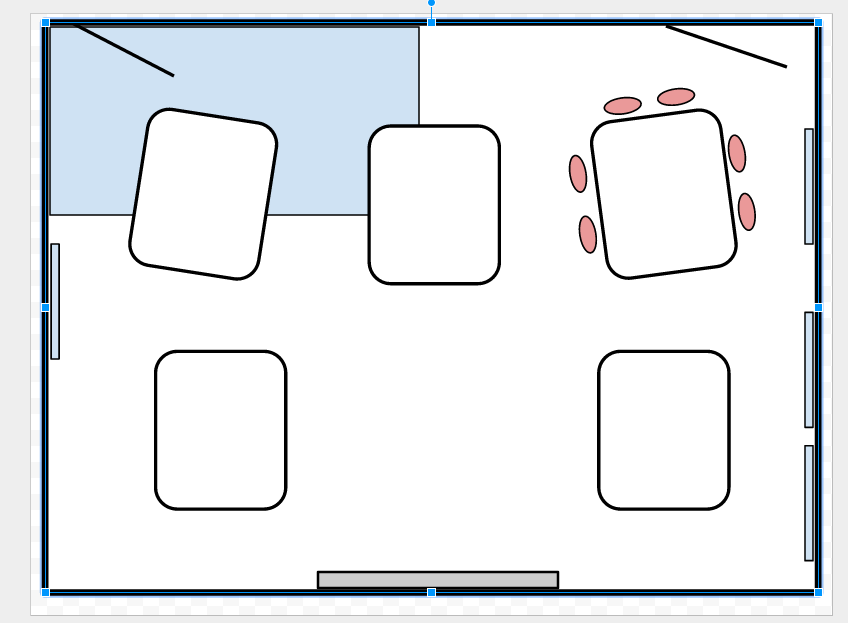
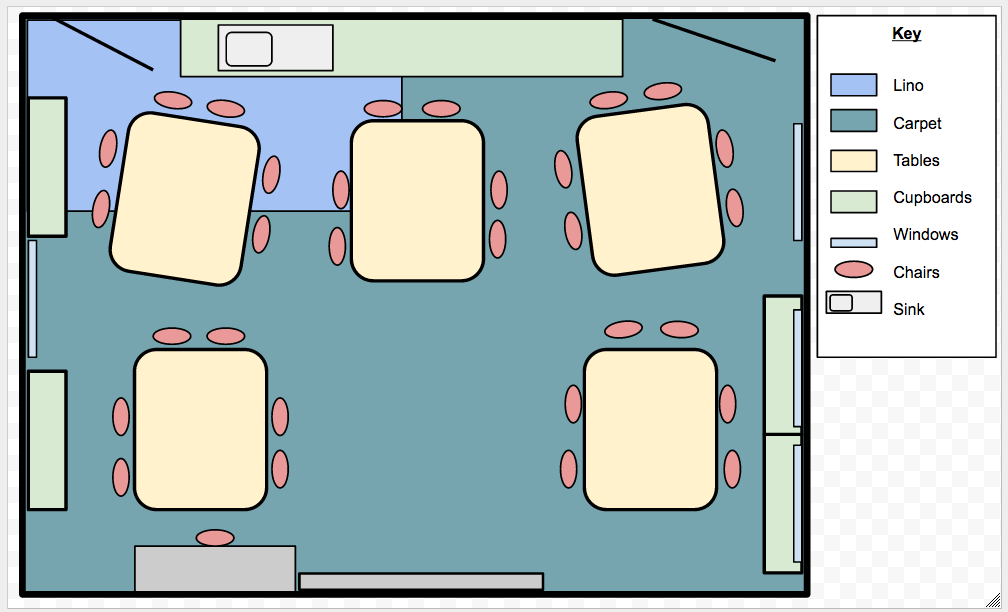
Room Planning
Another Google Drawing activity you can try with your students is technical drawing, and collaborating to create a room plan. Pair them up, No.1’s make a new Drawing and share in No.2 and the teacher. How can do this effectively? How can you divide up the jobs? Where should we start?
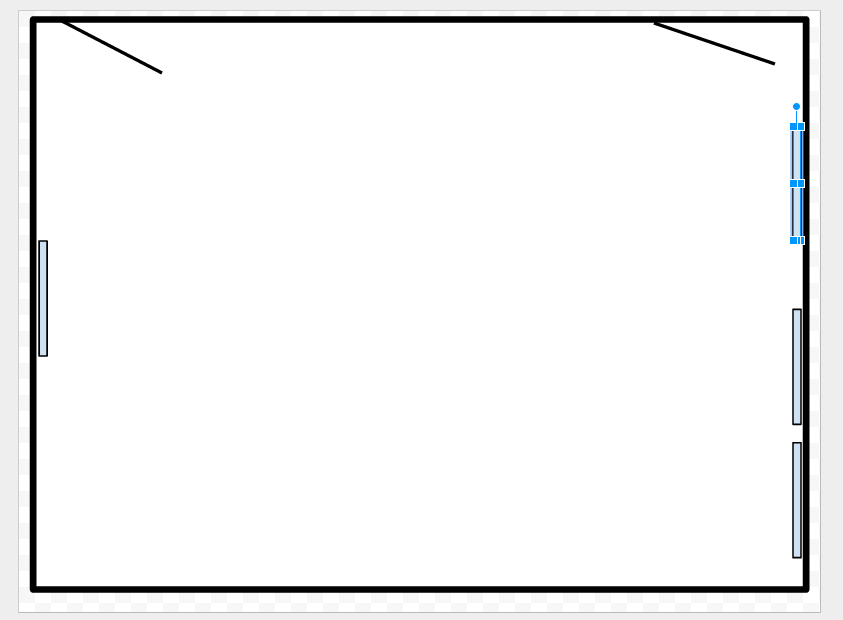
Use the Shape and Line tools for all of this. Begin with the outside shape of your room. Add lines to show doors and then rectangles for window. Encourage them to copy (Ctrl + C) and paste (Ctrl + V) shapes for consistent sizes of things like windows, tables, chairs etc.
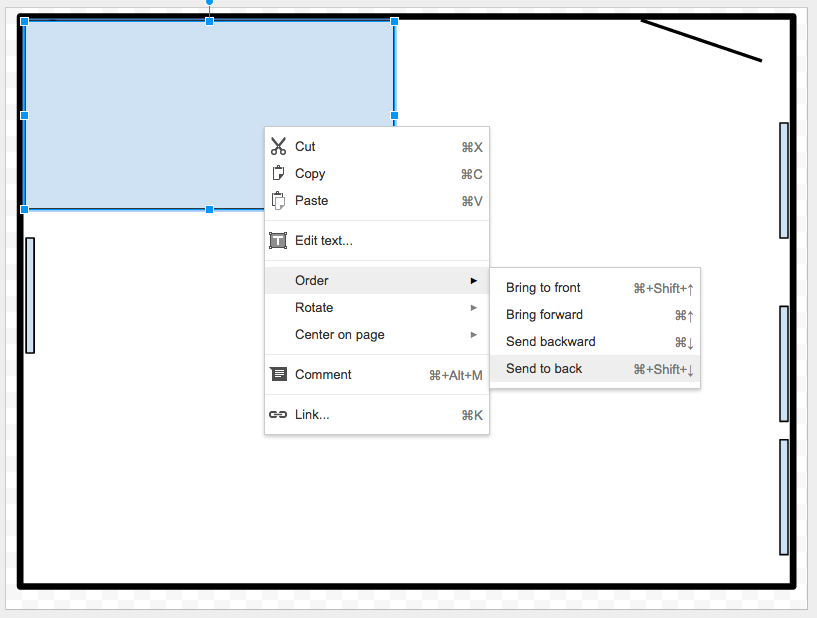
If you want to place objects behind or in front of others right-click them and choose Order.
Make use to the handy referencing tools in Google Drawings to line things up across your screen. Red lines will appear as you move things around to show that you are in line with the centre or edges of other shapes.

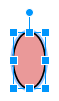
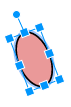
Shapes can be rotated easily with the top handle that sticks out.
You can begin to colour code areas or furniture using the fill tool when you select a shape. Colour the first one and then make copies of it to save time.
Continue to add detail to your plan. You might also want to add a key at the side.
All the way through encourage them to communicate and work together so they are sharing the work and working with, not against each other.
Plenary
Review the students' learning and how well they were able to work as a team to create their piece of work. Which tools did you use? Which made things easier? Did you work well together? Why/Why not? Did you communicate well and divide up the work?