
Collaborative Presentations (Google Slides)
Communication and Collaboration - Google Lesson 5
Objectives
- To work effectively with another on a collaborative document or application.
- Understand the need for certain rules of conduct, particularly when using live forums of communication.
Lesson Resources
Lesson 1 - An introduction to email
Lesson 2 - Sending and receiving attachments
Lesson 3 - Collaboration in the cloud
Lesson 4 - Google Forms
Lesson 5 - Collaborative presentations
Lesson 6 - Video calls & Collaborative drawing
This lesson covers tools in Google's Workplace for Education. A Microsoft Office 365 version can be found on the unit homepage.
Introduction
In the last couple of lessons we have looked at Google Drive and some of the apps that come with it, such as Google Docs and Google Forms, what can you remember about Google Drive? How do we get to it? What can it do? How do you add a file to it? How do you share something? What should you be careful of when sharing? Where in Drive do you find things that people share with you?
We worked collaboratively with a partner to start a story. We worked on the same online document as a partner, we didn’t need to email it to each other. In our last lesson we used Google Forms to create an online questionnaire to collect some data about our classmates.
In this lesson we're going to use the data we collected as the content when we create another type of collaborative document, a presentation. We will use Google Slides to do this.
Create your Slides
Put the students back into their pairs from the previous lesson. Ask them to go back to their Drive which should be open in another tab at the top of the screen.
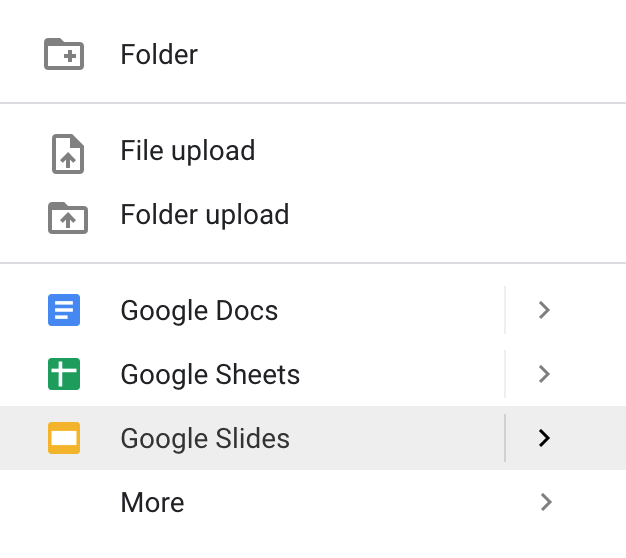
Ask them to number themselves 1 and 2. Number 1s only should click ‘New’ and choose Google Slides.

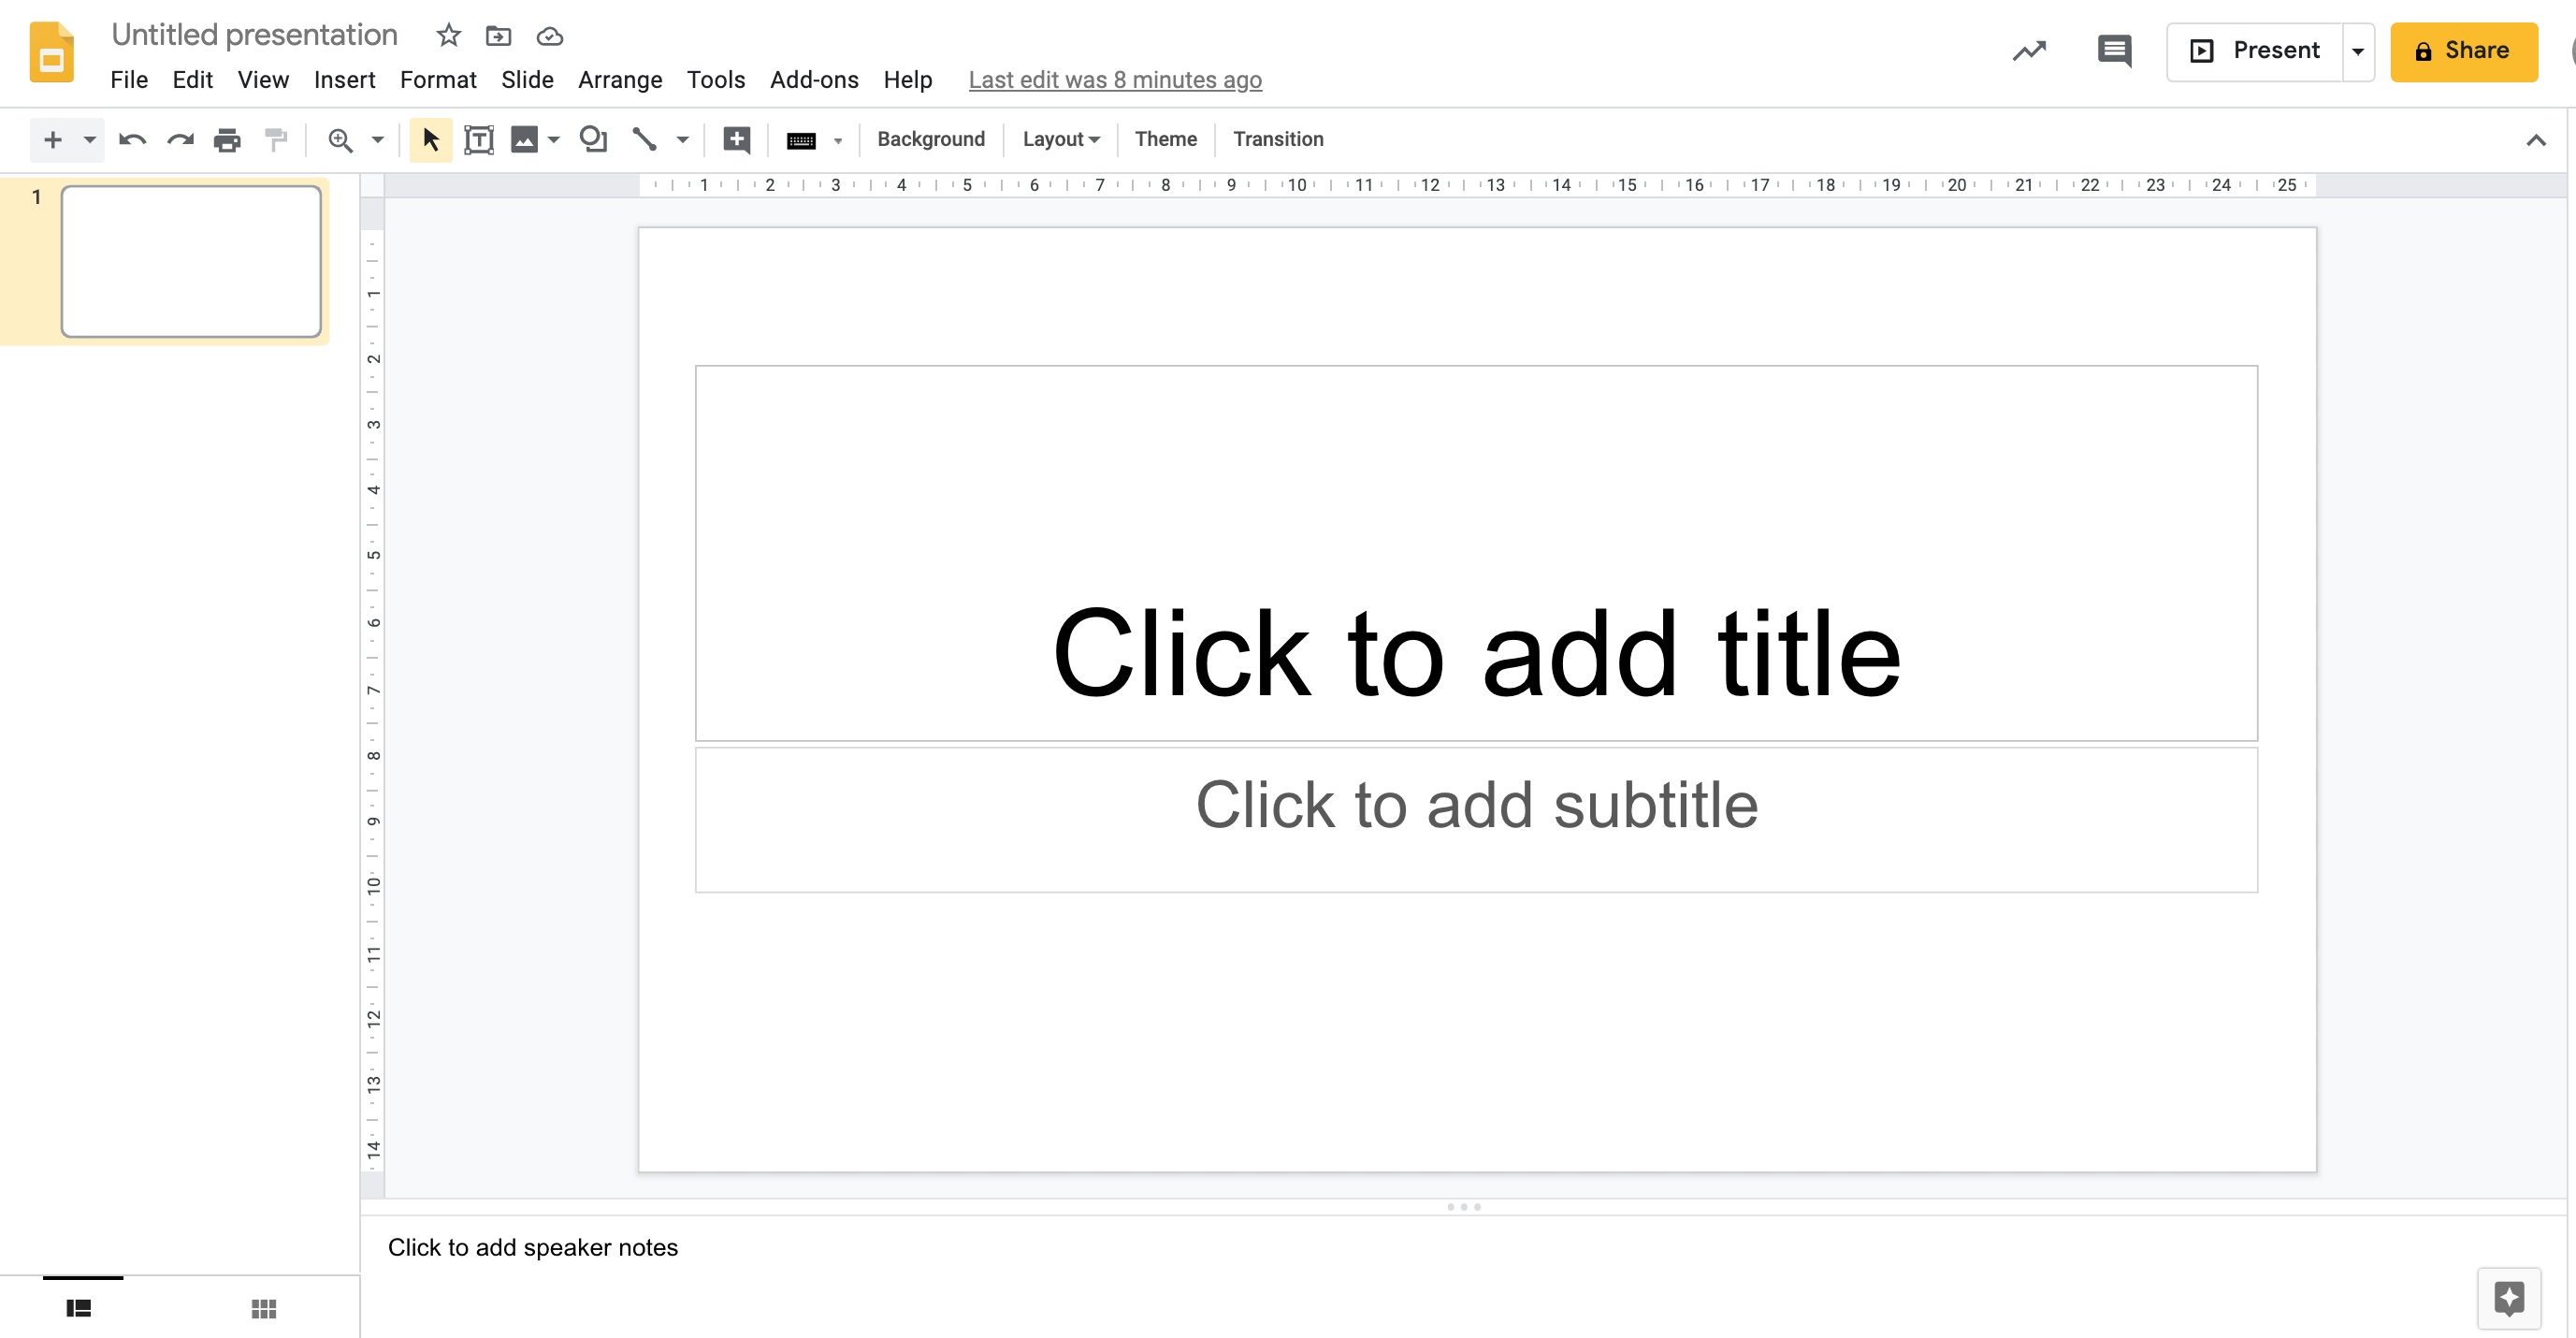
When the document opens, they should give it a title by clicking on 'untitled presentation' in the top left of the screen.

Then add their title and names.
![]()
Share your slides
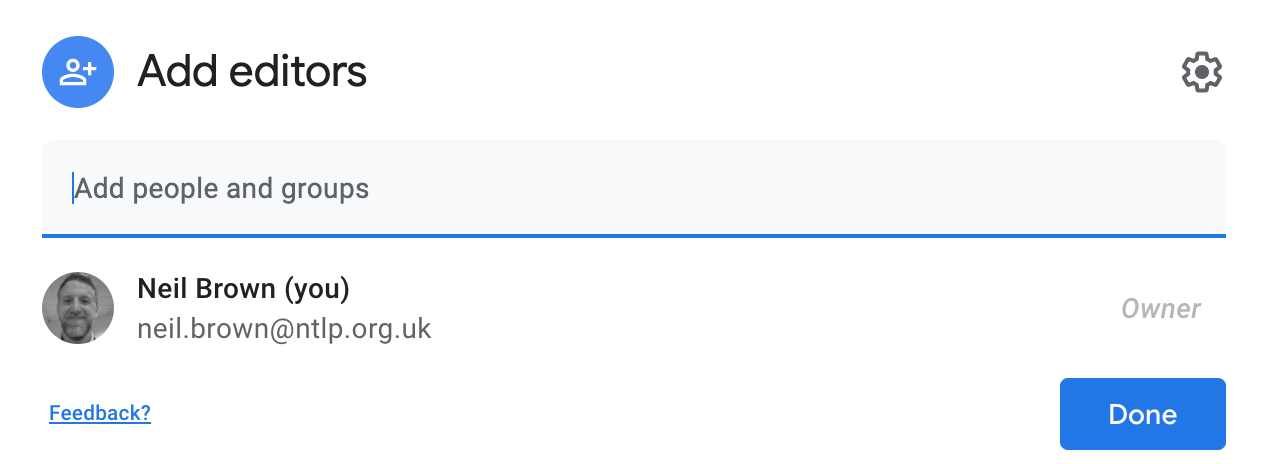
Then partner 1 should share their presentation with partner 2 and you, the teacher, in the same way as described in previous lessons. Click share and add email addresses.

Explain that Slides is a presentation tool a bit like Powerpoint if they are familiar with that. They are going to create a short presentation with their partner reporting back what they found out from their questionnaire in the last lesson.
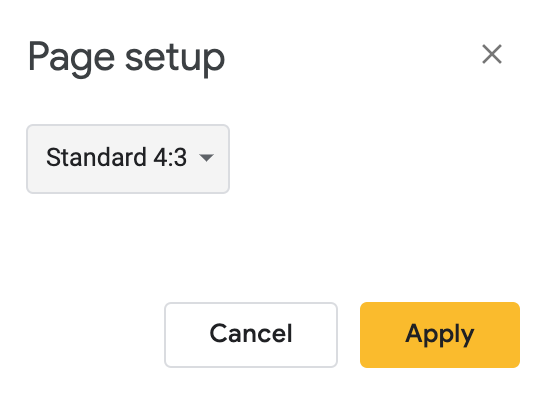
If the presentation opens and is stretched for widescreen, you can adjust your page back to normal by going to File > Page Setup and choosing Standard 4:3 in the drop down menu.
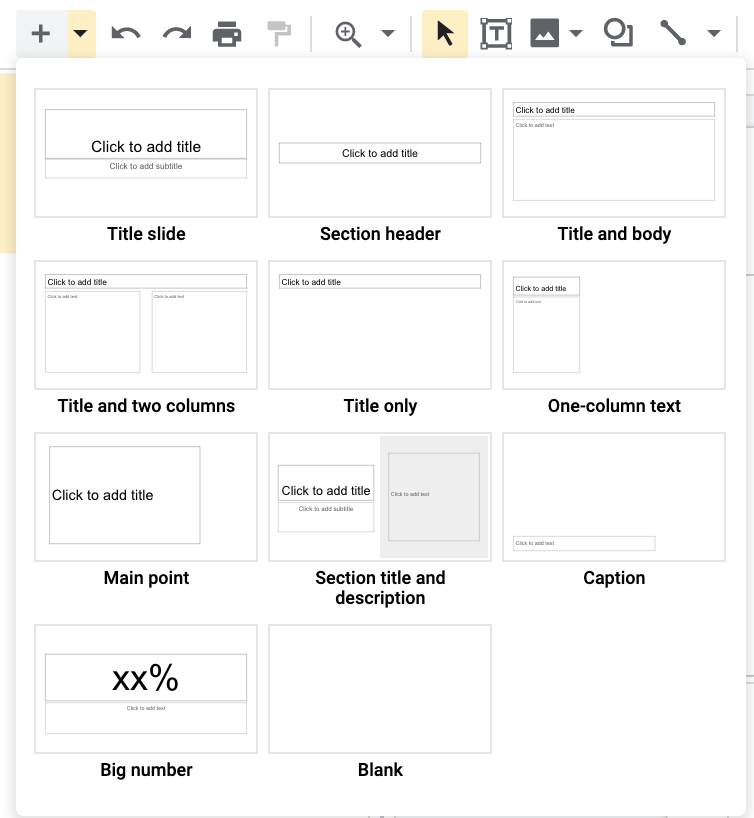
Show some of the basic tools like adding a slide and the choice of page layouts from the + button.
The formatting tools (these show up when you are in a text box)
![]()
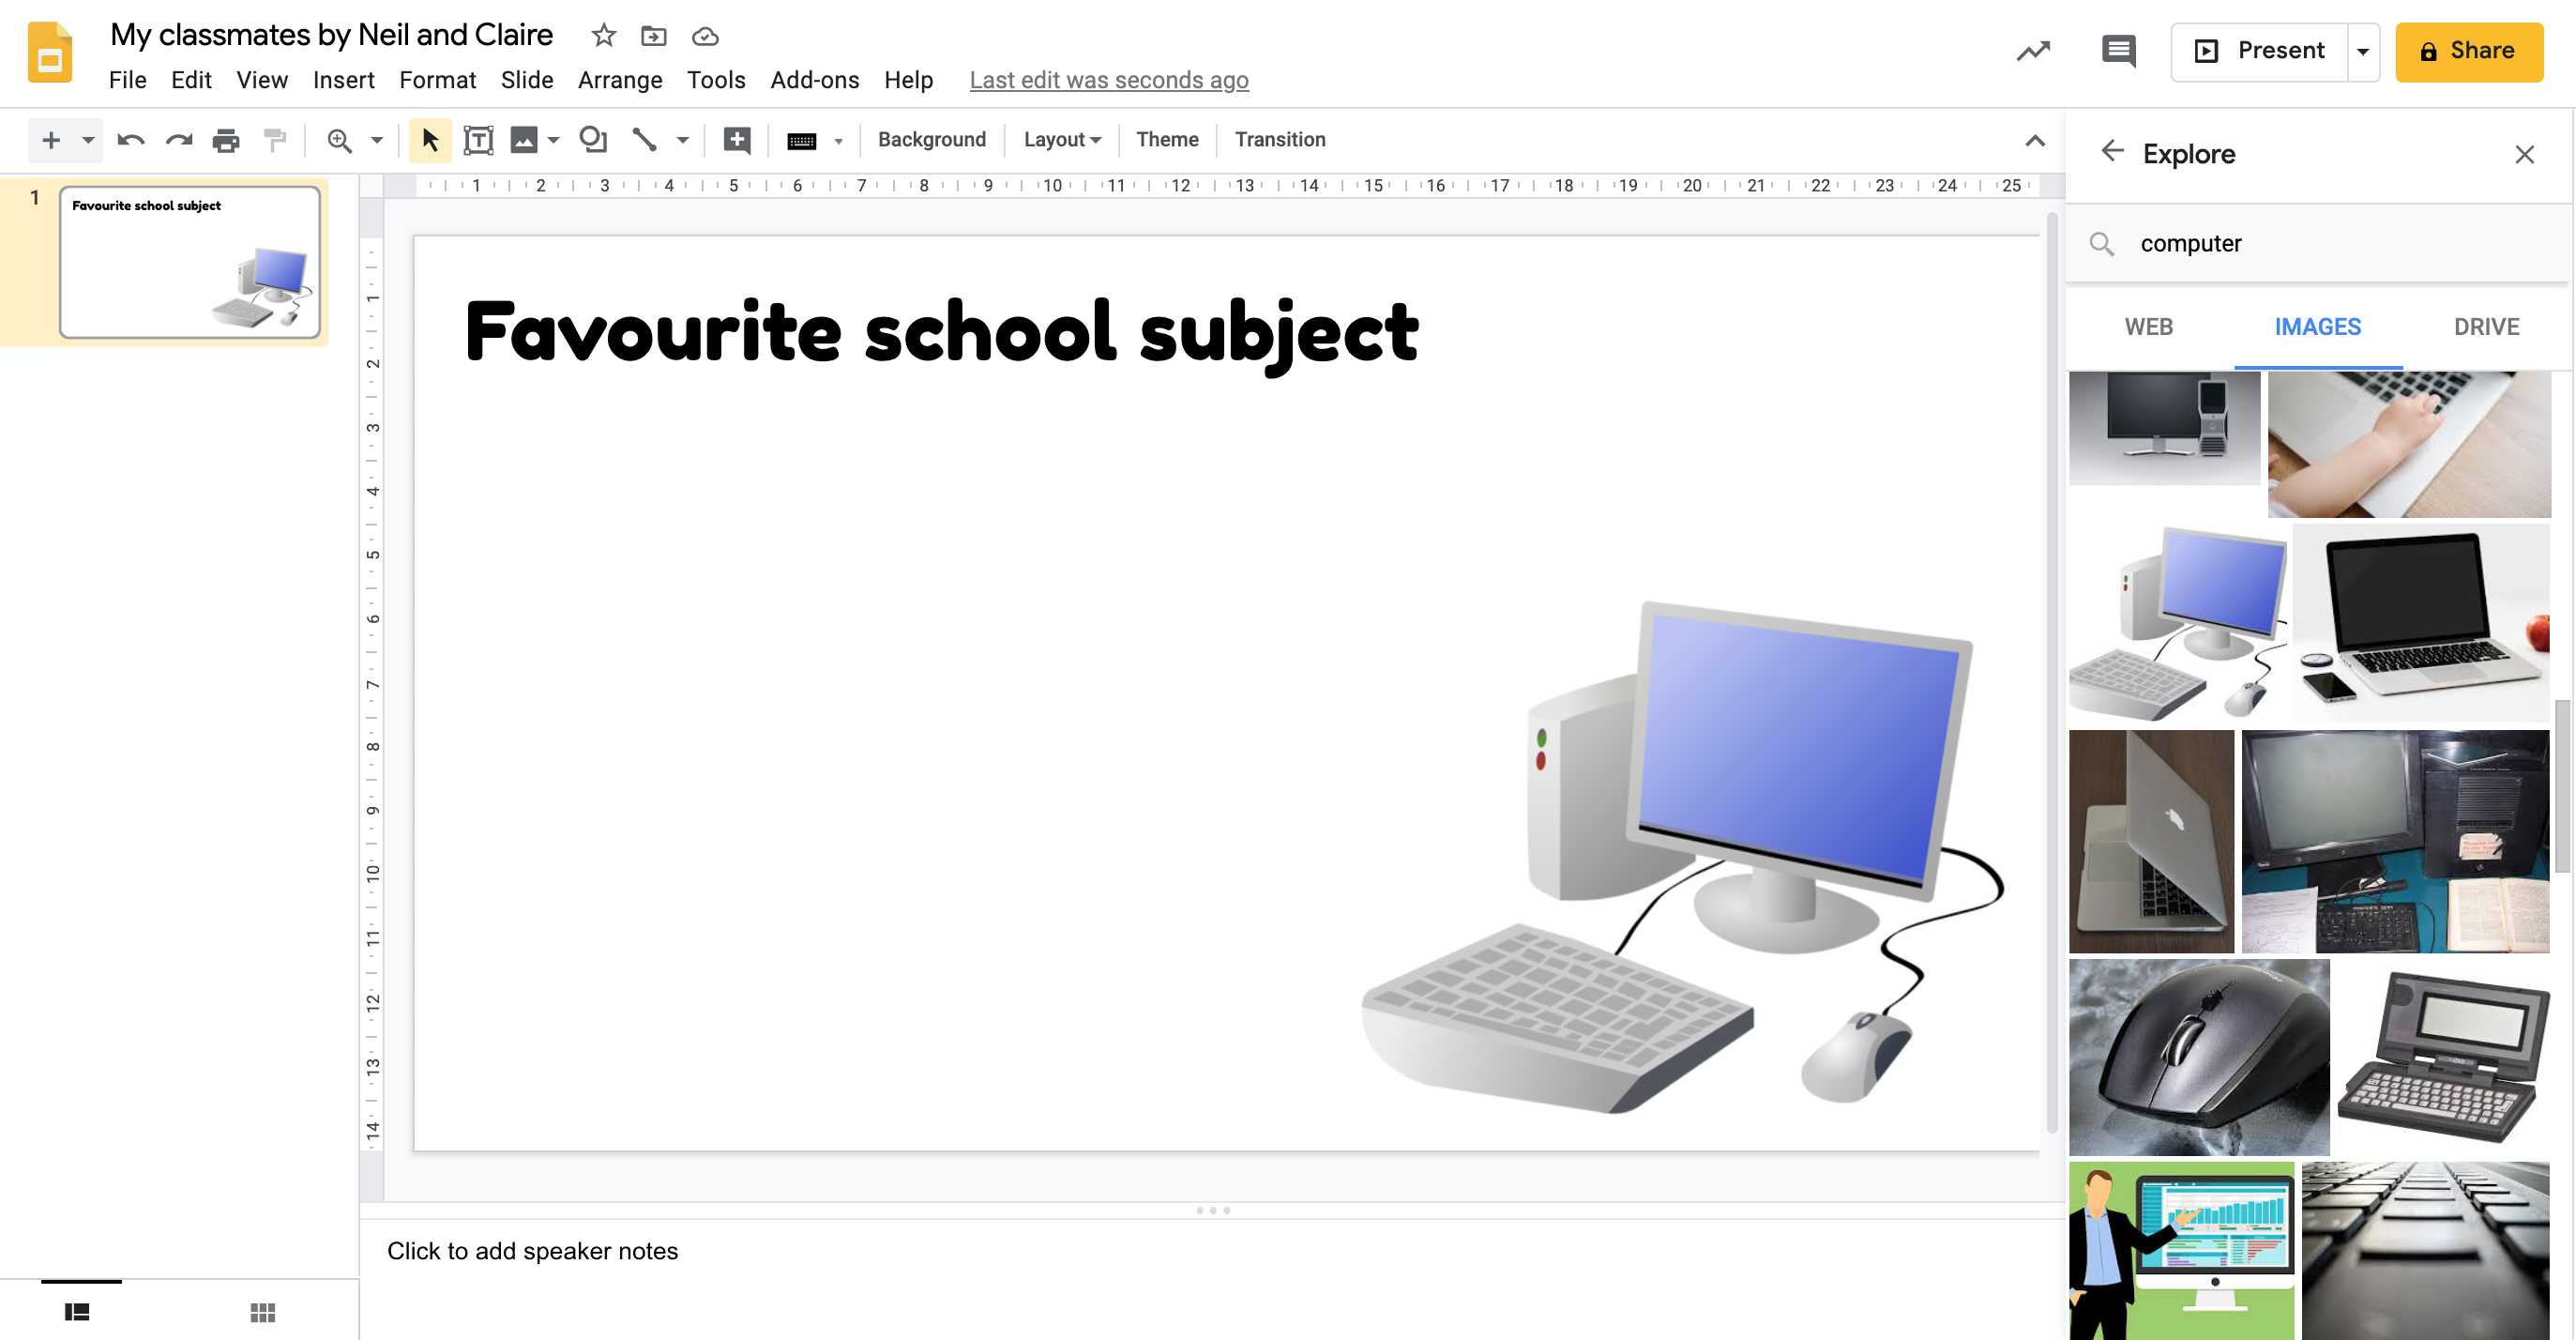
Adding extra text boxes, images from their computer, shapes or lines.

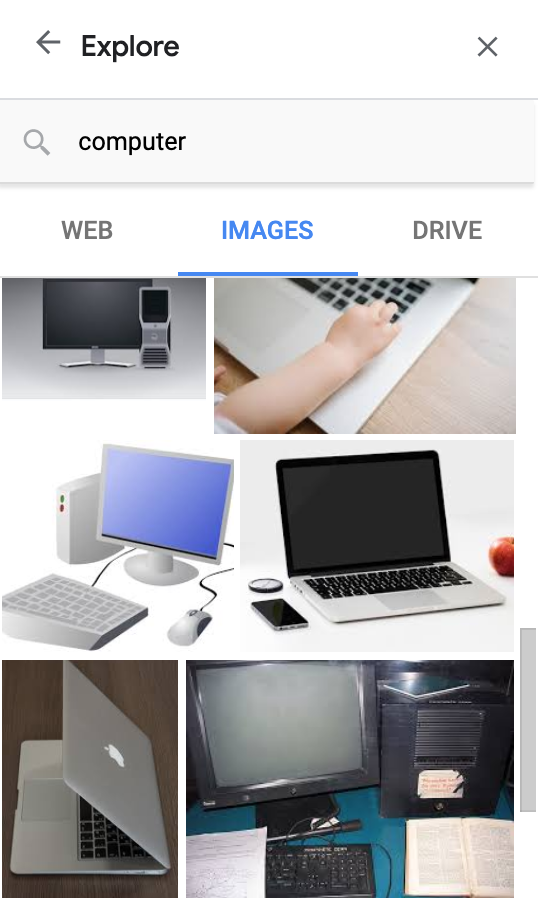
The Explore tool which is great for adding images (among other things). Click on the Explore button in the bottom right of the screen, or go to Tools > Explore and open up the side panel.

Use the search box in the Explore pane to enter a key word or sentence, then choose images. Look for the image you want and just drag it from the side panel onto the page, you can resize it once it is on the page. All the images found through Explore are from Google Images and are labelled as available for reuse.
Collaborating on Slides
Both students should work together on the slides on different computers. What key things do we need to remember when we’re working on a collaborative document with someone else? Remind them to stick to working on different slides and to respect each others work. They should not remove or change anyone's work without their permission. This is about working well together as a team.
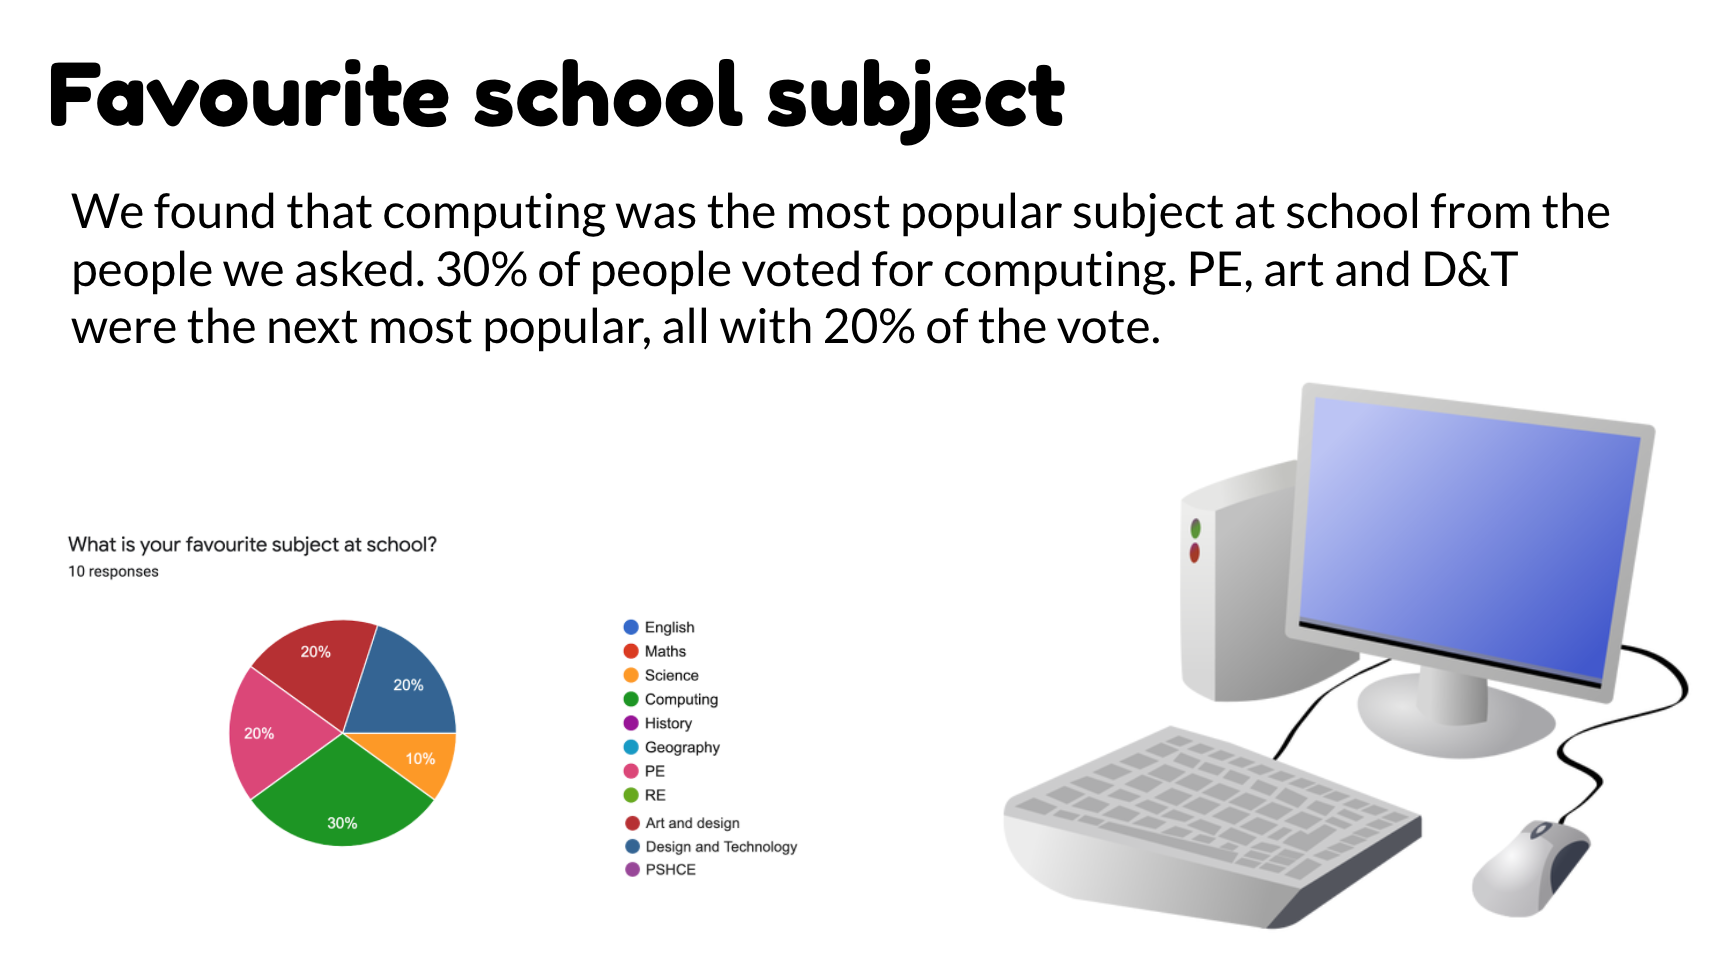
They should create a title slide and then a slide for each question they asked. Each slide needs a title to show what it's about and a sentence to explain what they found. They might also add an image to illustrate the category or findings, or even the graph of results from their Form.
If they open the Form from last week from their Google Drive, go to the Responses tab and find the correct graph. Then click the copy chart icon in the corner of the question section.
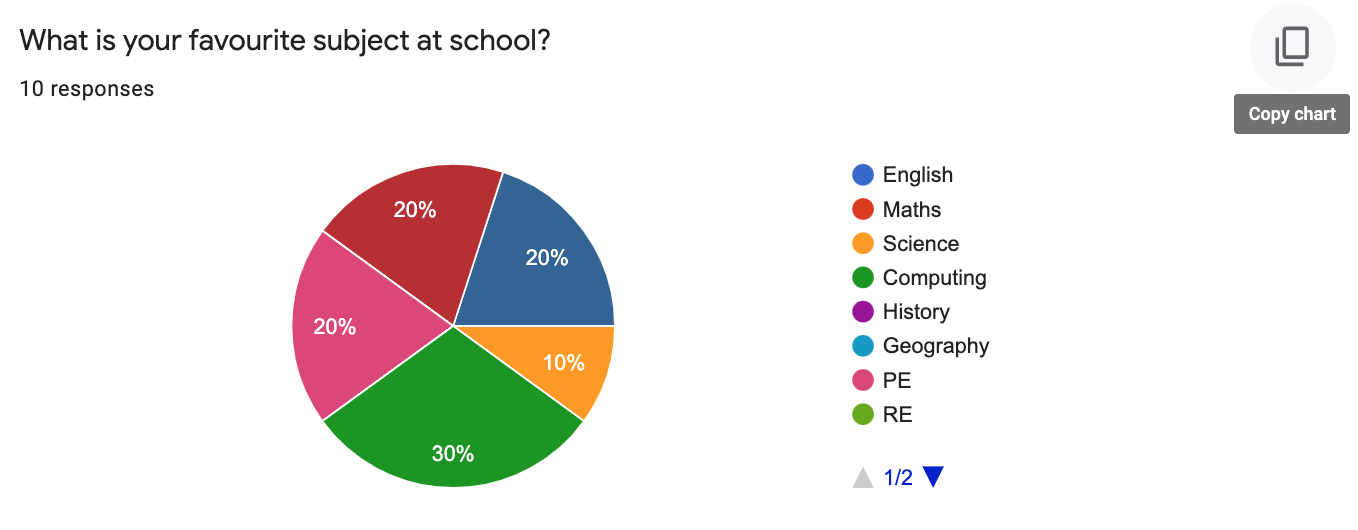
Then return to their Slides tab and paste the chart onto the slide by going to Edit > Paste or by pressing Ctrl + V on the keyboard.
The students should take two questions (and slides) each and whoever finishes those first can add the title slide at the beginning.
Plenary
Ask some volunteers to share their slides briefly, explaining what they found. Ask did you work well together? Did you split up the workload well? Did you find using the collaborative tools easy in Slides? Why/why not? Would it have been easier with more people working on the same presentation?