
Objectives
- Analyse a video game and explain how it works
- Use sequence, selection, and repetition in programs;
- Use X and Y coordinates effectively to control a sprite’s movement
Presentation
Resources
Scratch v1.4
Scratch 2.0
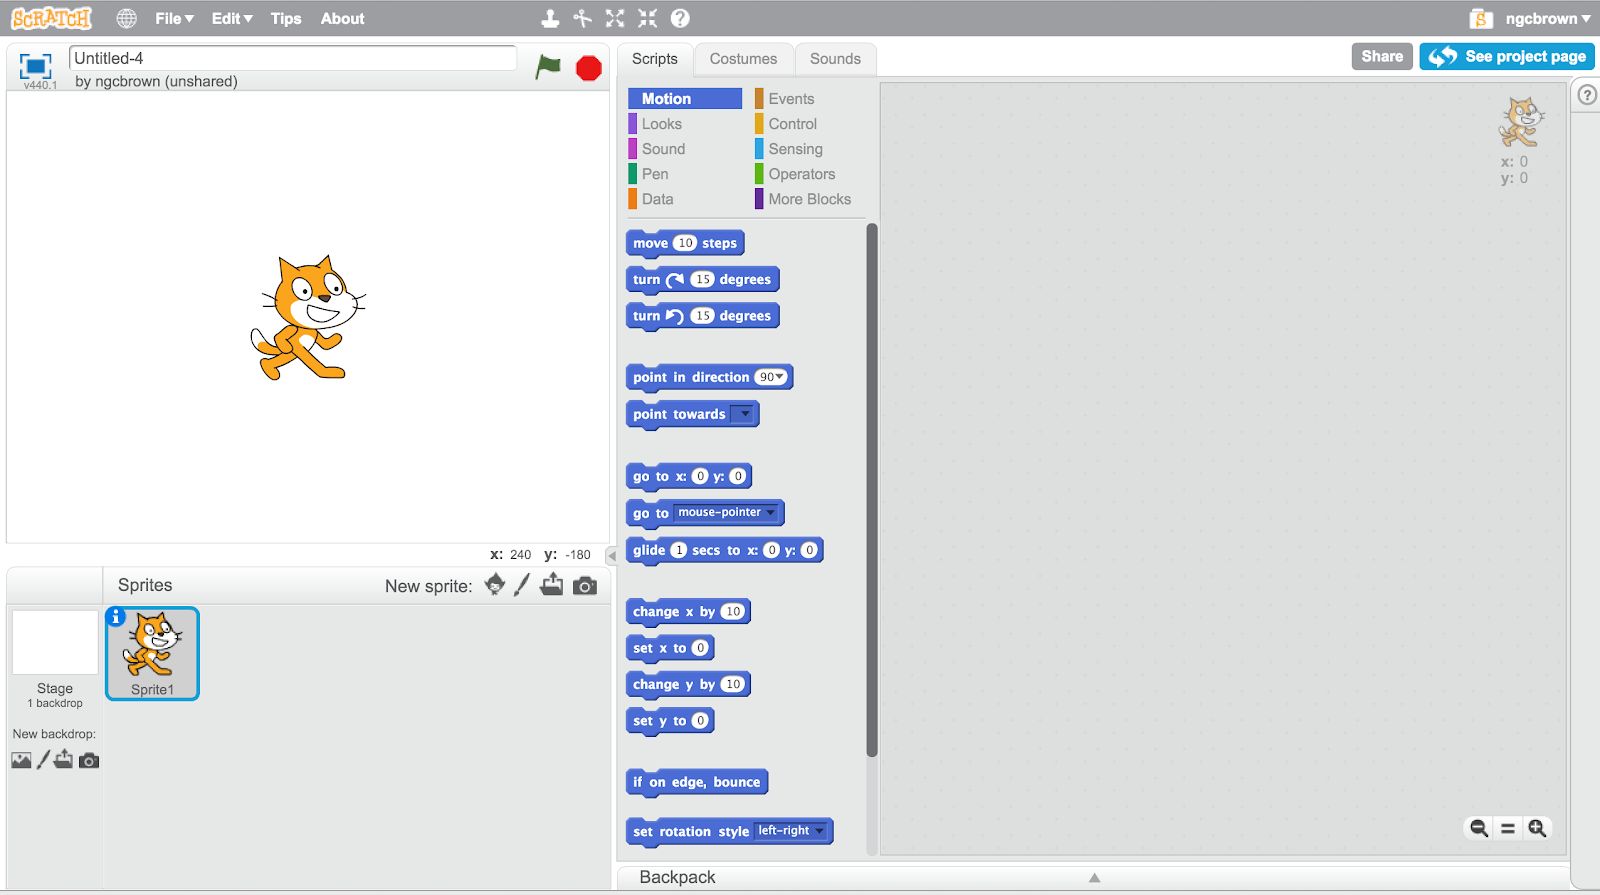
All screenshots and explanations in this plan relate to the online version of Scratch; version 2.0. Although everything is achievable with version 1.4 as well.
It is suggested that you get your students to create a free account on Scratch 2 if you are going to use that version. This gives them an autosave (always useful!) and allows easy sharing of projects. You can follow your pupils as users to see their projects easily, plus you can create ‘studios’ for them to all add their projects to. You can also add projects for them to ‘remix’ and see all their work online.
However, you can also use Scratch 2 without creating accounts, you can save your work locally to your computer from the file menu (‘download to my computer’) and open it back up in the next lesson from the same place (‘upload from my computer’).
Begin by discussing Pac-man, Show the students the video below if they are unfamiliar with the game or need to refresh their memory. what do you know about the game? How does it work? What is the aim of the game? How do the different characters work? What rules do they follow?
Key points are:
- We control Pac-man with the arrow keys
- He can only move in straight lines (no diagonals)
- He can’t go through walls
- If you touch the baddies he loses a life
- He must collect the pac points and try to clear the maze
- There are bonus items to collect
- The baddies move in straight lines (no diagonals)
- The baddies are AIs (artificially intelligent - not controlled by the player)
- The baddies cannot go through walls
- The baddies do not collect items in the maze
- In the original, the baddies are coded to behave differently, some more aggressive than others
- There are ‘secret passages’ that let you leave the maze on one side and enter again on the other.
The Maze
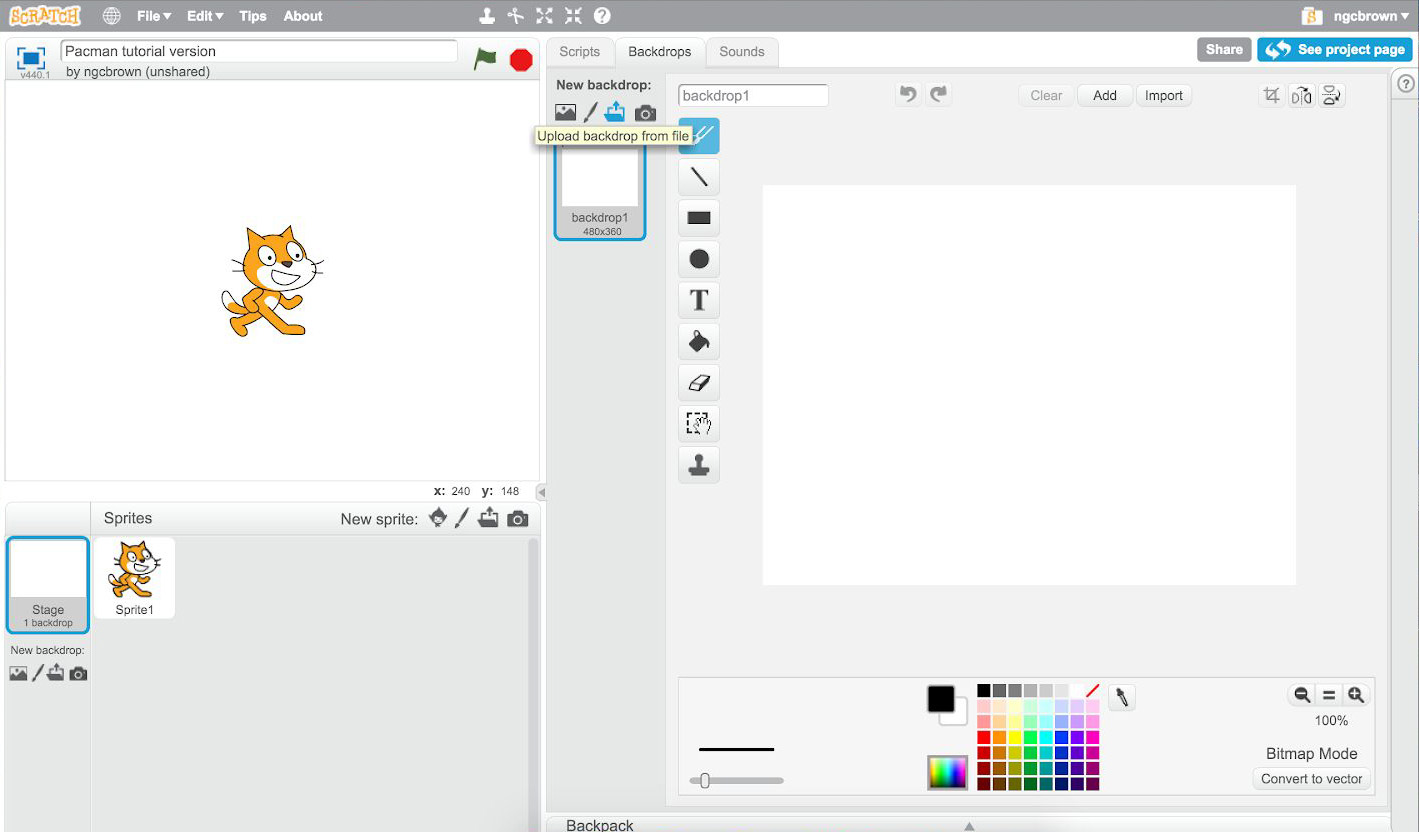
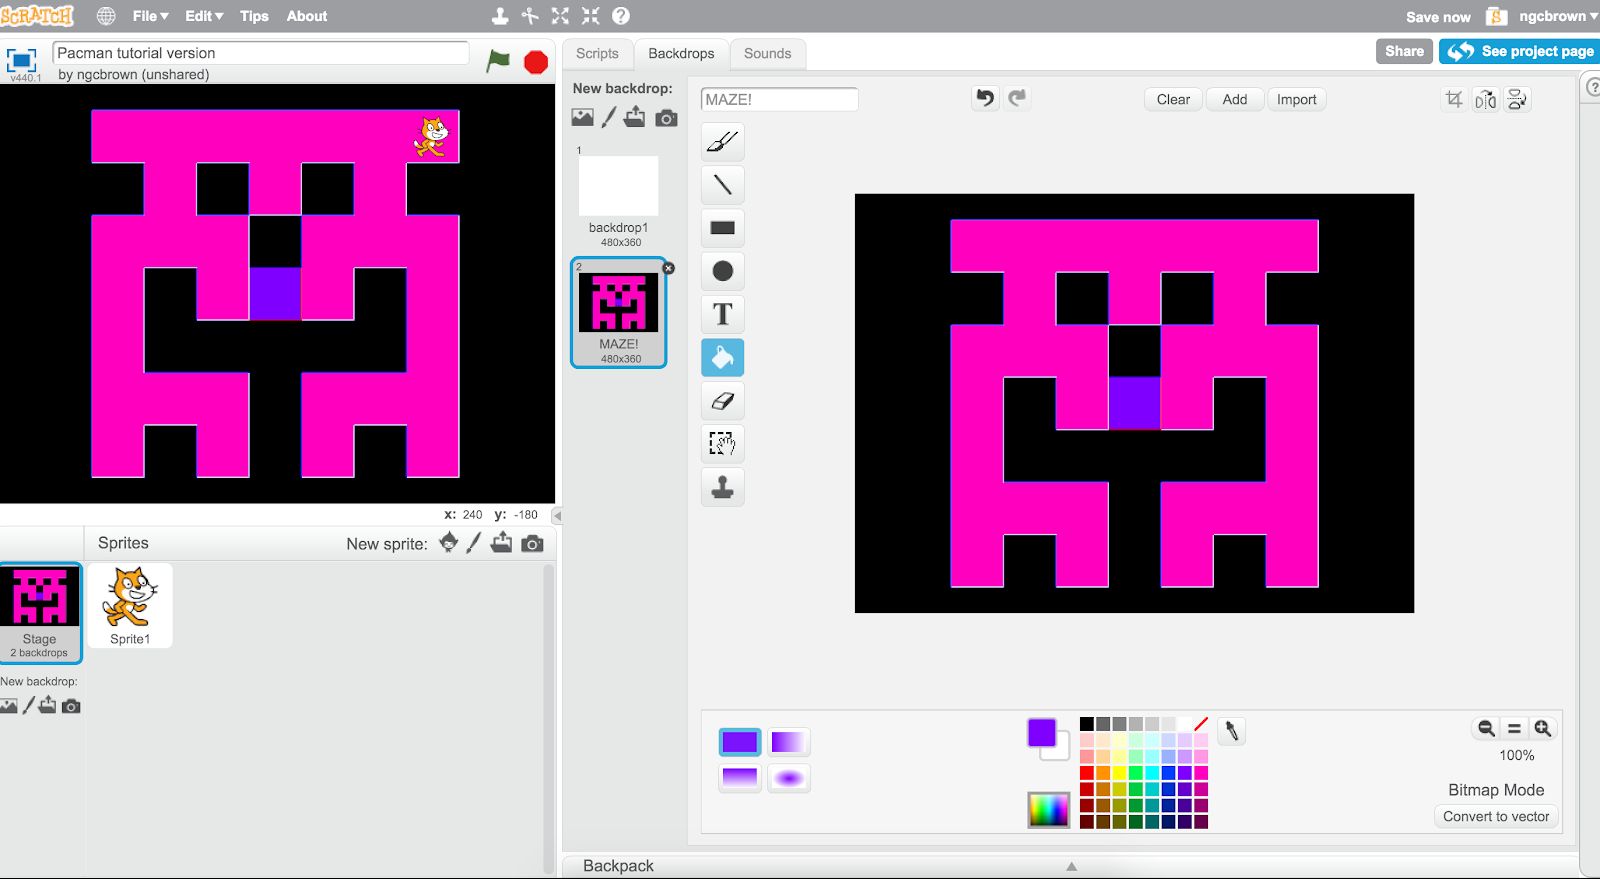
Explain that we are going to make a version of this game with Scratch. We’ll begin by creating our maze. Demonstrate how to import the maze background (available to download in the resources folder) by going to Stage > Backdrops and the folder icon :

The imported maze will become your stage (background):
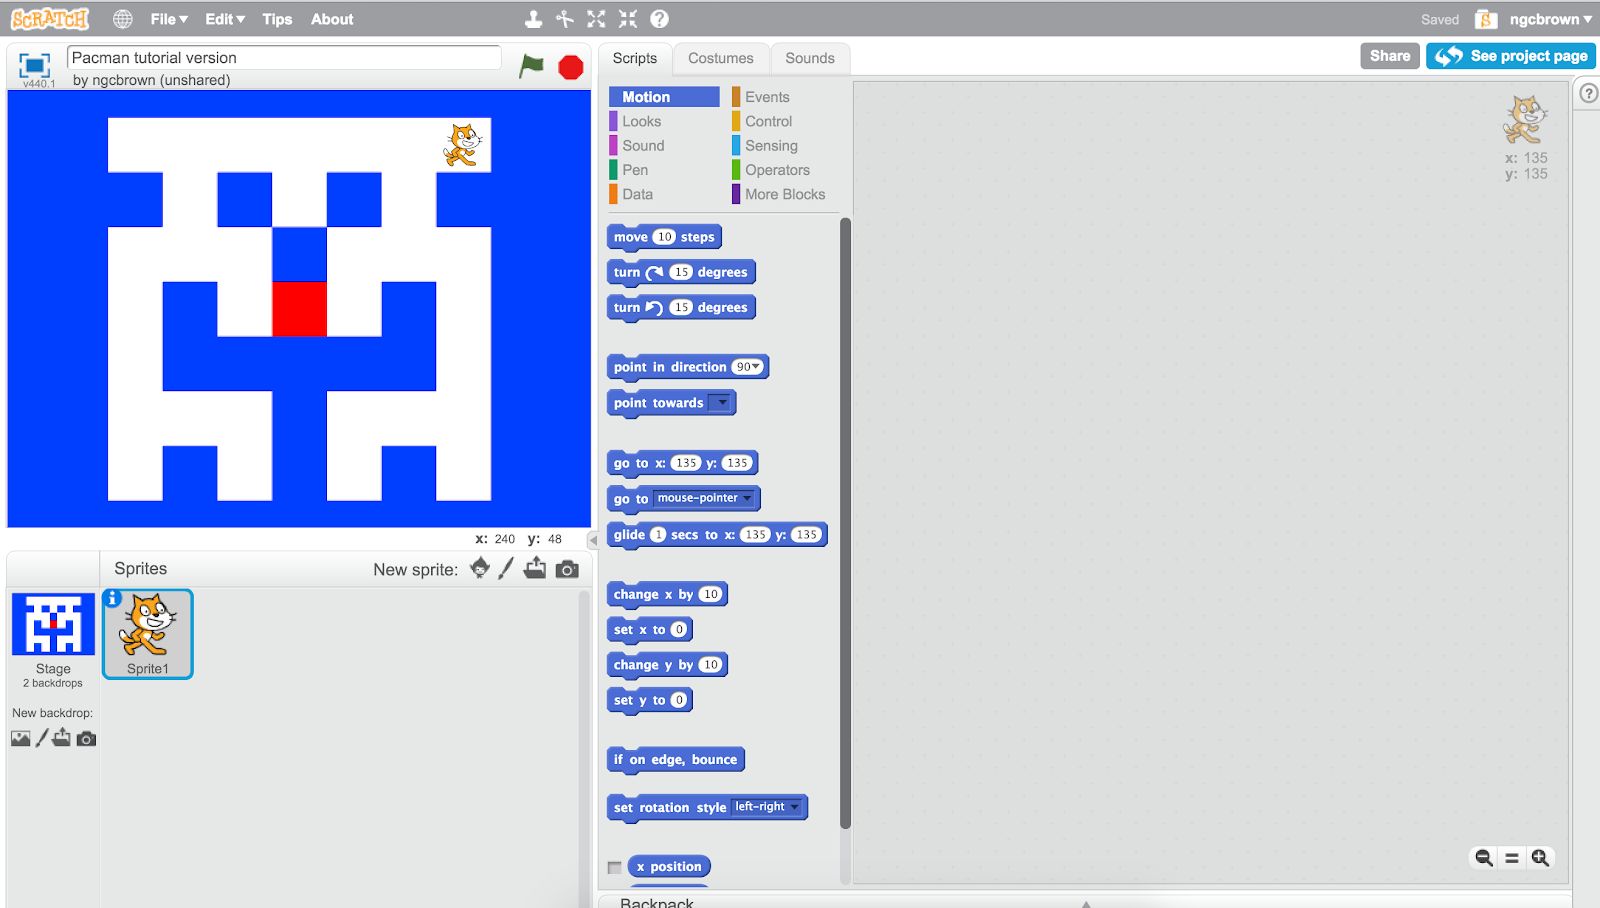
Students may want to recolour the maze using the fill tool in the stage editor on the right hand side of the screen. However, It is vital that there are always three colours on the maze : the walls, the path and the start square. Students SHOULD NOT change the layout of the maze or colour any walls with a fade effect . All colours used must be solid colours. All parts that are initially blue are walls and must remain the same colour (whatever you choose that to be) as the rest of the walls. The red square is the start square and it’s colour can be changed, but must be a different colour from the walls and path.
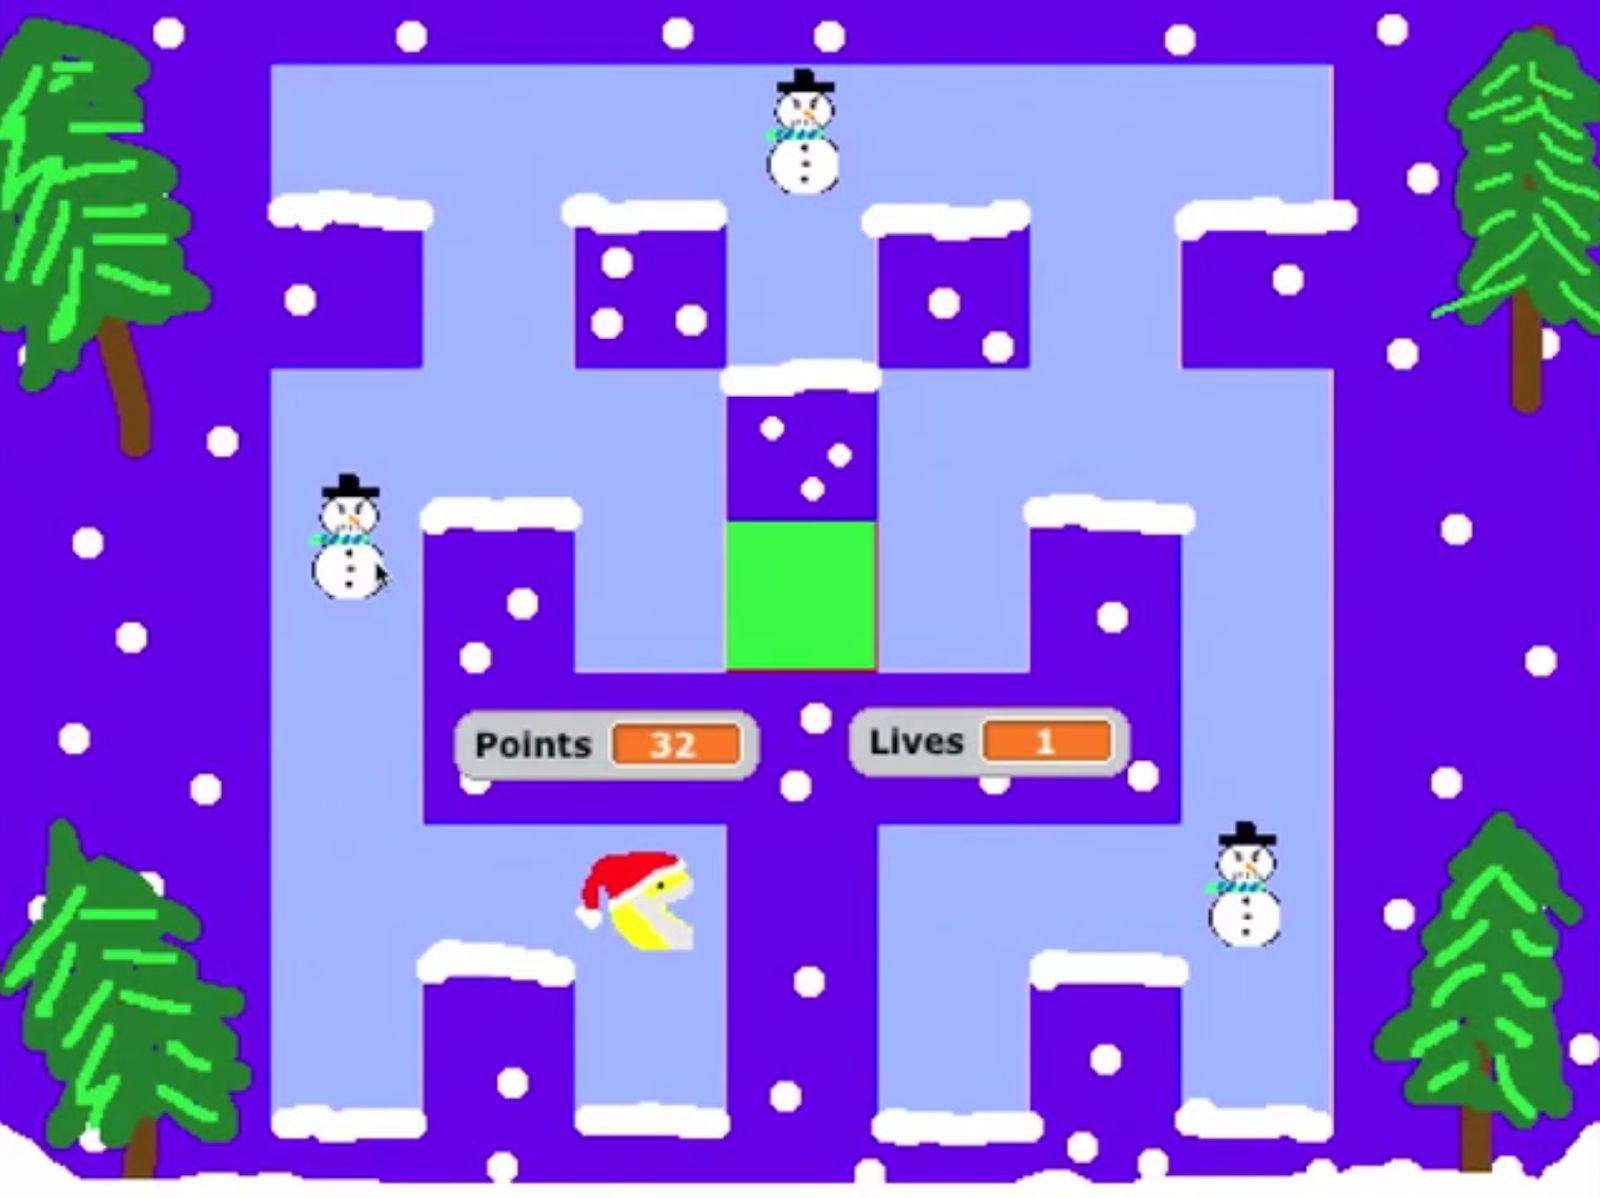
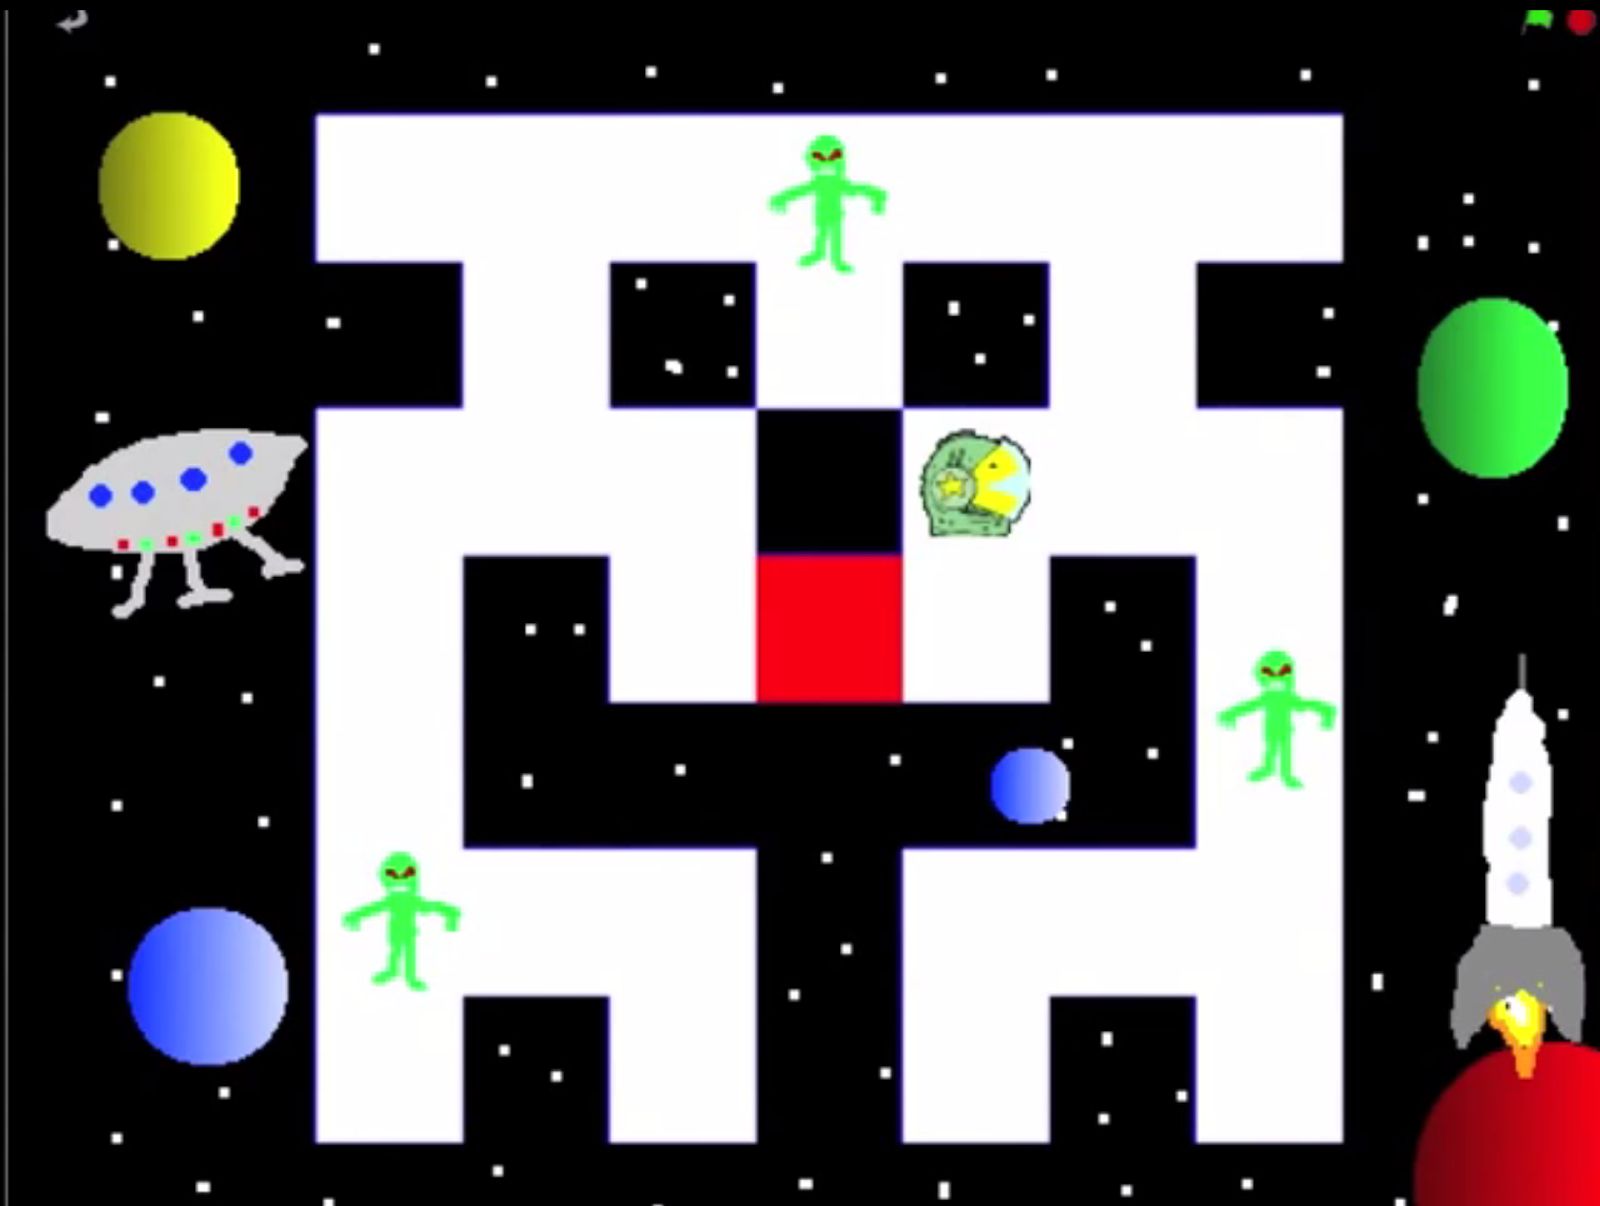
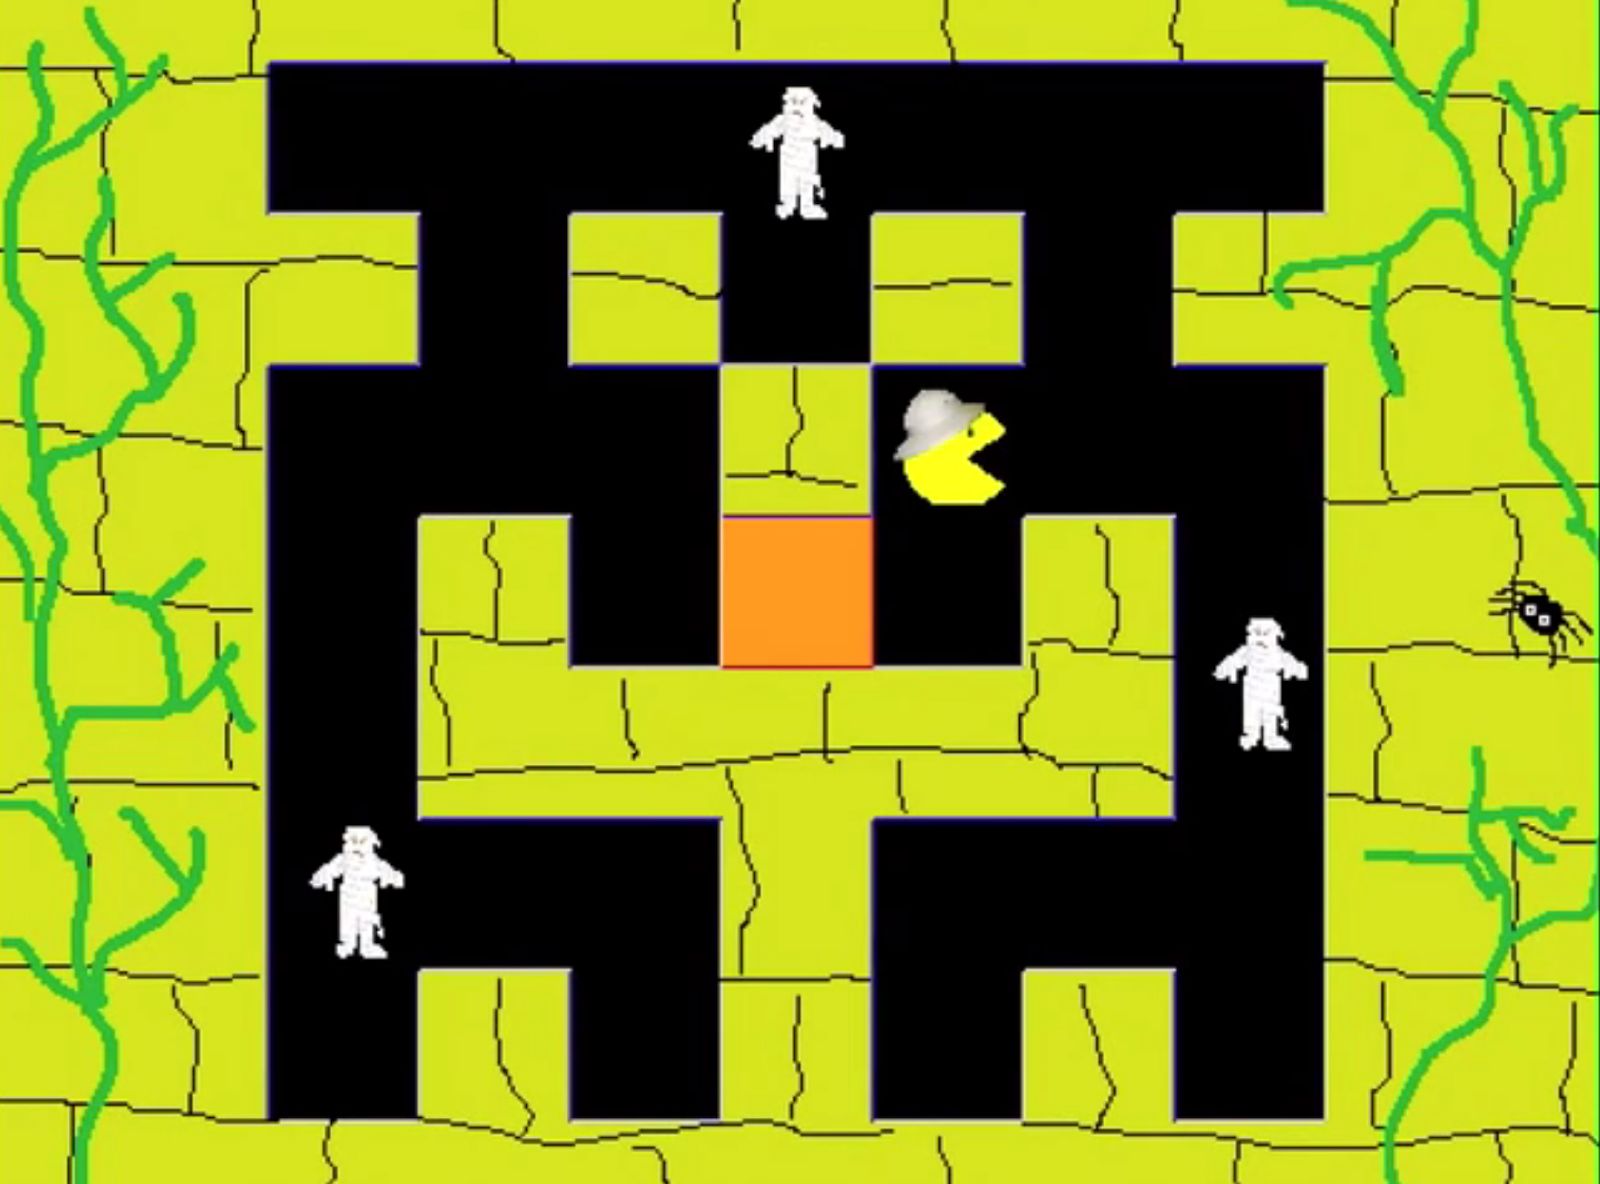
You may also want to add a theme to your Pac-man games and decorate the maze (and later the characters) accordingly. Take a look at these examples:
Christmas theme
Space theme
Egyptians theme
Healthy eating theme
Baddies
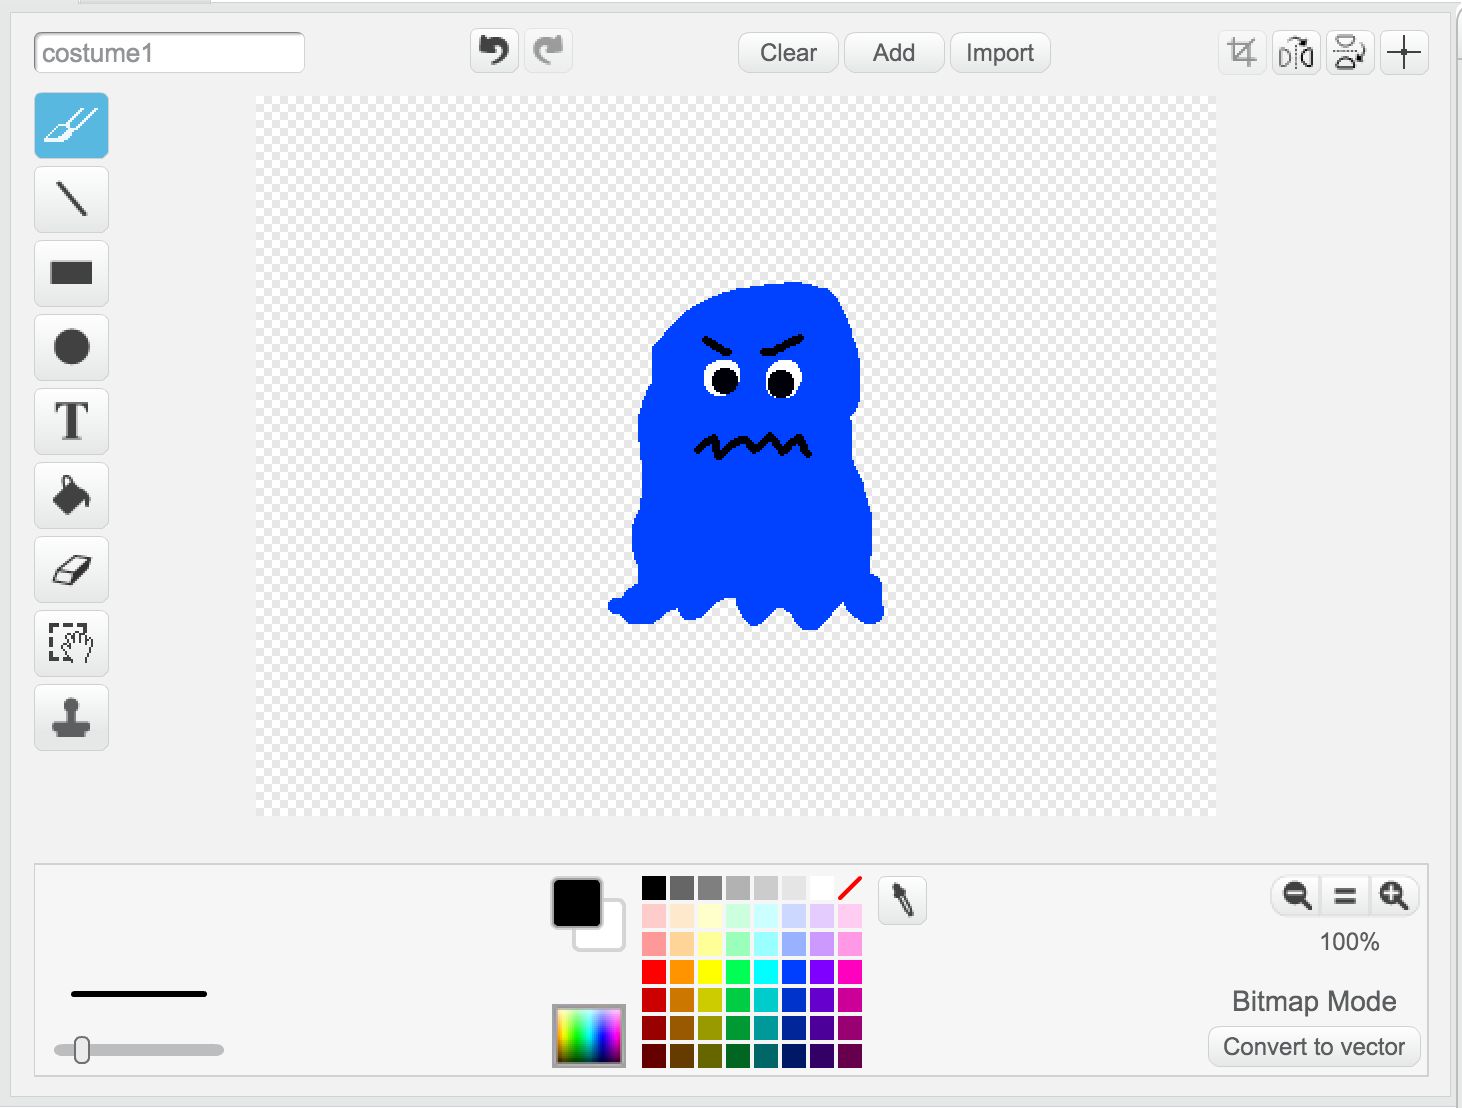
The first character we’ll add is one of the baddies. In the original game these were ghosts, but your students don’t necessarily need to stick to the original characters, if you are making a Pac-man game with a theme then draw your characters to match, e.g. Space and aliens for baddies, jungle and tigers for baddies, healthy eating and sweets or fizzy drinks for baddies, under the sea and sharks for baddies. If you haven’t already, delete the Scratch cat sprite by right clicking it. Then create a new sprite with the paintbrush icon:
Shrink Sprite
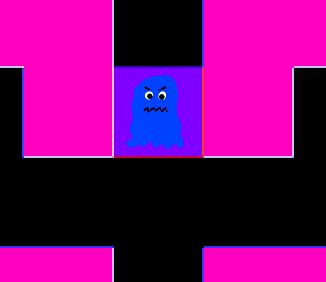
When students have created their baddie they need to shrink it down so that it fits inside the centre square in the maze, with colour visible all around the sprite.

Correct baddie size
Coordinates
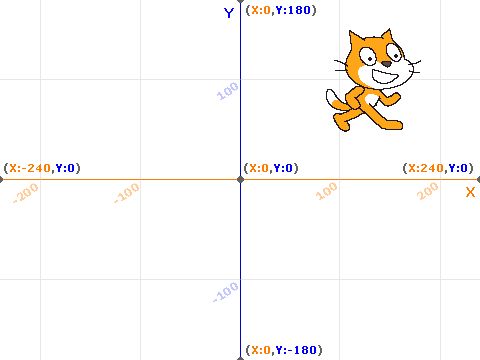
What is a coordinate? Explore your students’ knowledge of coordinates based upon what they have studied in maths, they may well have experienced using them in other contexts as well, most likely maps or perhaps the game of battleships. They describe the position of something on a grid, and are used commonly in video games to code where a sprite should be in the game. In a 2D game (and in the Scratch environment) this is done with a four quadrant coordinate grid like the one below, (0,0) being the centre of the screen:
3D video games, like Minecraft or Kodu games also use coordinates but add a third (Z) axis to describe the depth position on the screen, in addition to the horizontal and vertical positions, so a coordinate might look like this (124, 87, -89).
Coordinate Blocks
There are several blocks in Scratch that relate to coordinates and they can all be found in the motion category. If X is the horizontal position and Y is the vertical position, what do you think these block will do to a sprite?

Jumps the sprite to a set position

Glides the sprite across the screen to a set position

Changes the horizontal position of a sprite by an set amount

Changes the vertical position of a sprite by an set amount

Fixes the horizontal position of the sprite to a set number

Fixes the vertical position of the sprite to a set number
Which of these blocks could we use to make the baddie (a) jump to a start position and then (b) move around the maze?
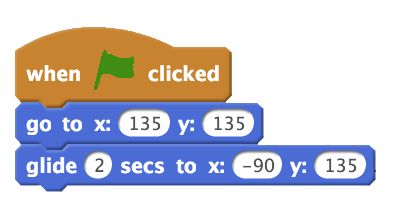
Show the students the maze with coordinates sheet (it’s easier if students can see this on paper in front of them). This shows the coordinates of all the path squares in the maze that we are using. Add a flag block and a ‘go to’ block to set where the baddie sprite starts when the game begins, this should be one of the four corners of the maze . From the start position ask where could we send the sprite to from here? In our example the baddie starts in the top right (x=135, y=135)
From there, there are four realistic positions that the baddie can move to travelling in a straight line (which it must), these are labelled A, B C and D on the maze below. We can send the baddie to one of these by adding a ‘glide’ block, this one sends it to position C on the maze below.
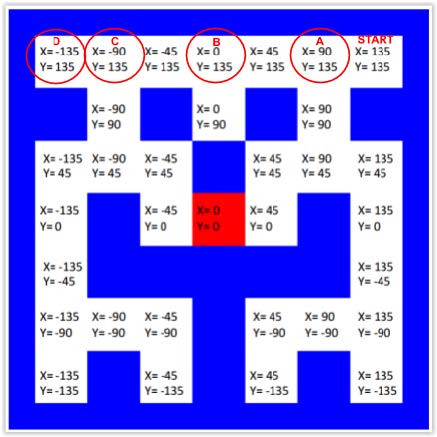
From here, we continue adding more glide blocks that send the baddie around the maze, always referring to the coordinate sheet so we enter precise coordinates.
Emphasise the need to be careful with the negative numbers and how important these are, as X = 103 and X = -103 are completely different places on the maze. The baddie should always travel in straight lines, never passing through walls, and eventually ending up back where it started , like the code shown here.
It doesn’t need to travel through every square on the maze, but should cover a reasonable amount of it. Once the route is complete and tested, the students can add a Forever tile around the glide blocks only, this will re-start the baddie on it’s path when it gets back to it’s start position (and is the reason that it must finish where it started).
If students complete their first baddie, they can begin on their second baddie character. The first baddie can be duplicated (by right-clicking it). The students can either leave the baddies looking the same, or recolour the second baddie by using the fill tool. Then delete the code on baddie 2 (that is a duplicate of baddie 1) and begin the process again, making the second baddie start in a different corner to the first baddie, and follow a different route around the maze.
Review the process so far, what have we added to our game? What is working? What have you had trouble with? How did you solve any problems you had? What do we need to do next?
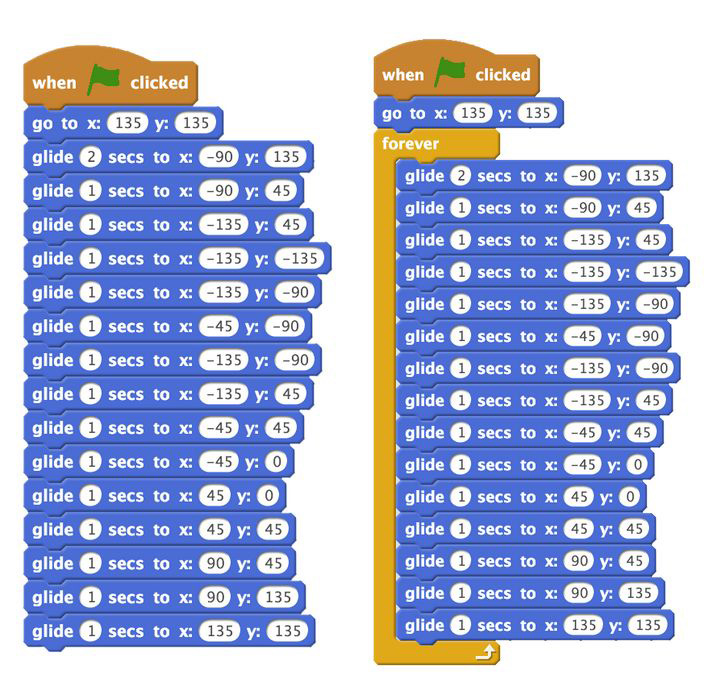
Only add the forever tile once the route is complete and tested