
Getting started; making pictures move
An Introduction to Animation - Lesson 1
Objectives
- To understand that animation is a collection of still images to make moving images.
- To create a simple 2D animation
Lesson Resources
Lesson 1 - Getting Stated: Making Pictures Move
Lesson 2 - 2Animate Advanced tools
Lesson 3 - Adding details
Lesson 4 - Stop Motion Fun
Lesson 5 - Fantastic Figures 1
Lesson 6 - Fantastic Figures 2
Introduction
What is animation? Discuss with the children what animation is and look at some examples they might be familiar with. Have a look at the video on the BBC Bitesize page in section 2 (there’s a link in the Teacher’s presentation), look at some different examples of types of animation (all in the teacher presentation):
- Flip books - an image is drawn at the edge of a notebook page. The page is turned and the image is redrawn with a slight movement to a character or object. This could be their position on the page or part of it moving.
- 2D Animation - Still common today with many cartoons, however, today most are created with computers. The example in the presentation is Disney’s ‘Steamboat Willie’ (1928), a very early Mickey Mouse cartoon. It was a hand drawn animation and credited by some as the first cartoon with synchronised sound.
- Stop-frame animation - Real objects or models are physically manipulated (rather that drawings) Photos of each movement taken. Famous examples are ‘Morph’, ‘Wallace and Gromit’ and ‘Shaun the Sheep’. Aardman Animation brought stop-frame animation back into the mainstream with some of these characters. Full length stop-motion pictures include Aardman’s ‘Wallace and Gromit: Curse of the Were-Rabbit’, ‘Fantastic Mr Fox’ and Tim Burton’s ‘Corpse Bride’ and ‘The Nightmare before Christmas’.
- 3D Animation - Very typical of modern animated films. Pixar lead the way with Toy Story being the first CGI feature-length animation. Created using complex computer software that allow manipulation of virtual 3D objects and characters, sometimes mapped to the movements of real human actors. Levels of detail and realism have improved as computing power has increased. The example in the presentation is ‘Despicable Me 2’ (2013).
These kinds of animation are all created in slightly different ways, but they all have one thing in common, making still images appear to move. When lots of frames are run together it tricks our eyes into thinking the object or character is moving. At this point refer to the lesson objectives with the students. Over the next few weeks we are going to have a go at different kinds of animating.
Main task
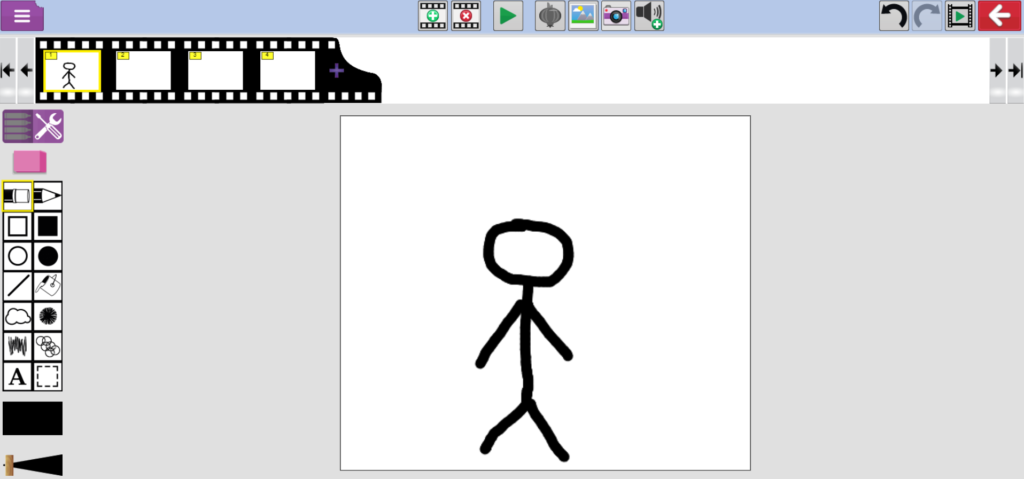
Introduce 2Animate to the class, which is part of Purple Mash. Go to Tools > Art and Design > 2Animate.

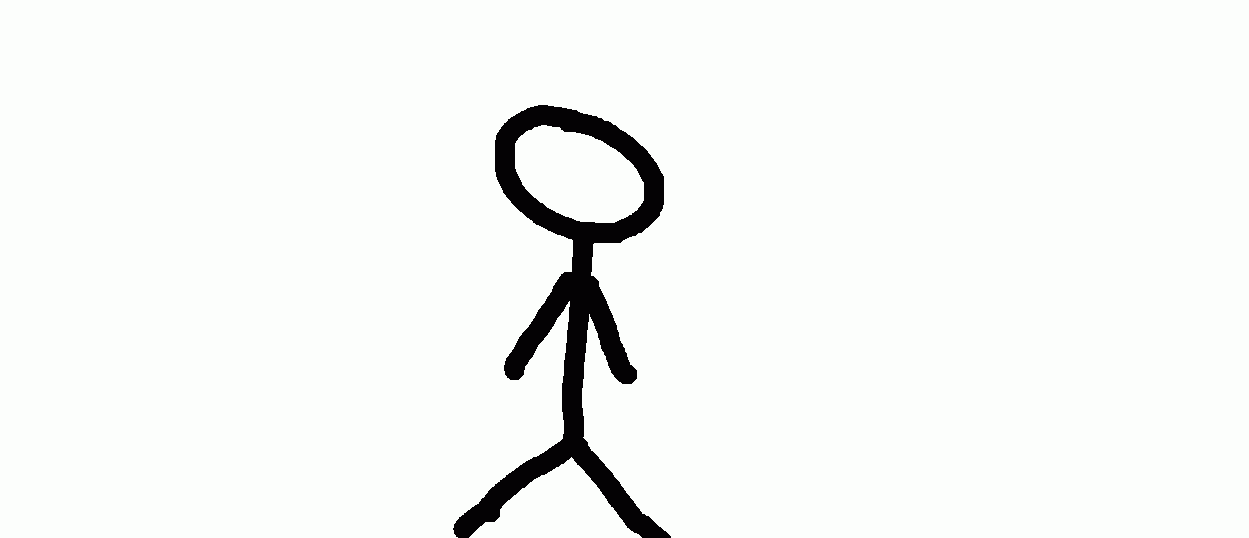
Explain that this is a type of 2D animation (like the Mickey mouse cartoon). Discuss what frames are and how a number of frames together can make a moving image. Practice making an object (ball, stick man, bird etc) move across the screen by drawing it, then in the next frame drawing it again in a slightly different place. Should we make this drawing really detailed? Why? Keeping the object really simple makes it much quicker and easier to draw in each frame. Look at how to get get smooth movements by only making small changes to the position of the object in each frame.
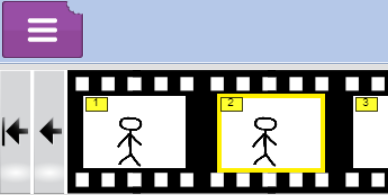
Add a couple of extra frames so that you have 6 frames. This can be done with the green + Frame button at the top of the screen.

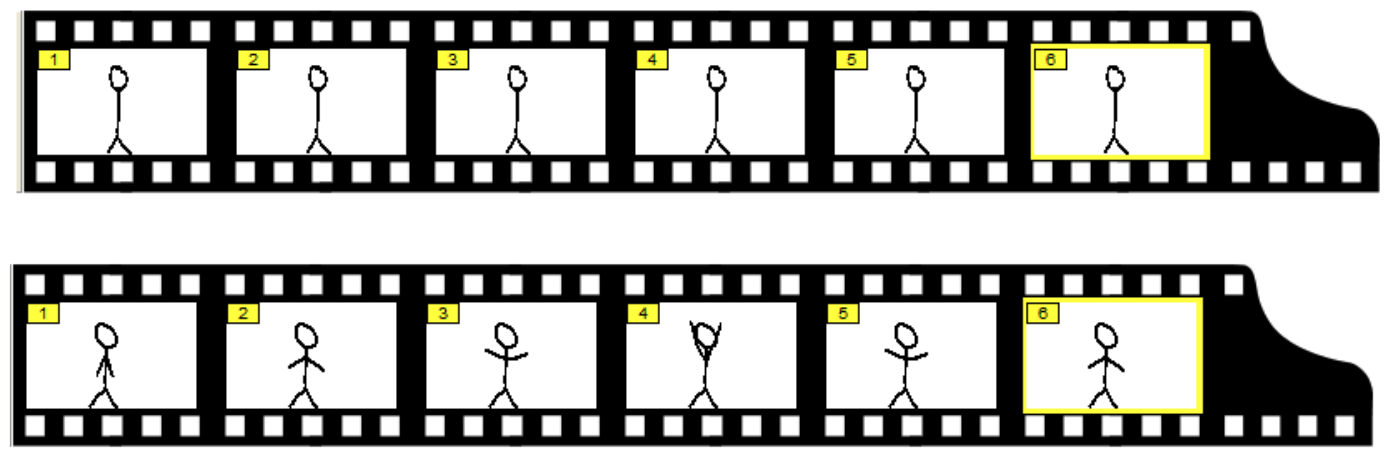
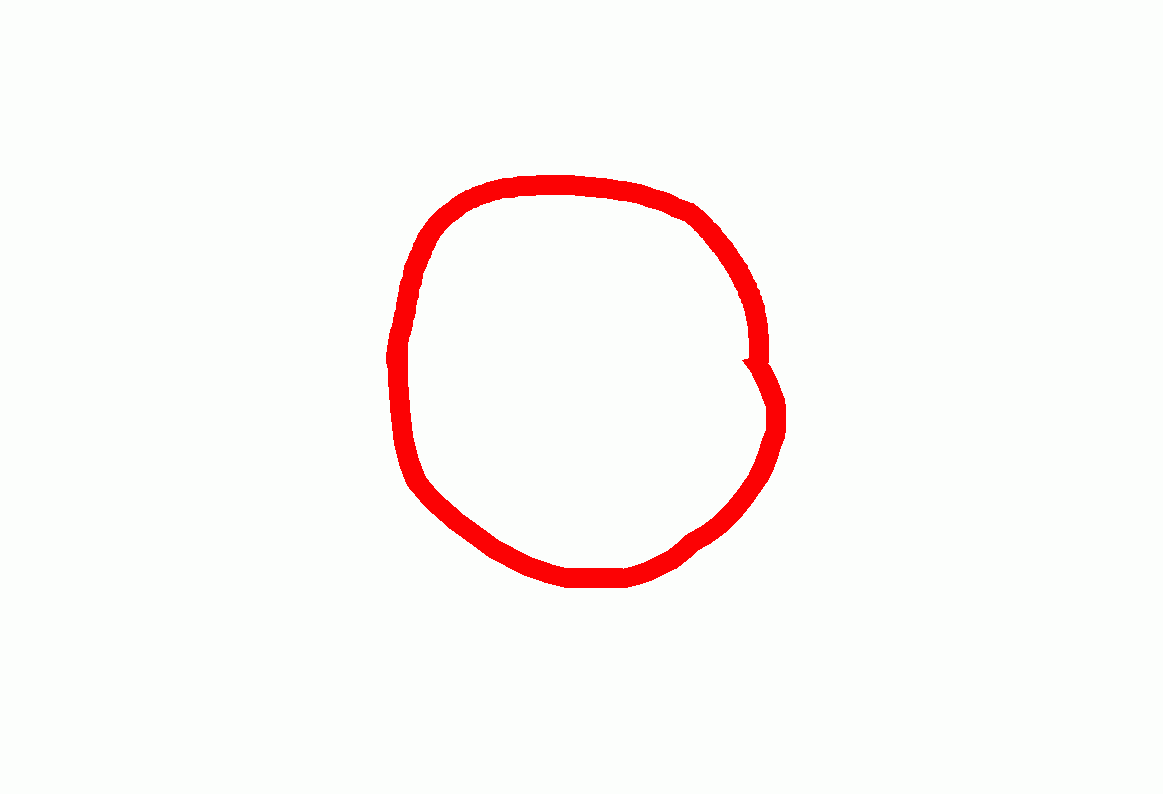
Draw a simple circle (ball) moving from one corner, up in the air and across the screen to the opposite side, a bit like this.
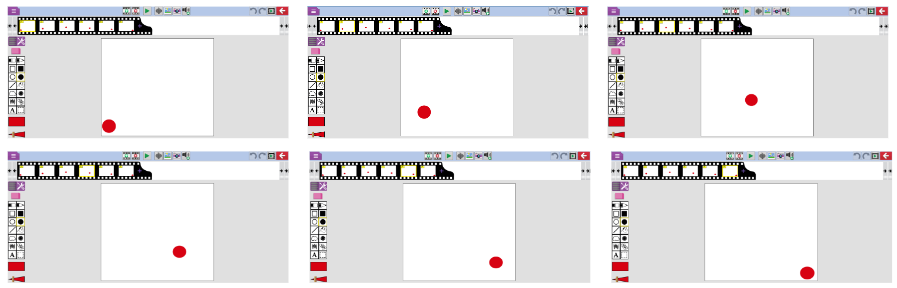
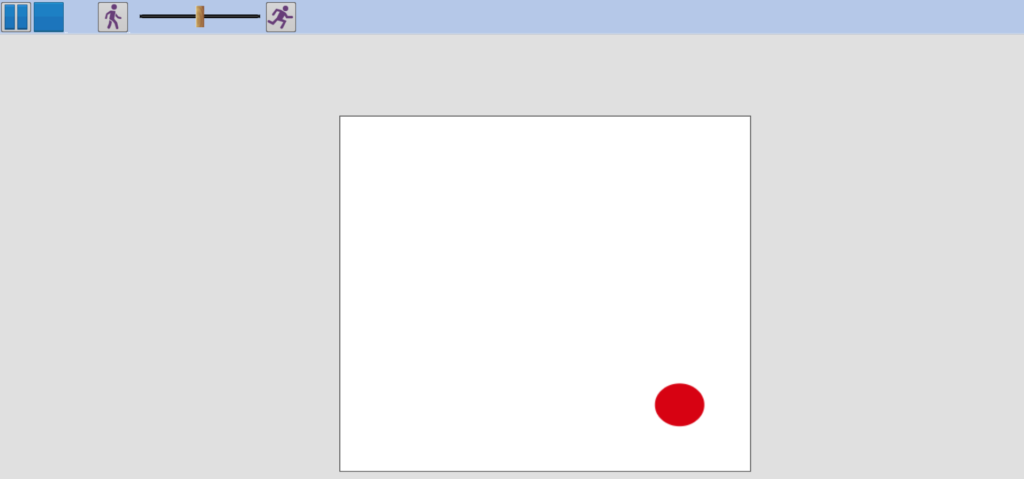
When your six frames are completed, watch your animation back by clicking the green play triangle at the top of the screen. Once it is playing you can adjust the speed of the animation by adjusting the slider in the top left of the screen. Press the blue square to return to the animating.
Next show how you can also drag a completed frame into the next empty frame to copy it. You can then make changes with your rubber and pens to the parts of the picture that need to move.

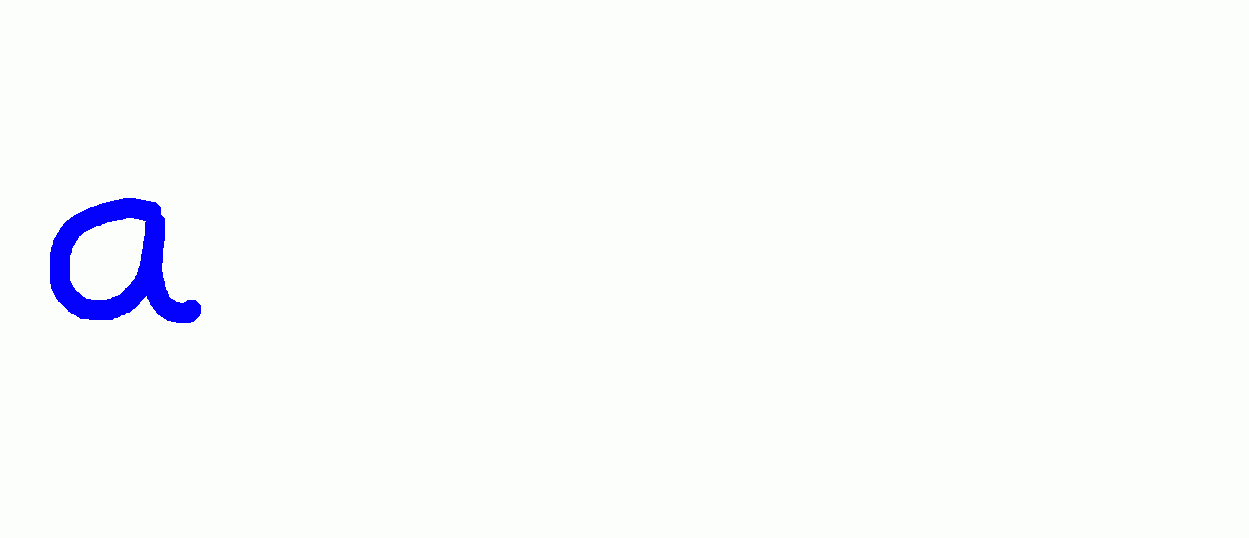
Discuss how sometimes this will save time, other times it may be faster to just draw it again from scratch. You could also draw the main part of the picture, copy it to all the frames and then just add the bit that will move to each frame, like this:


You don’t always have to draw the full picture to begin with. You may want to animate an image or word appearing. Use the ‘drag and copy’ feature to animate a face or stick character appearing on the screen, starting with just the face outline or stick body and adding to the face or body in each frame.

Children can also experiment with words and pictures, adding extra letters or features with each frame.

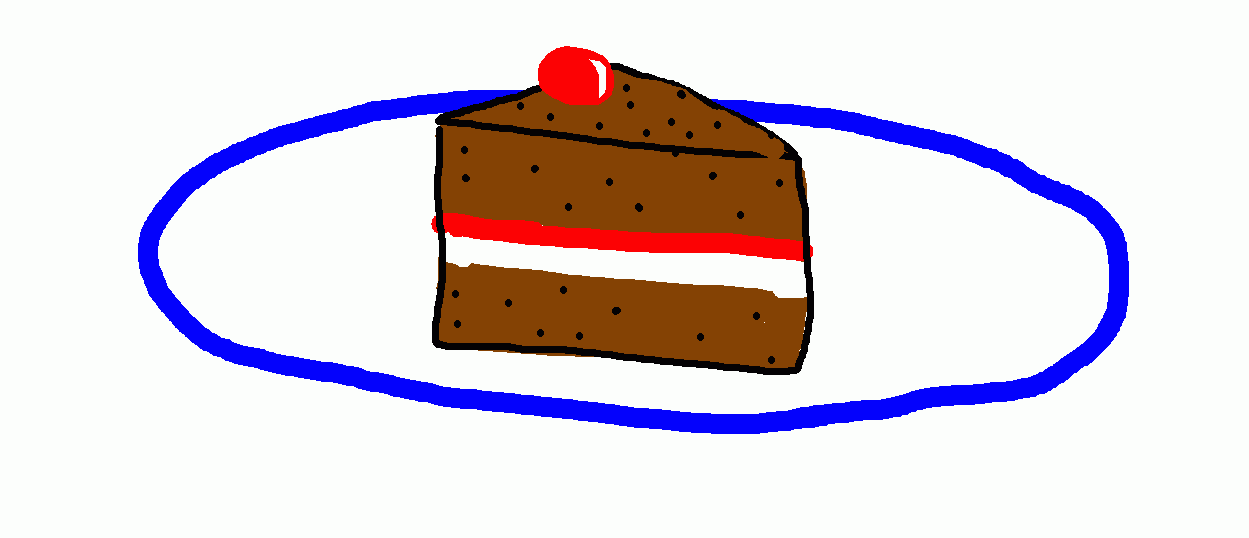
They might also want to animate an object disappearing. In the first frame draw a simple sandwich or cake on a plate, copy it to frame 2 and rub some out in a bite shape, continue this until the last frame is just the plate on it’s own (with maybe some crumbs left behind!)

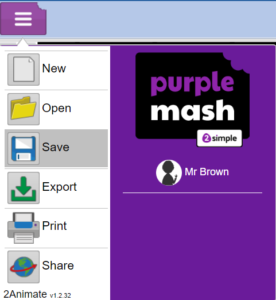
You can save the animations in two ways. Firstly, you can save normally into their 'My work' or class folders on Purple Mash. Just select Save from the file menu, name the file and choose the save location.
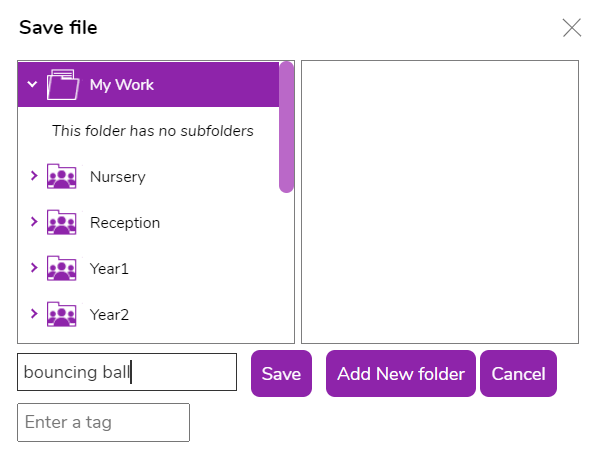
This method allows you to open it up again for editing in the future, so is the best option if you want to keep working on a project at a later time.
You can also export your file as an animated GIF file which allows it to be added to other documents or websites (like the moving examples above) and you can see the animation without needing any other special software. It will save at the speed you have it set it in the playback window, so consider this before saving!
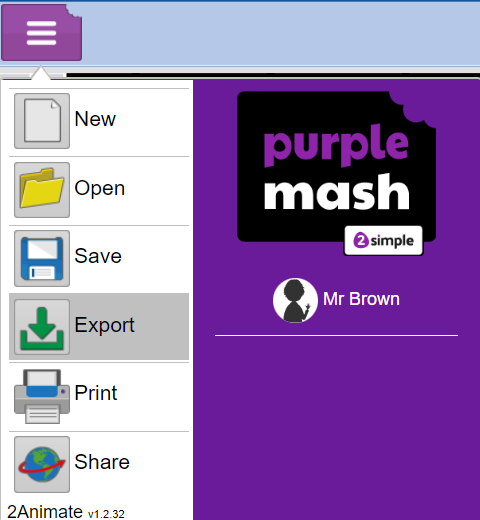
To save as an GIF file, choose Export from the file menu.
Click Download
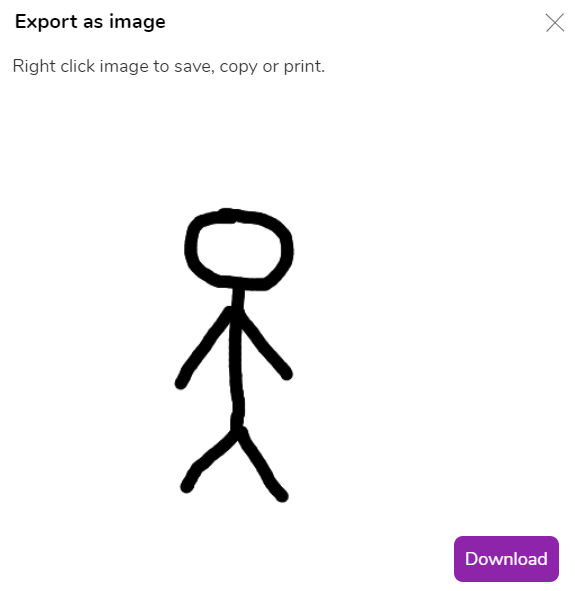
Then save your file to your chosen location as a GIF image file.

Plenary
Ask the class - What is animation? What is a frame? Can you explain to your partner how you created your animation today? Recap these main points with the children and explain that next lesson we will add some new tools that will help us make longer and more detailed animations more easily.