
Pointillism
An Introduction to Digital Art - Lesson 4
Objectives
- Use shape, line and colour to create a artistic style called Pointillism.
- Use different tools in a digital paint package for good effect.
- Talk about their use of a graphics package and their choice of tools.
Lesson Resources
Lesson 1 - Simple Tools
Lesson 2 - Symmetrical art
Lesson 3 - Impressionism
Lesson 4 - Pointillism
Lesson 5 - Modern art
Lesson 6 - Street art
Introduction - What is pointillism?
Pointillism is a style of art where pictures are created with dots, rather than brush strokes. Artists George Seurat and Paul Signac developed the technique in 1886. You can find out more HERE.
This video also explains it nicely and gives lots of examples, both classic and more modern. Stop the video at 2:30 as it goes on to give instruction on a pointillism paining project.
Look at some examples of pointillist art in the teacher lesson slides and what was particular about the style:
- Pictures created with dots, not brush strokes
- Colours blended together
- Sometimes when you step back you can’t see the dots
Colour contrast
The video talks about artists using contrasting colours, which may be a new term to the children. Ask if anyone can explain what it means if two colours contrast.
Contrasting colours are colours where there is a strong visual difference between them.
This can be a big difference in light or strength of colour.
Black and white is the strongest colour contrast.
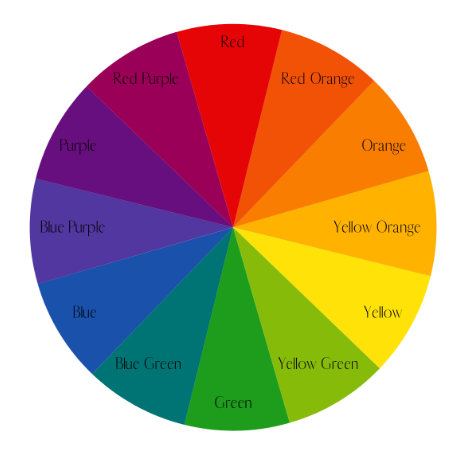
Show the colour wheel in the teacher slides and discuss how this can be used to find colours that go well together. The theory is that colours on the opposite side to the wheel generally contrast, but look good together. Colours close to each other on the wheel are closer in tone and can also go well.
Modern pointillism
The lesson slides show a variety of examples of pointillism, including some more modern examples and a fabulous pieces of art called 'Hero' by Miguel Endara. The video demonstrates how the piece was created with an ink pen in a pointillism style, and just how many dots were needed. Although we're not sure just how accurate the number is, there are certainly a lot of them!
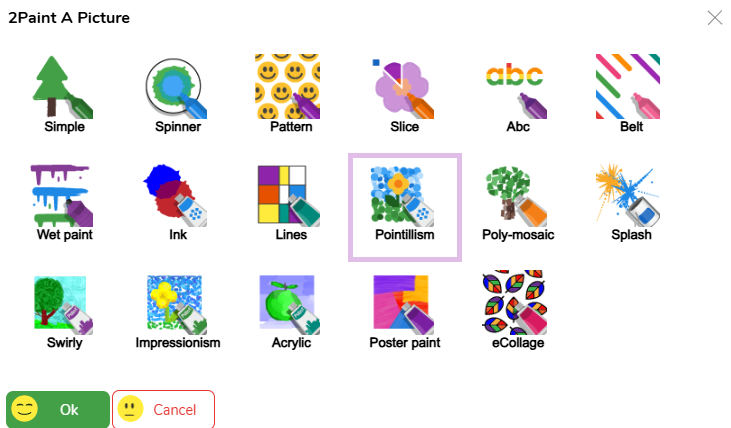
2Paint a Picture - Pointillism
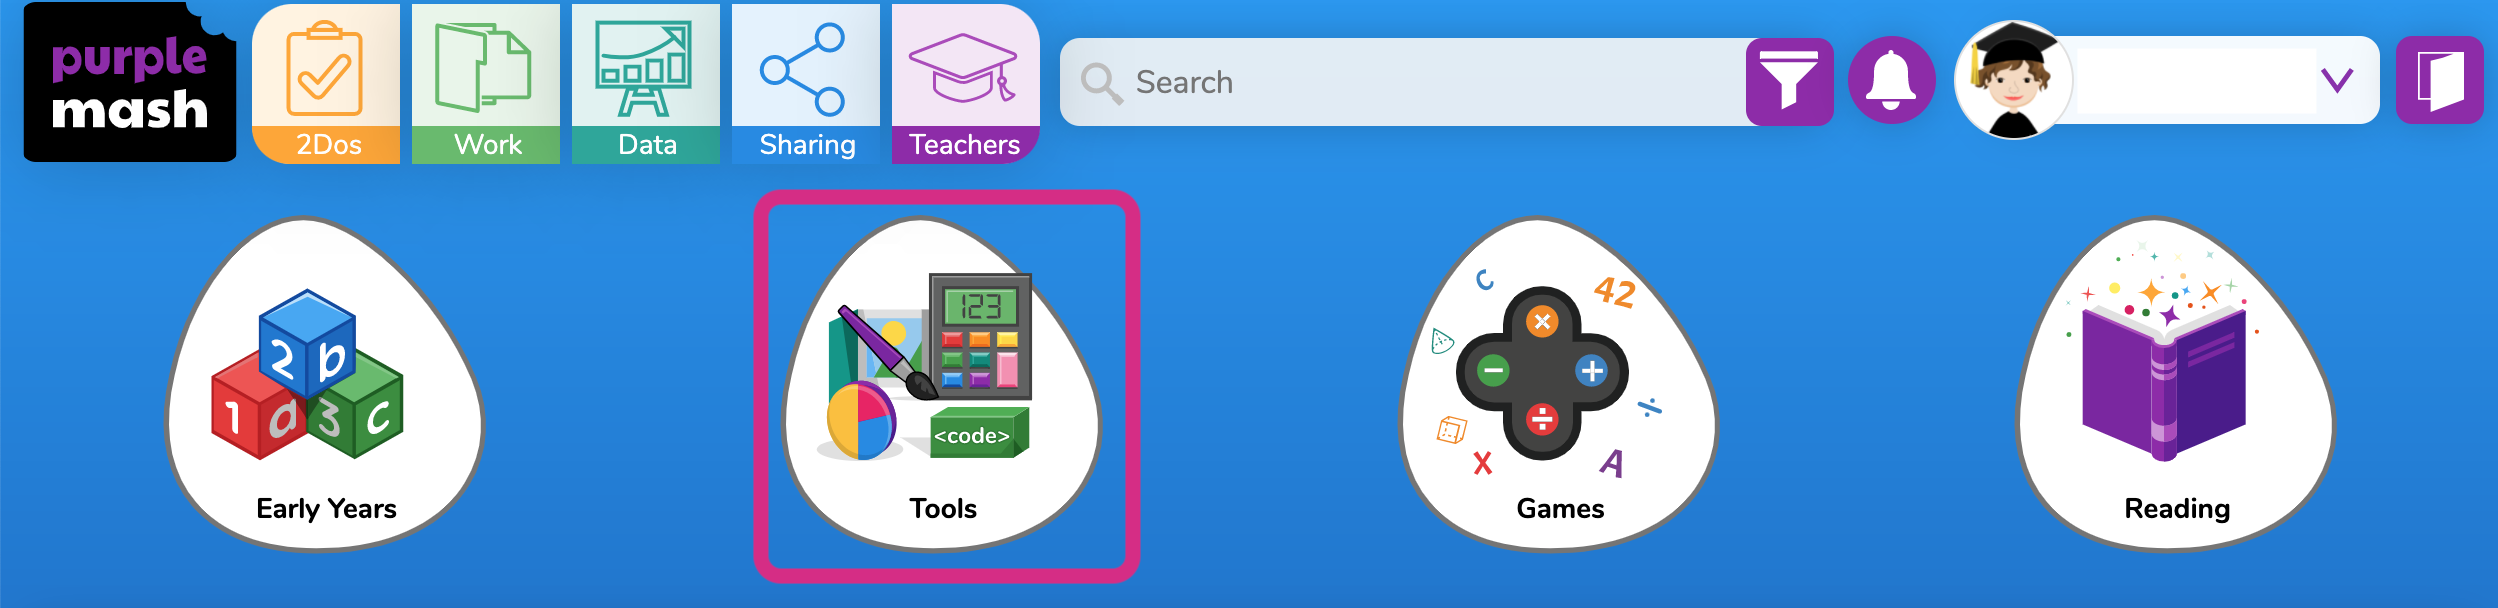
Open up Purple Mash and go to the Tools section > Art and Design and open 2Paint a Picture.
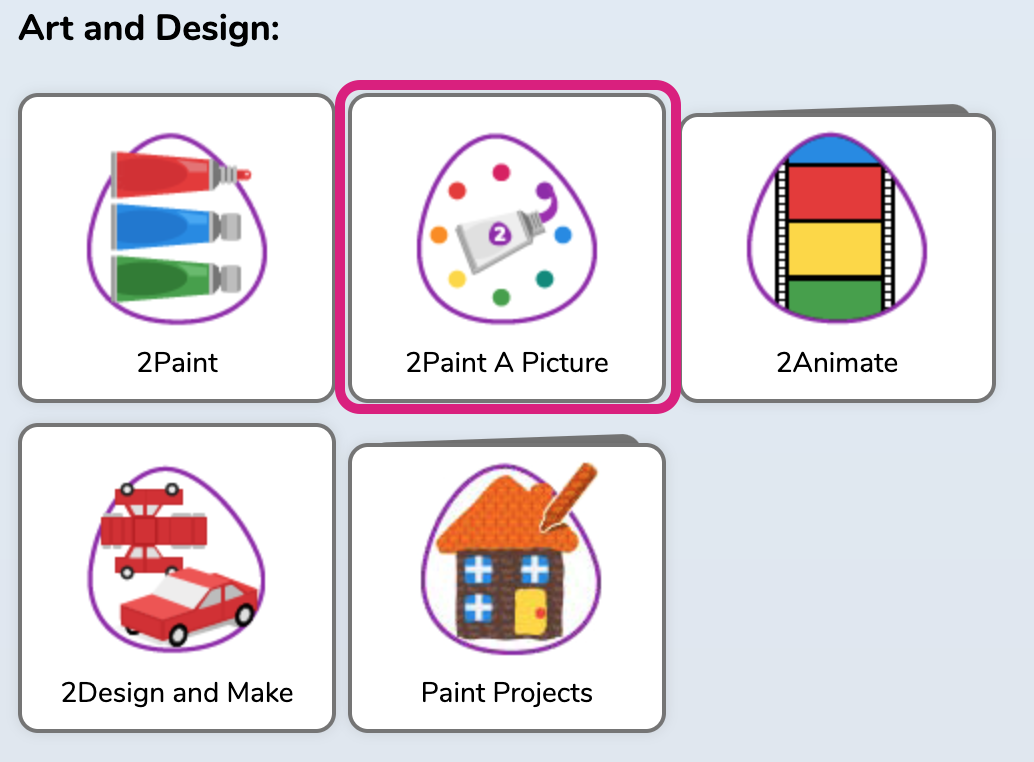
Open the Pointillism option.
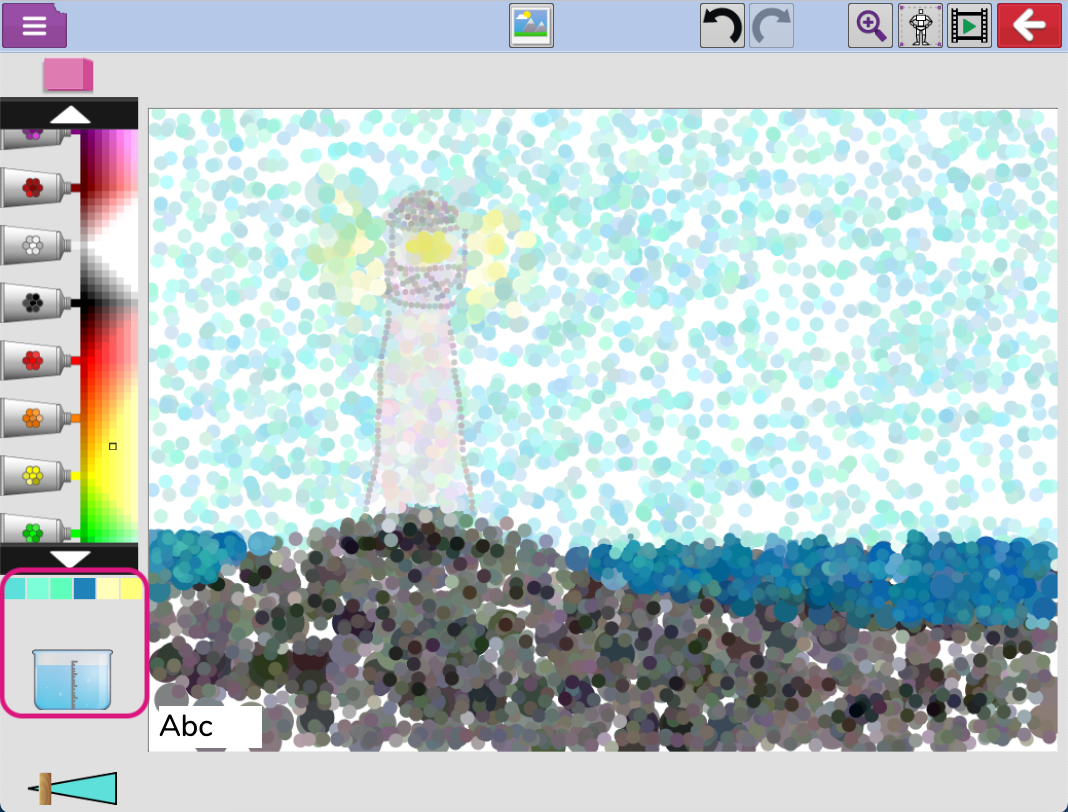
Show how it paints with dots. You can hold down the mouse button and it will keep adding dots. It also varies the shade of the colour you choose to improve the look of your work. You still have the water and colour memory option that we found in the impressionism tool.
Pointillism Task 1
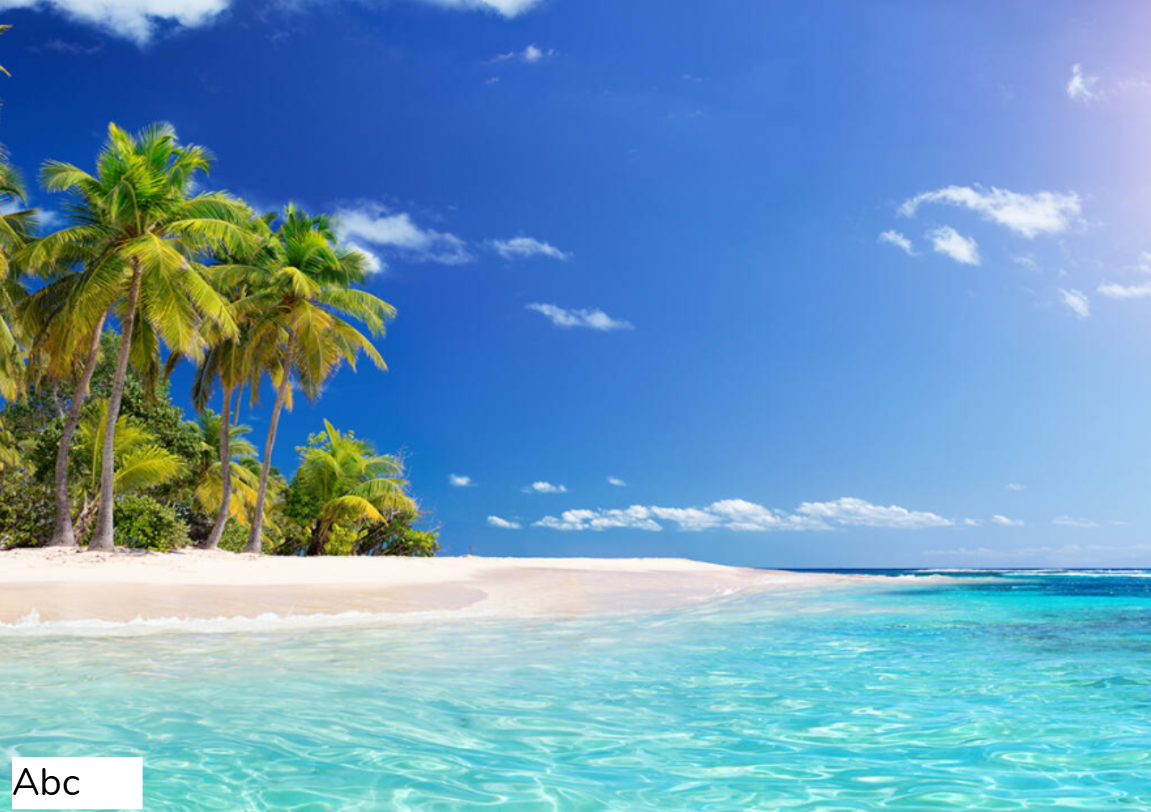
As in the last lesson, to help the children get started, they can start by adding a background image from Purple Mash to their page and then painting over the top of it. Get them to focus on choosing colours that closely match those in the photograph, using the correct size of brush for the part they are painting (large for backgrounds, smaller for detail) and using the water tool to soften or increase the vibrancy of the colours they are using.
To choose an image, click on the background button at the top of the screen.
Photos are generally better for this task, but some of the landscape illustrations that are available can also work well.
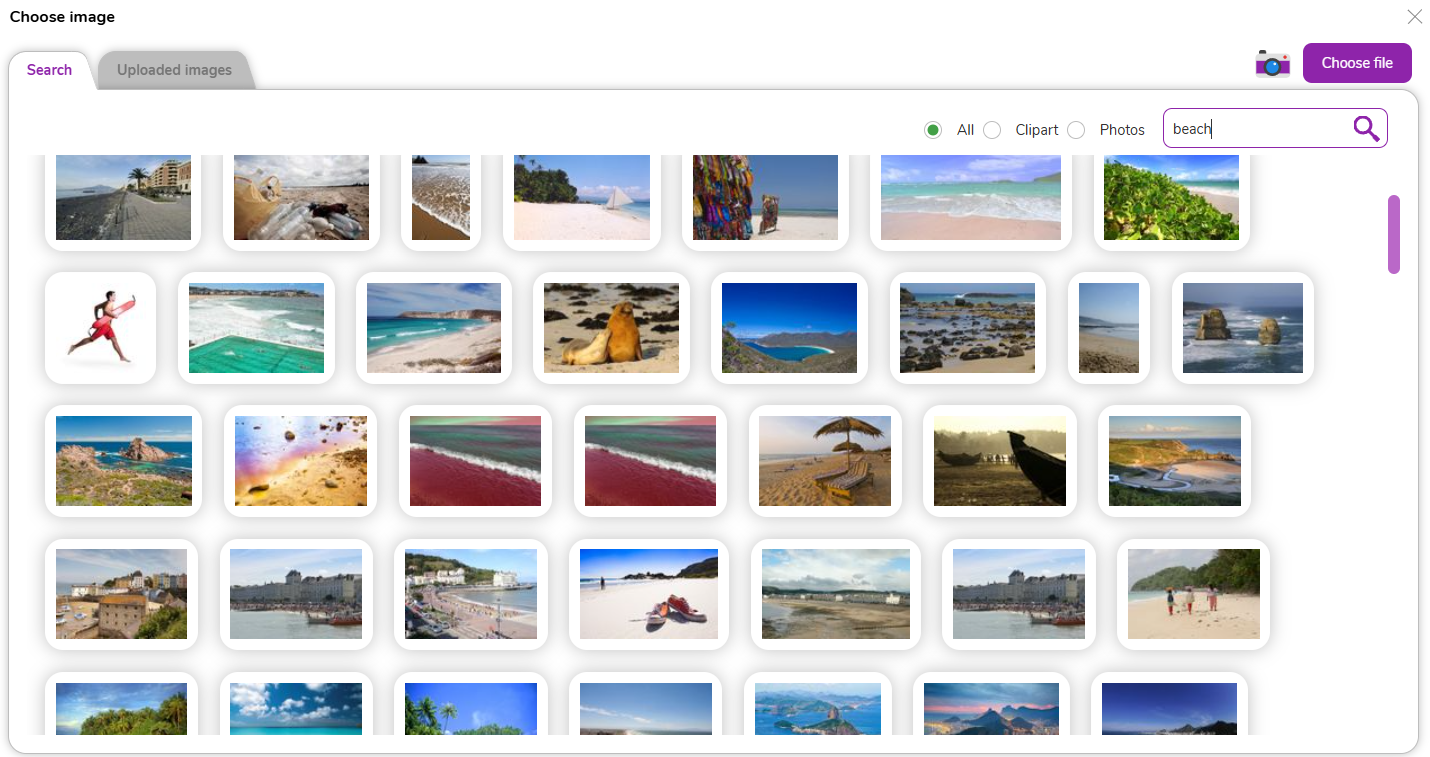
Select an image and it will be added to your page.
Demonstrate starting with the largest blocks of colour in the image and looking for the closest colours in the palette to match. Point out that things like the sky are rarely just one single shade of blue, but the pointillism tool will automatically blend a variety of shades of any colour together when you paint. Increasing the water helps by incorporating the original background colours of the image.
As you demonstrate, ask the class questions such as:
- Does this colour match?
- Should it be lighter or darker?
- Should I use a large or small brush for this part?
- Is it a pale or vivid colour?
- Should I adjust the water for this colour?
Gradually build up the picture by painting over the image with the pointillism brush.

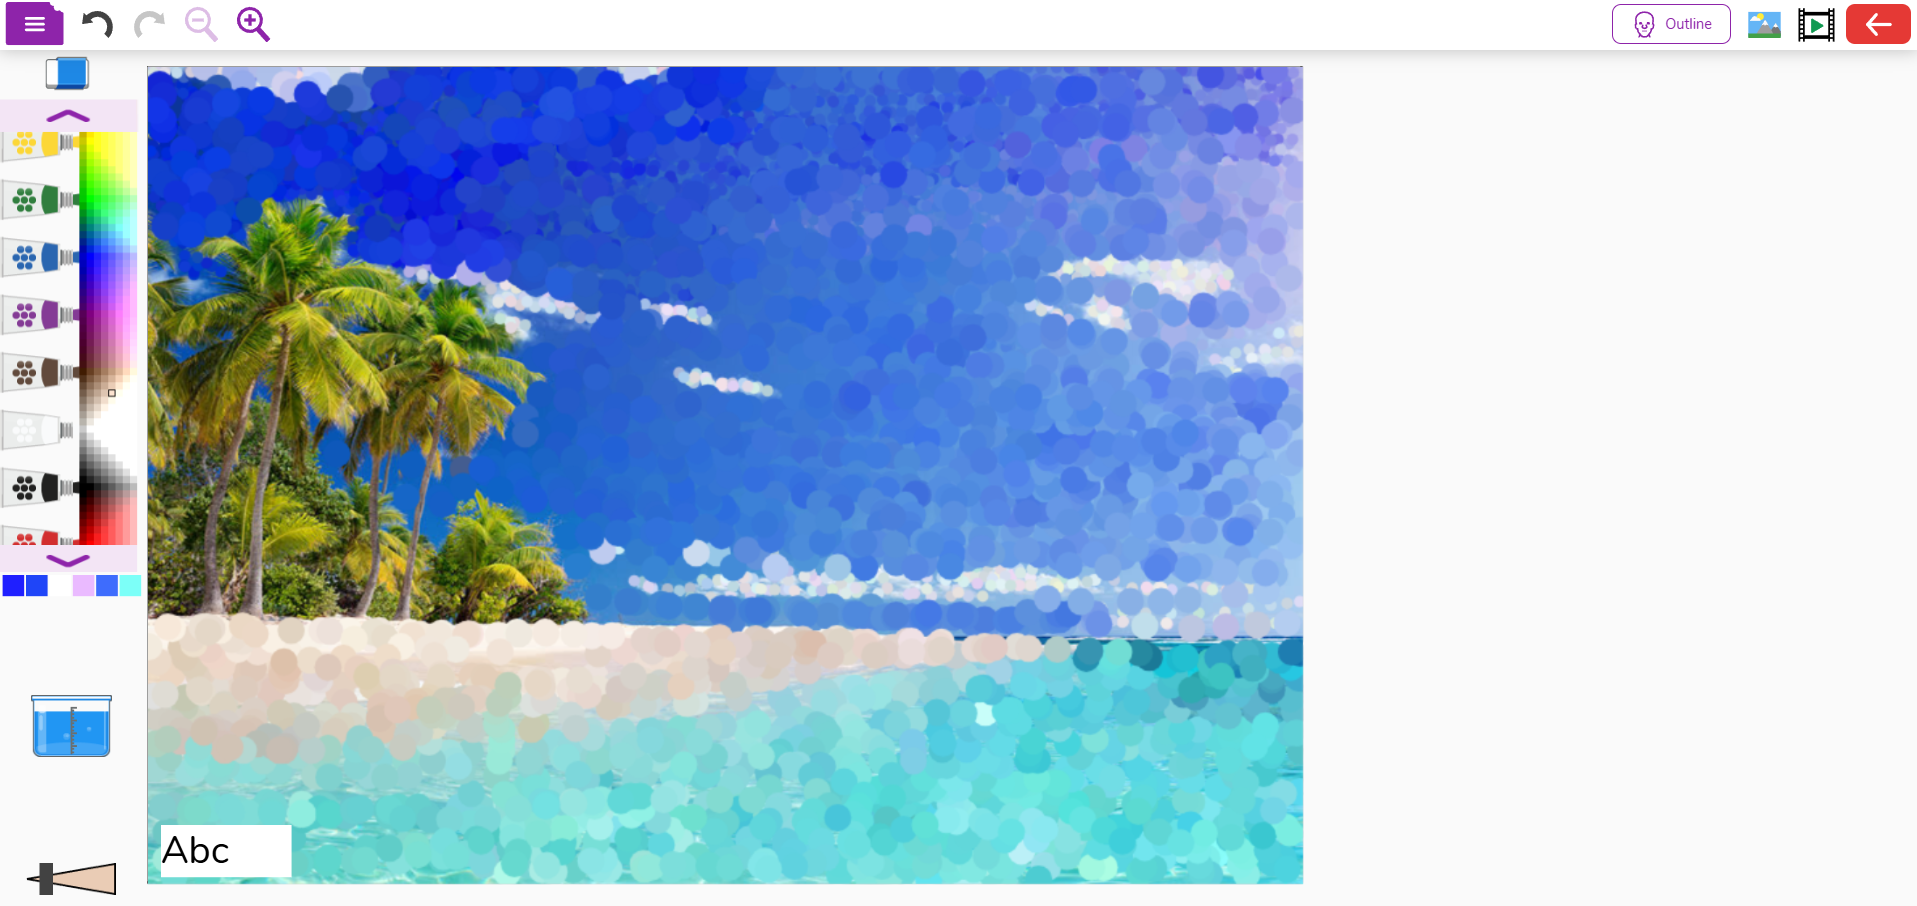

At the end, check they have covered the entire image and have made good use of colour and brush size. Ask them to save their work from the file menu.

Pointillism task 2
Ask the class to have a go at either replicating one of the famous pointillist paintings from the lesson slides (or find some of your own) or perhaps to create a pointillist version of a photograph, like the landscapes in the slides (or some of your own).
Encourage them to keep their brush size small so the dots don't get too large and lose their effect. Begin with the background and build the picture up from the back, adding on top of what was there and adding detail... and be patient!
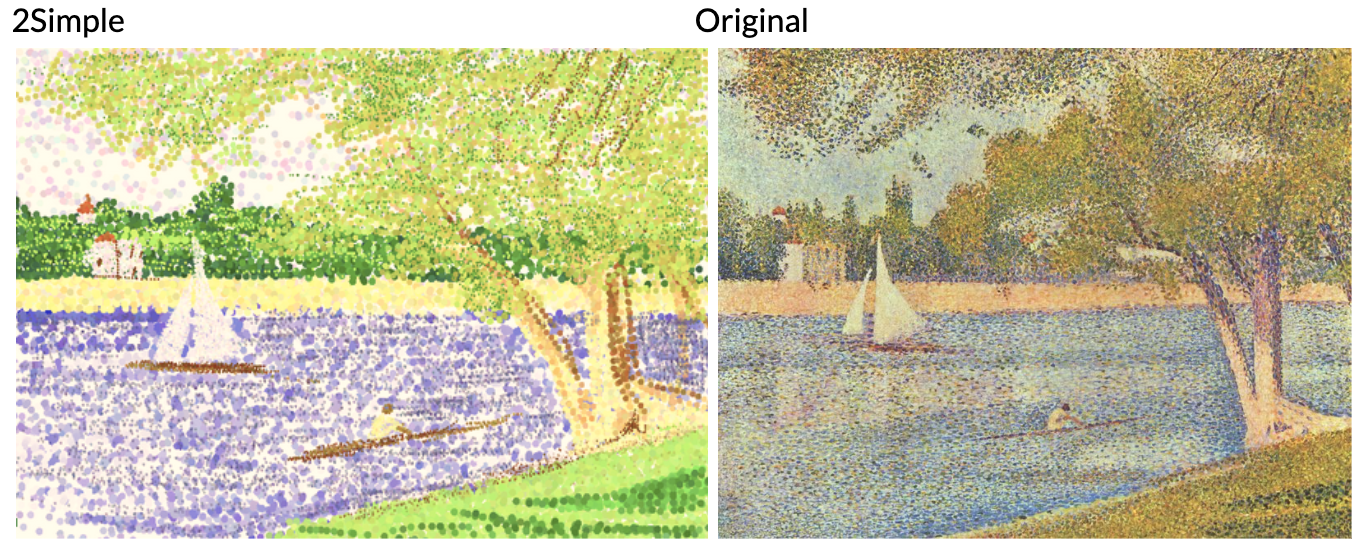
Here’s an example of The Seine at La Grande Jatte by Georges Seurat, created with 2Paint a Picture.
Ensure everyone saves their work at the end of the lesson.
Plenary
If they save to the shared class area you can open some of the students' work up on screen and evaluate as a class how closely they stuck to the artistic style they were trying to replicate, and compare it to the image they were working from.
Ask the class - Which of the styles do you prefer from the last two lessons - impressionism and pointillism? Did you make use of the water tool? What did you like or dislike about the tools?