Kapow! Comic Strips
Writing In Different Styles - Lesson 3
Objectives
- Begin to use two hands for typing
- Format text
- Use speech bubbles, thought bubbles and text boxes
- Combine images and text
Lesson Resources
Lesson 1 - Terrific Typing
Lesson 2 - Read All About It
Lesson 3 - Kapow! Comic Strips
Lesson 4 - A Blank Canvas
Lesson 5 & 6 - Publish It, Check It
Introduction
Start off by recapping the previous lesson, and asking the children to go back to 2Type and repeat an area they feel they need more practise on. That may be one of the getting started sections, or focusing in on something like using the shift key for capital letters, or trying out another of the longer challenges.
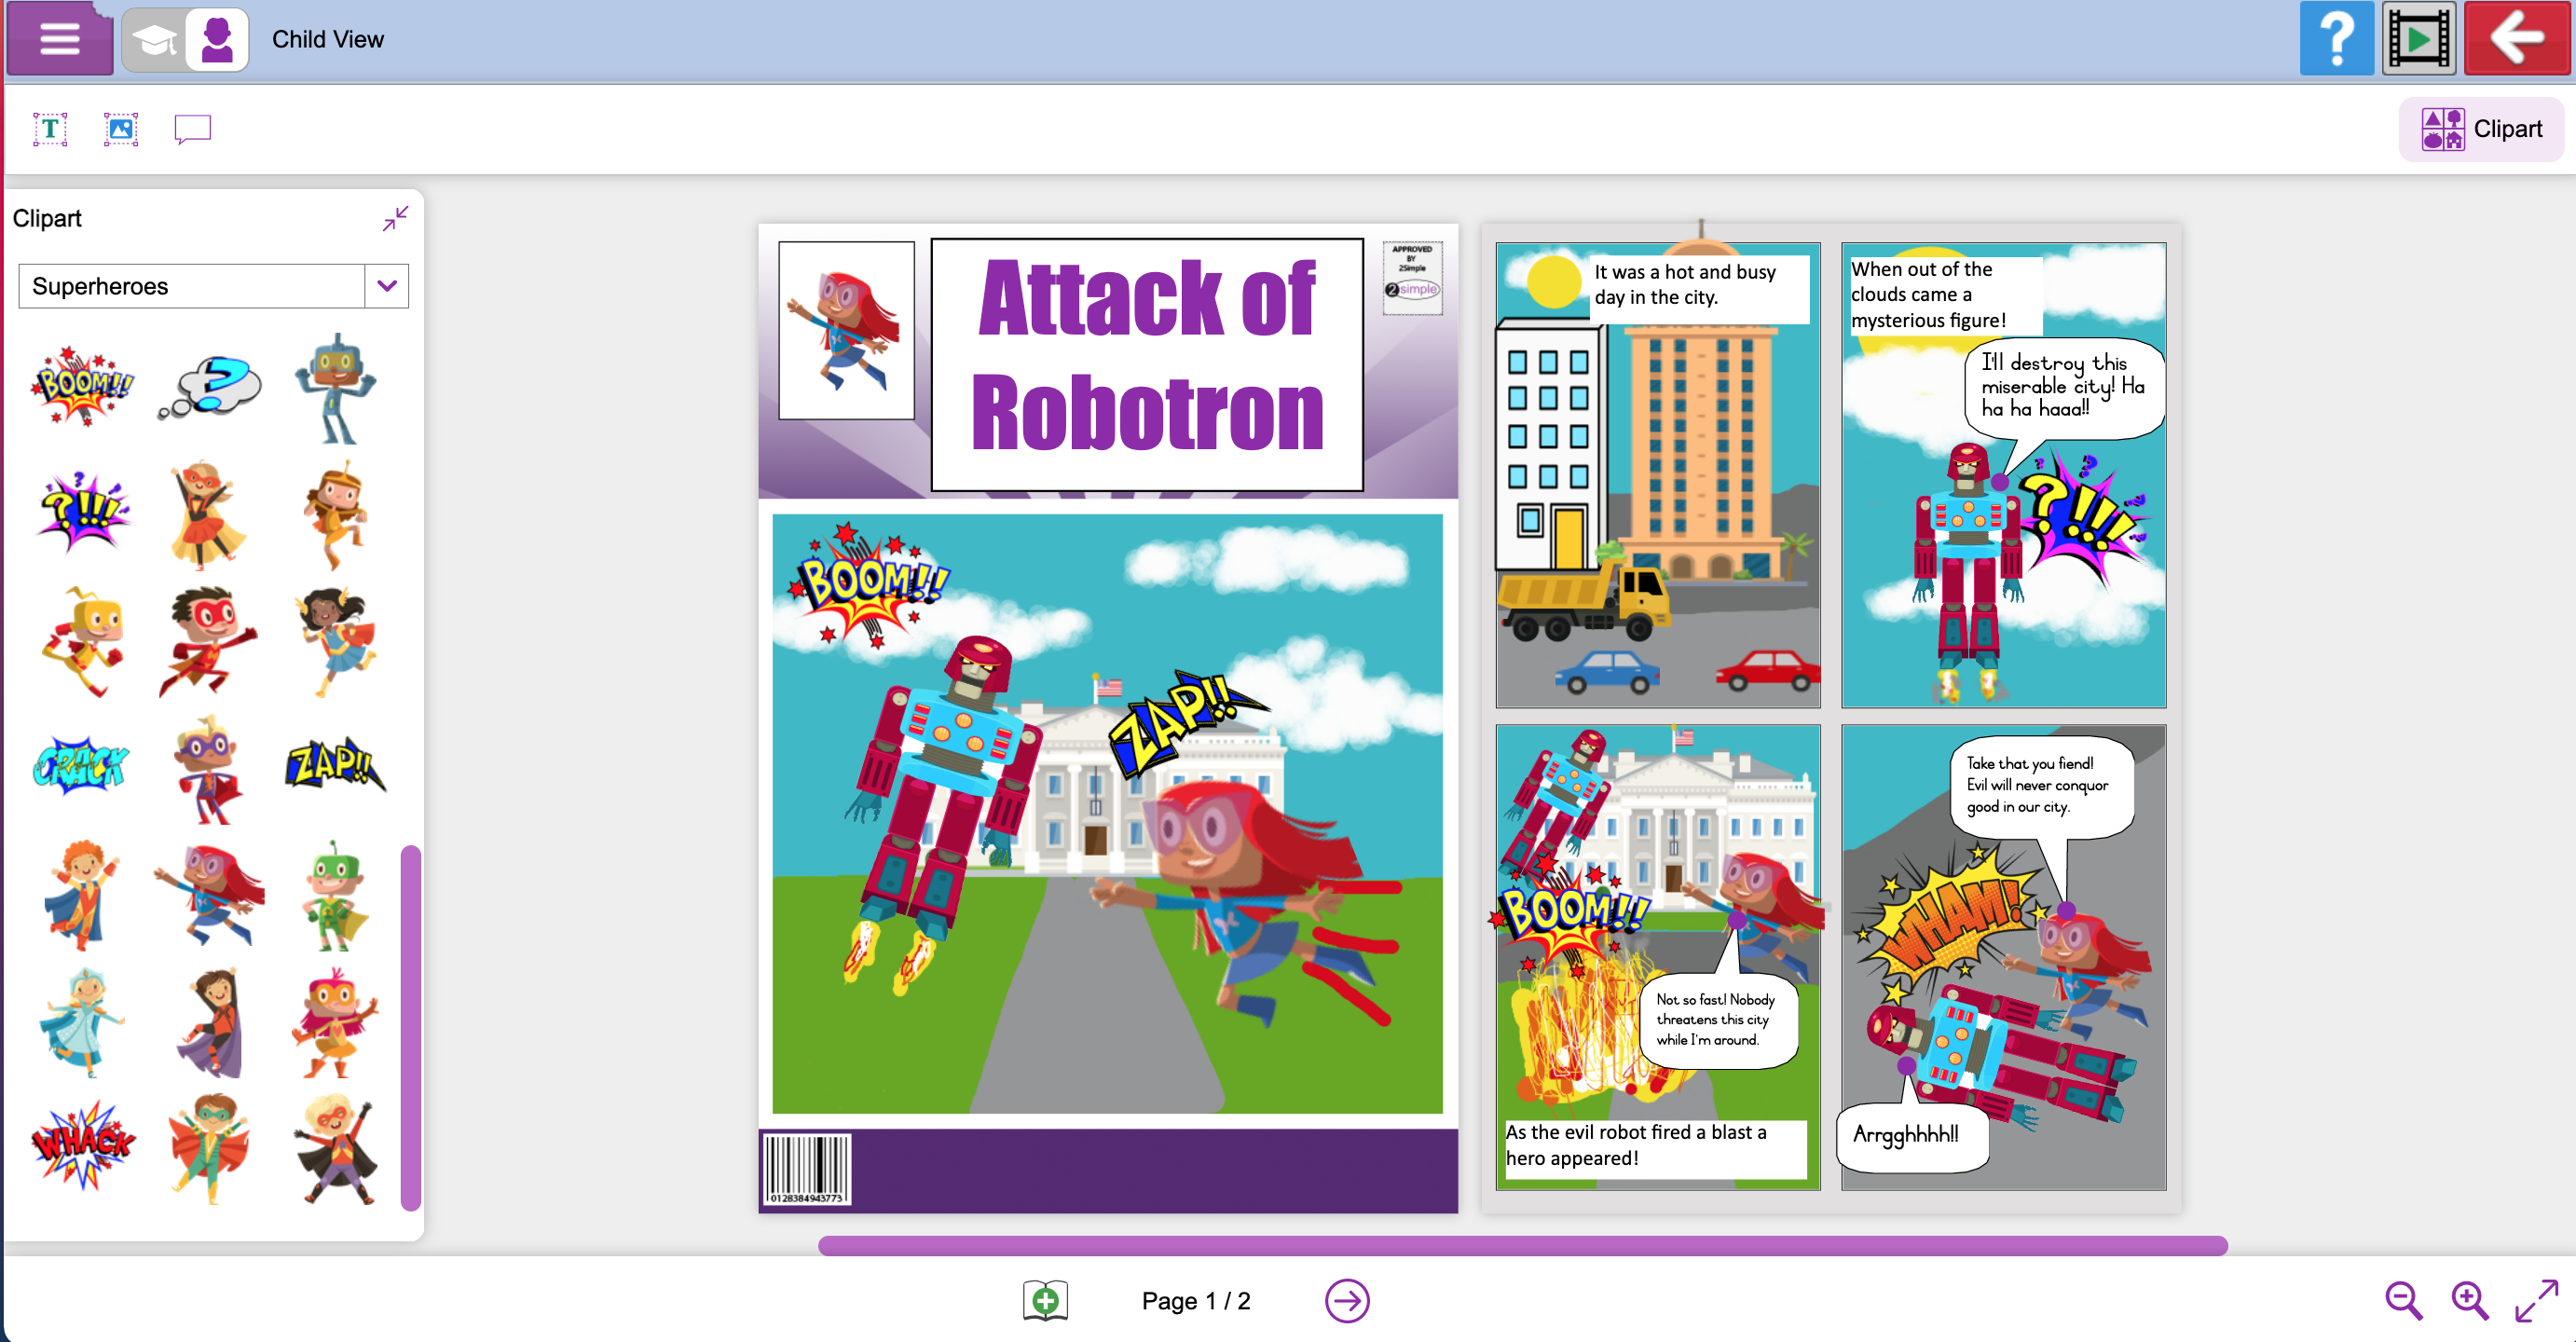
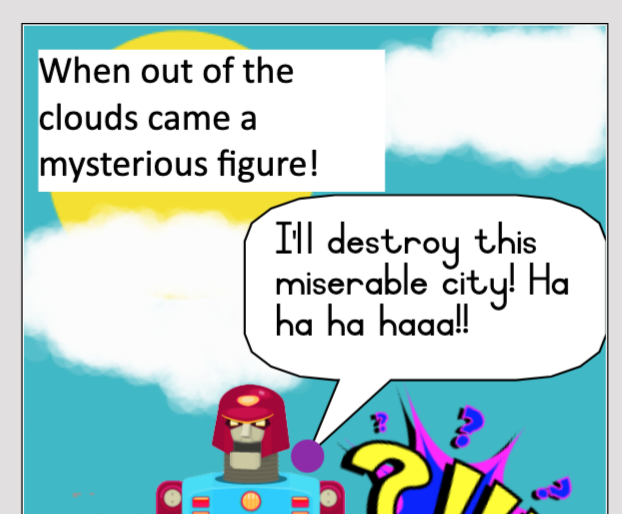
This week we are going to be creating comic strips. What do you know about comic strips? What makes them different to normal stories? (image led, less text) What sort of features might they have? (speech bubbles, thought bubbles, small text boxes)
Creating a comic book
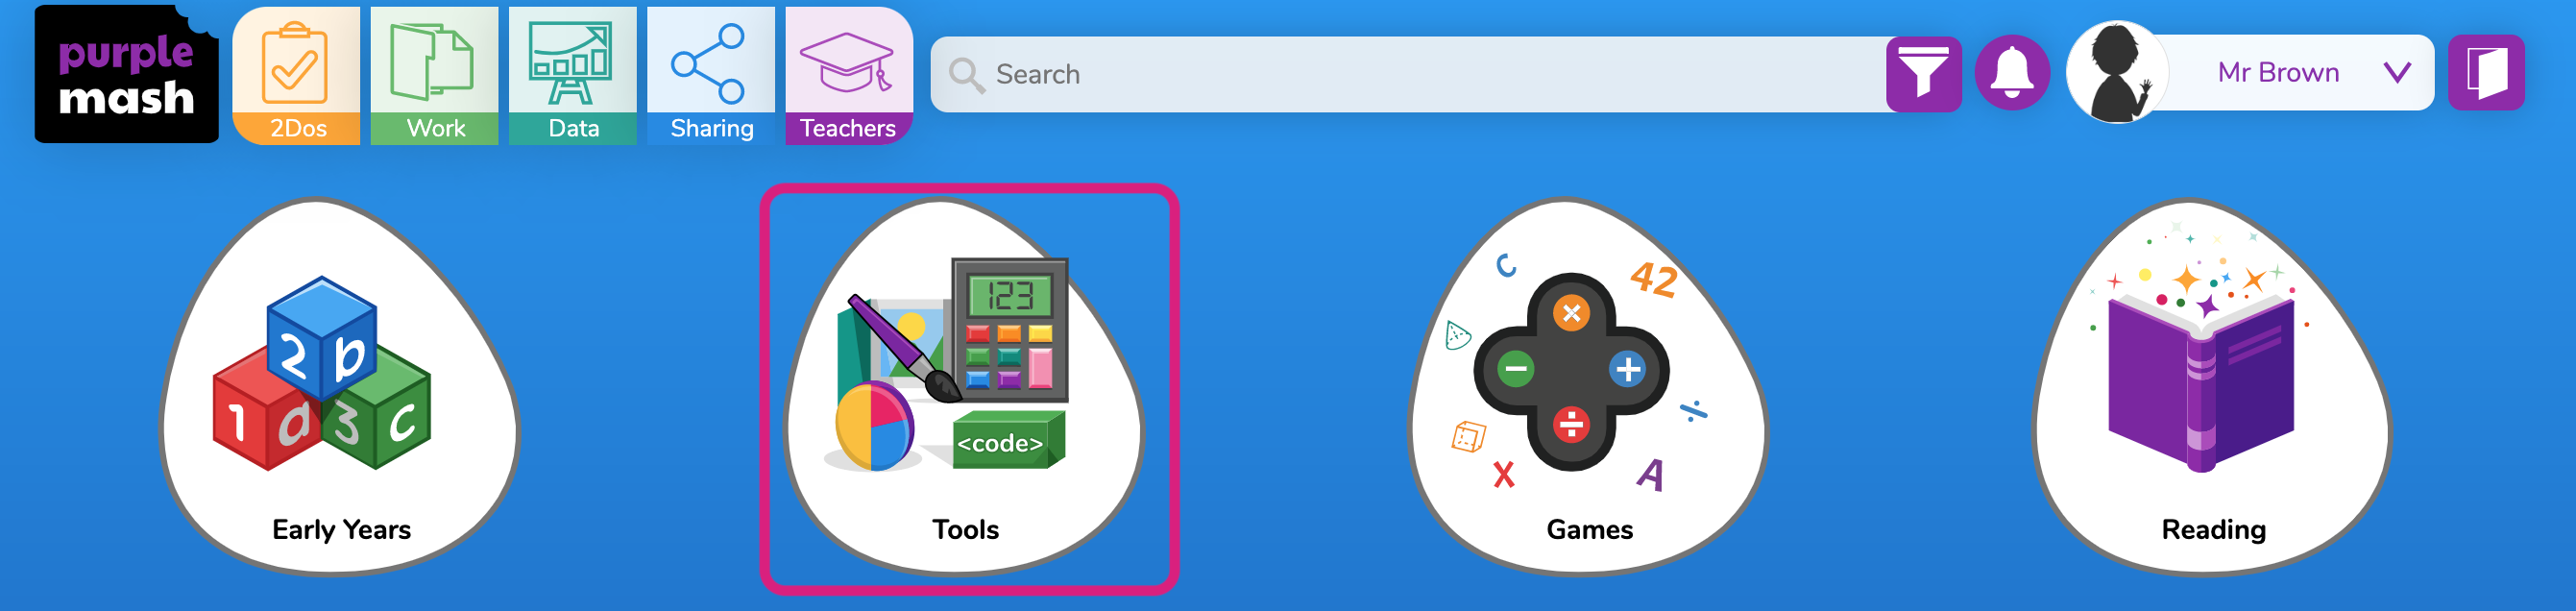
Open Purple Mash, go to Tools and then open 2Publish Plus, which provides a variety of publishing templates for different types of project. In this lesson we're going to choose the comic-book option.
When your page loads you will be presented with the front cover of the comic-book. You may want to come back to this later so the greater focus of the lesson is on creating the content of the story. You can add a second page (for the story) at the bottom of the screen.
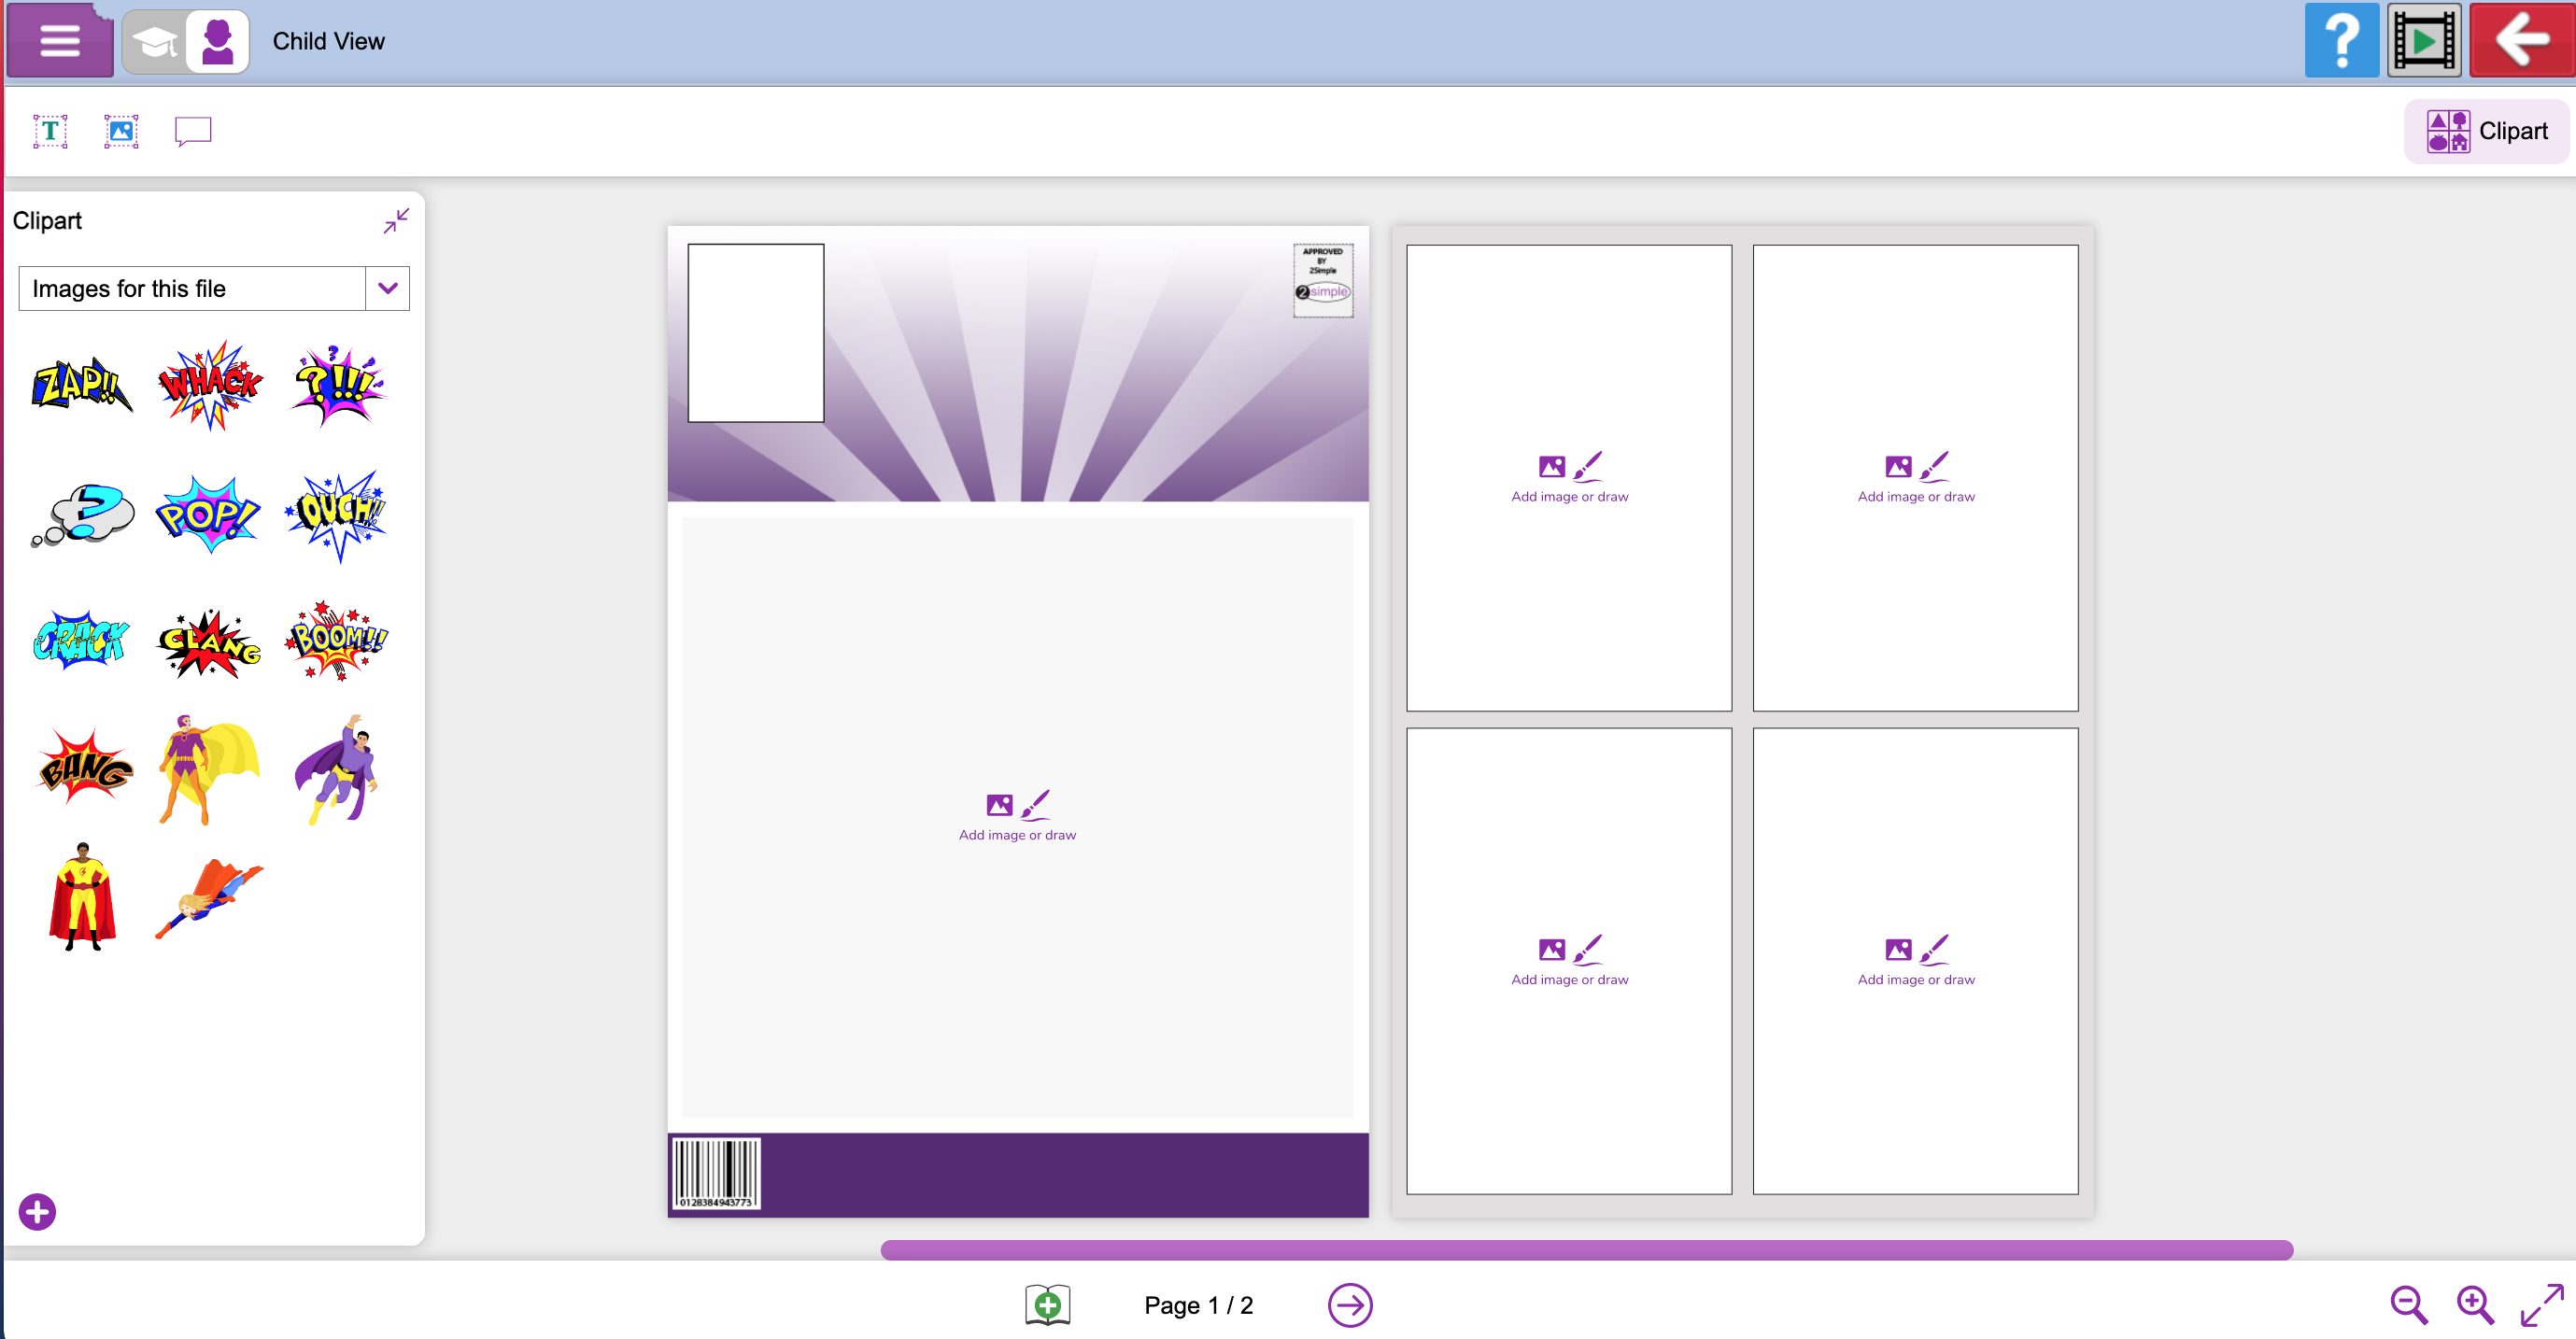
The page works in exactly the same way as the newspaper project. As you click in boxes the page will zoom into that box and reveal the tools for drawing or adding images. To begin with, you are only provided with image boxes, text can be added later with speech bubbles and smaller text boxes on top of the images.
Adding your images
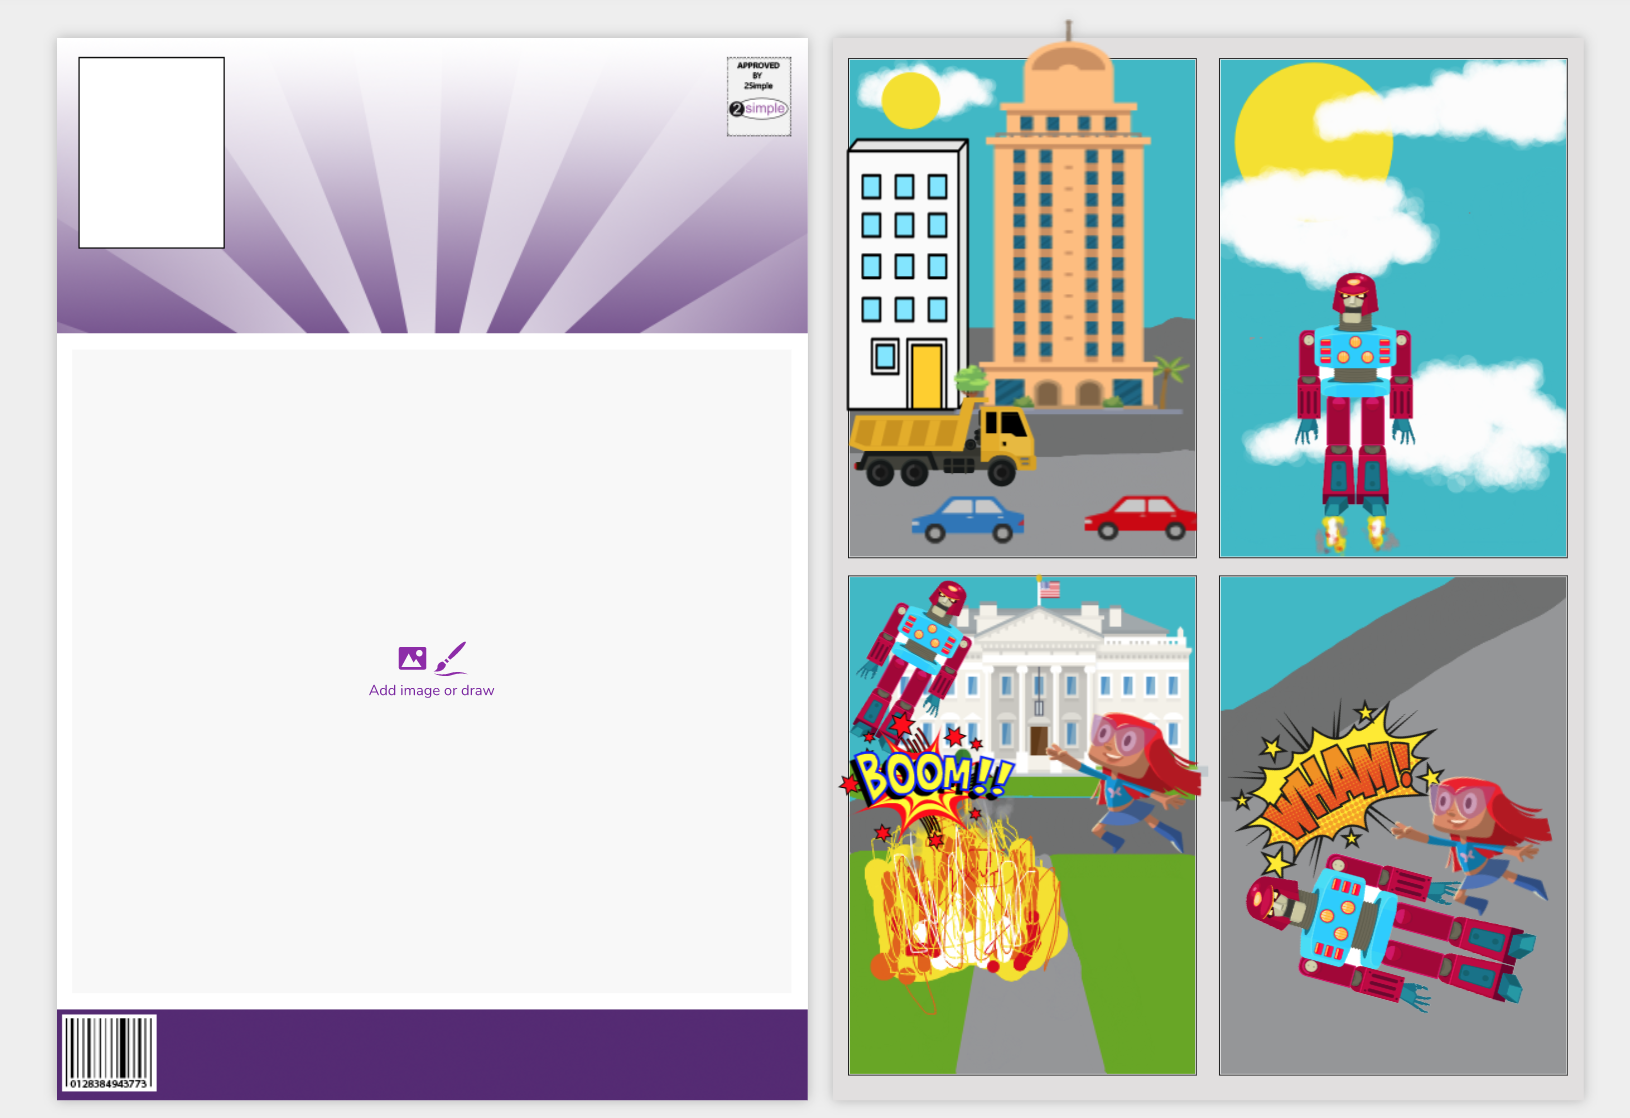
When you have decided on your story, draw your first background. You can also import photographs into the frames if you prefer. A comic strip can be a nice way to do a recount of something like a school trip or even a science experiment. Photos taken at the time could be uploaded onto your shared area so all the children can have access to them.
You can add to the backgrounds with the clip art that is available, but bear in mind that the clip art will always be on top of the drawings. It can also get in the way when you are trying to draw, so do all the drawing parts first and then add the clip art on top when you are ready, or move the clip art to the side if you want to make changes to the background drawing you have done.
Complete your images for your story.
Adding text
When you have your backgrounds set up you can begin to add detail and characters to tell your story. Then you are ready to add text. Point out that there are no text boxes as there were on the newspaper templates, how do you think we add text? Discuss the options in the top left of the screen (text boxes and speech bubbles) and when you might use each one.

Drag out a normal text box and demonstrate adding text. Emphasise that these boxes are for short sentences that tell the story and help the reader know what's happening. It can be useful to add a background colour to the text box so it's easier to read the text when it's on top of the pictures.
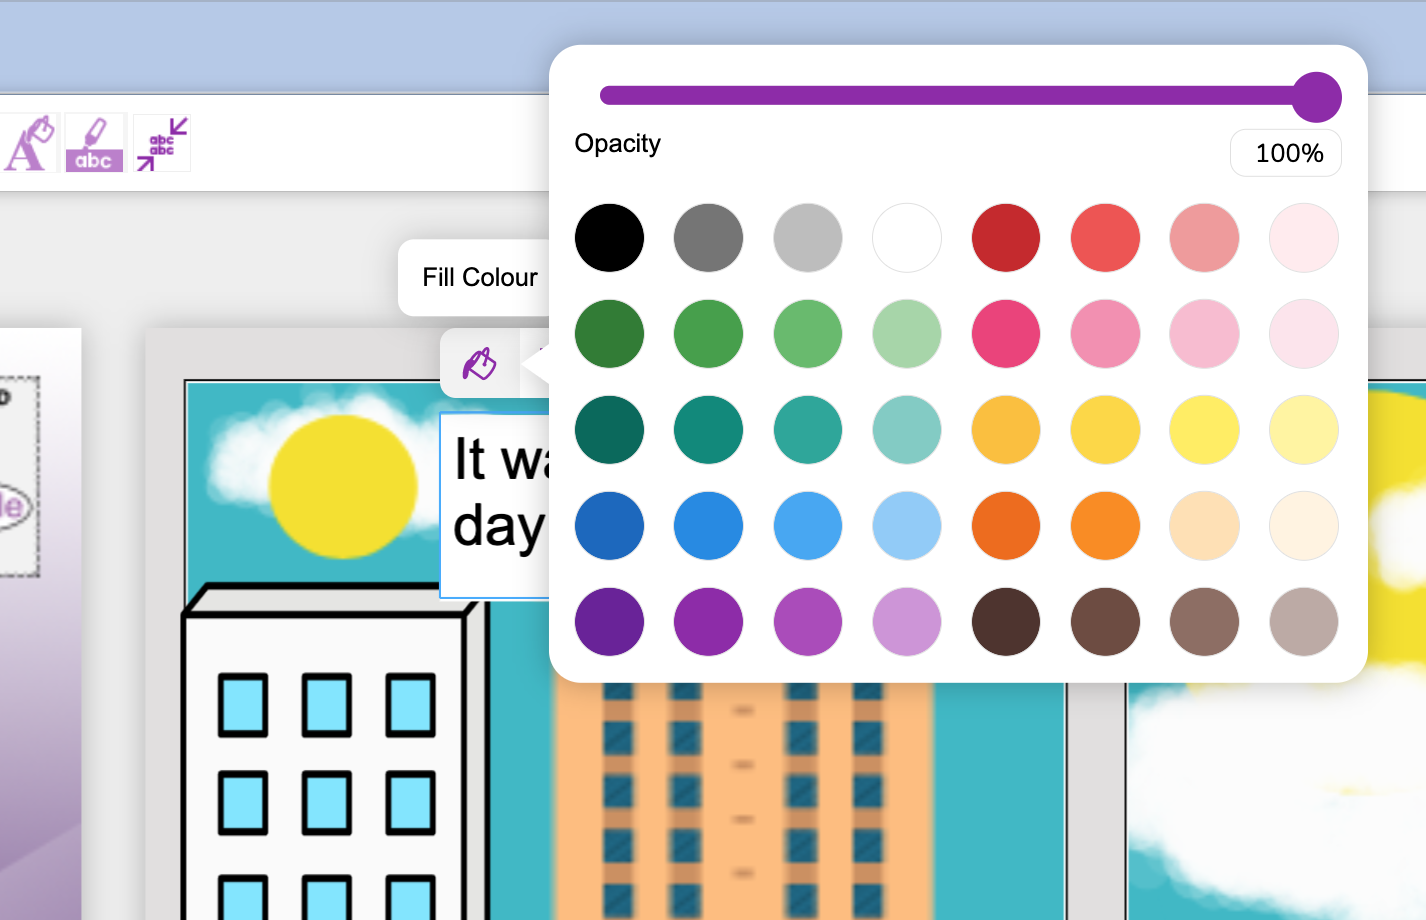
To do this, click the tin of paint icon on the text box tool bar.
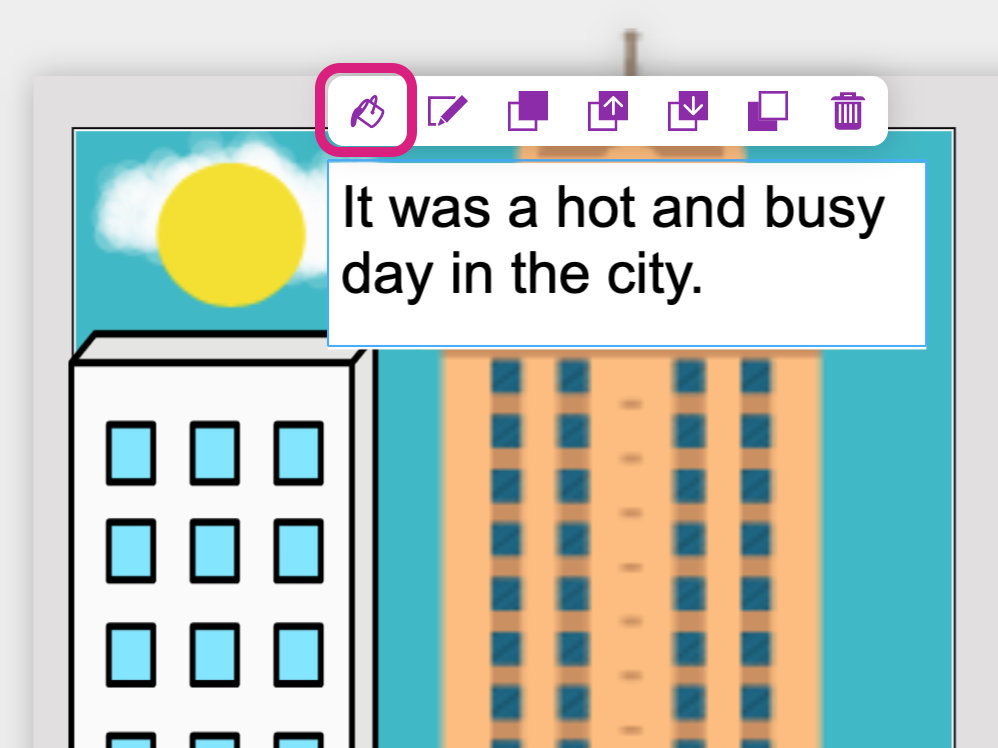
Then choose a colour and push up the opacity slider to 100%, or whatever works best for your work.
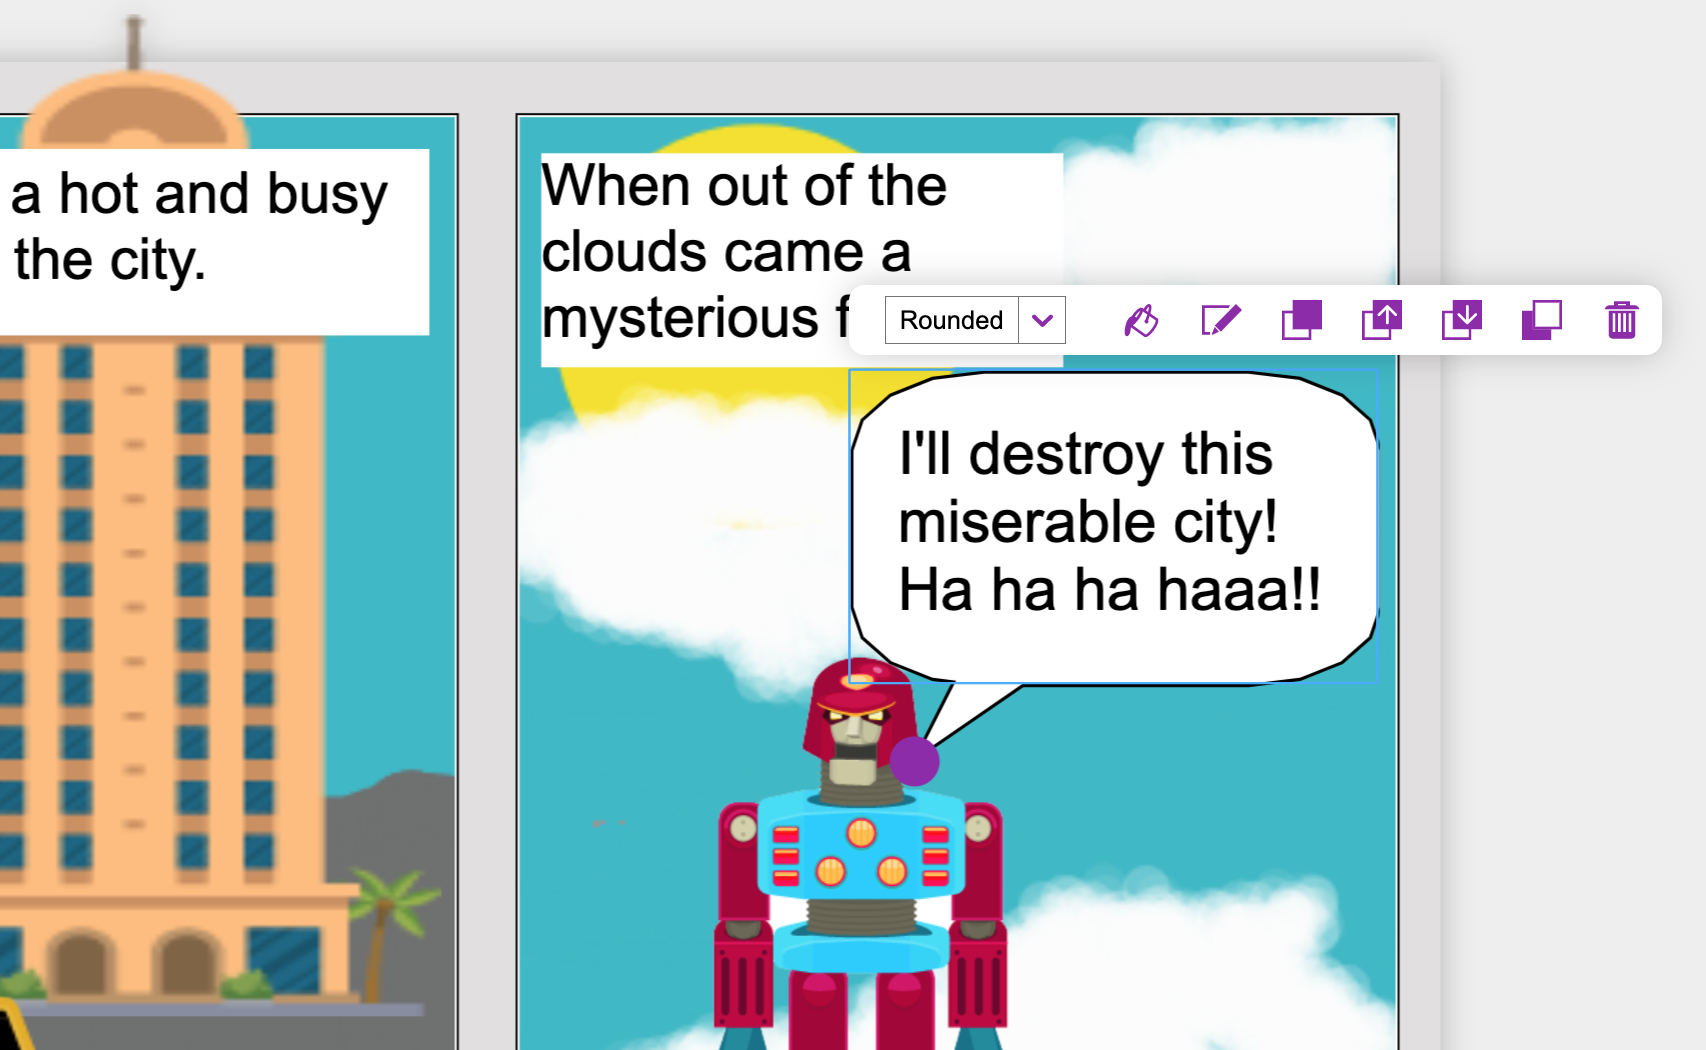
Demonstrate adding a speech bubble, how to add text, size and position it and move the stalk so it is close to a characters mouth. Emphasise that speech bubbles are only for showing direct speech from a character. There is a drop down box which gives three shape options of square, rounded or cloud, the last of which can be used for thoughts instead of speech.
Ask the class to add all their text to tell their story. Remind the children to use two hands for typing, and the shift key for capital letters.
Formatting your text.
Remind the class of the formatting options available that we looked at in the last lesson. What does formatting mean? What is a font family? How can you change the colour of your text?
Recap the formatting options they have and why we might want to use them, for example, you might want different fonts or colours for speech, thoughts or narration in the text boxes.
Save your work
When your page is complete save your work.