
Impressionism
An Introduction to Digital Art - Lesson 3
Objectives
- Use shape, line and colour to create a artistic style called Impressionism.
- Use different tools in a digital paint package for good effect.
- Talk about their use of a graphics package and their choice of tools.
Lesson Resources
Lesson 1 - Simple Tools
Lesson 2 - Symmetrical art
Lesson 3 - Impressionism
Lesson 4 - Pointillism
Lesson 5 - Modern art
Lesson 6 - Street art
Introduction - What is Impressionism?
Take a look at this video from Tate Kids, which is a really nice way to introduce what Impressionism is all about.
Tate Kids: Impressionism from Mosaic Films on Vimeo.
So Impressionism was about bright colours and bold brushstrokes. The impressionist artists were not trying to paint a reflection of real life, but an ‘impression’ of what the person, light, atmosphere, object or landscape looked like to them.
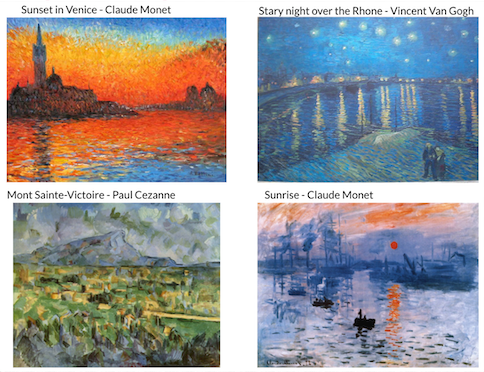
Look at some examples of Impressionistic art in the teacher lesson slides and discuss what was particular about the style:
- Not precise
- Short brush strokes
- Often more about the landscape or setting than a person or object.
Impressionism art with 2Paint a Picture
Open up Purple Mash and go to the Tools section > Art and Design and open 2Paint a Picture.

In 2Paint a Picture several of the painting options are cleverly designed to replicate real painting techniques. They will change how the 'brush' strokes appear on the screen and make it easy to create a piece of art in the style of various different artistic movements.
We’ll look at the Impressionism option in this lesson.
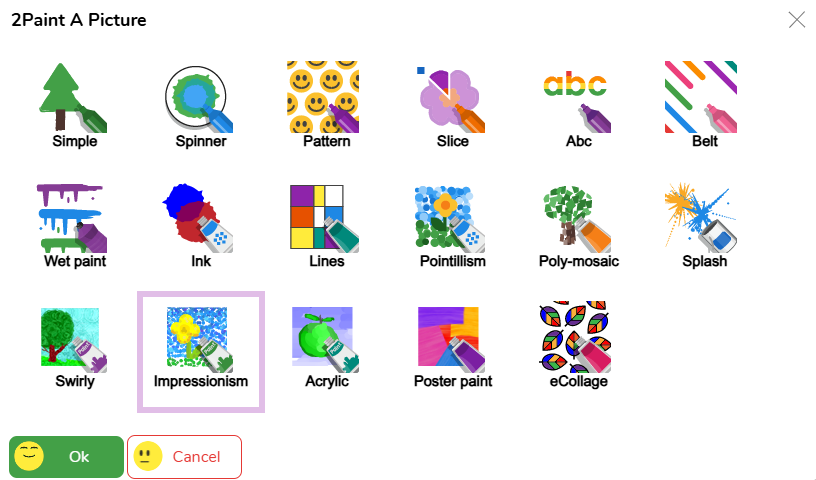
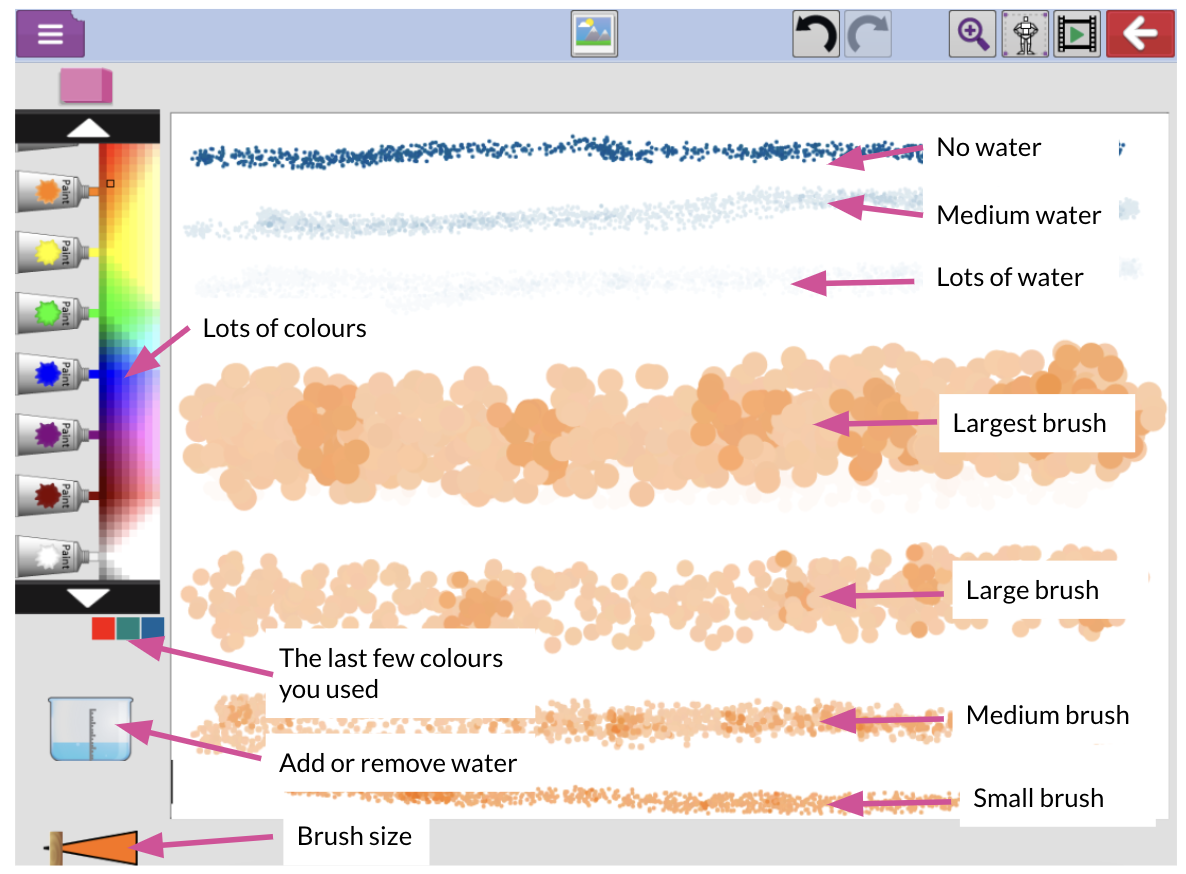
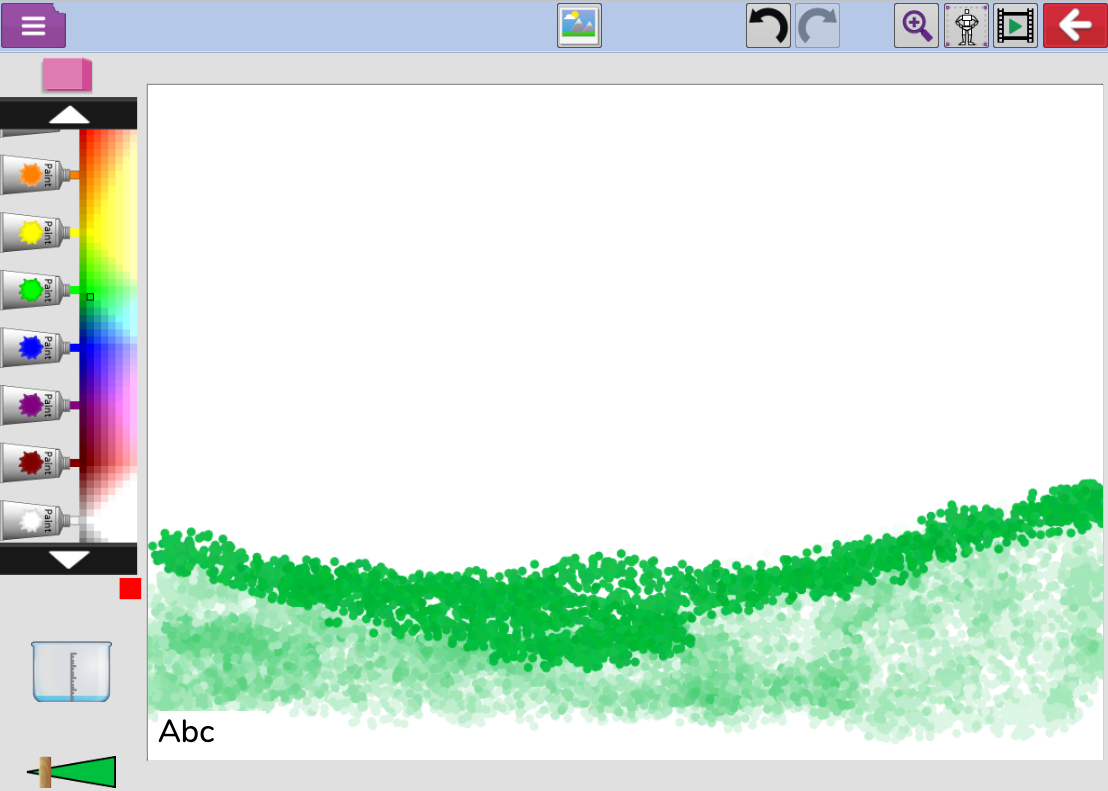
Open the impressionism option in 2Paint a Picture and show how it paints with mottled dots which help to give the effect of the short brush strokes and the imprecise nature of the style. It naturally blends shades of the same colour you have selected together. The water pot tool in the bottom left if also really useful. You can add or remove water by dragging the water line up or down, and just like real paints, adding water washes out the colour to give softer tones. There is also a fabulous, extended palette of colours to choose from.
Demonstrate to the class how the brush size, colour and water affect how it paints.
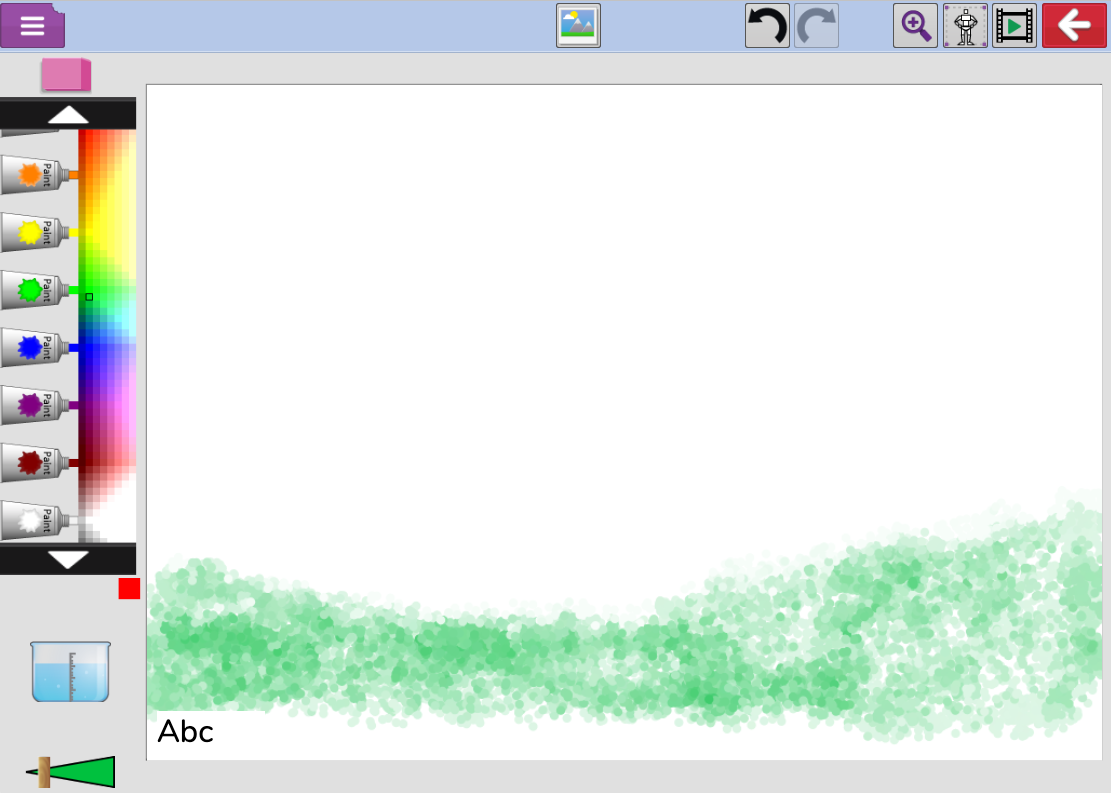
In this example, the water has been lowered which gives a much more vivid green.
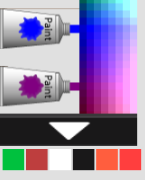
With so much extra colour choice, it's easy to forget which colour you used if you want to go back to it. So luckily, the app remembers the last few colours you've used and shows them beneath the colour palette, which makes finding them again much easier.
Impressionism task 1
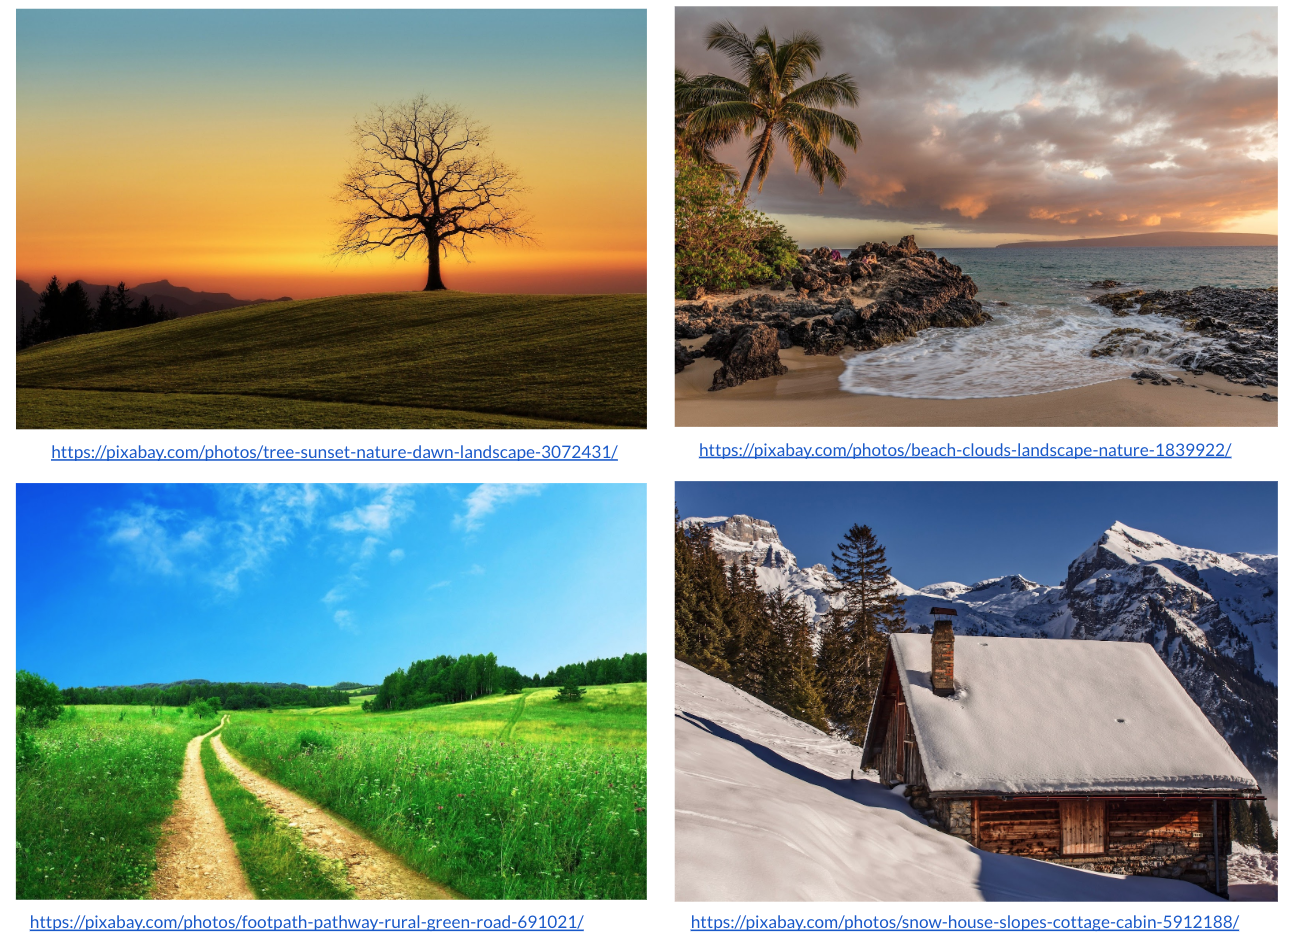
To help the children get started, they can start by adding a background image from Purple Mash to their page and then painting over the top of it. Get them to focus on choosing colours that closely match those in the photograph, using the correct size of brush for the part they are painting (large for backgrounds, smaller for detail) and using the water tool to soften or increase the vibrancy of the colours they are using.
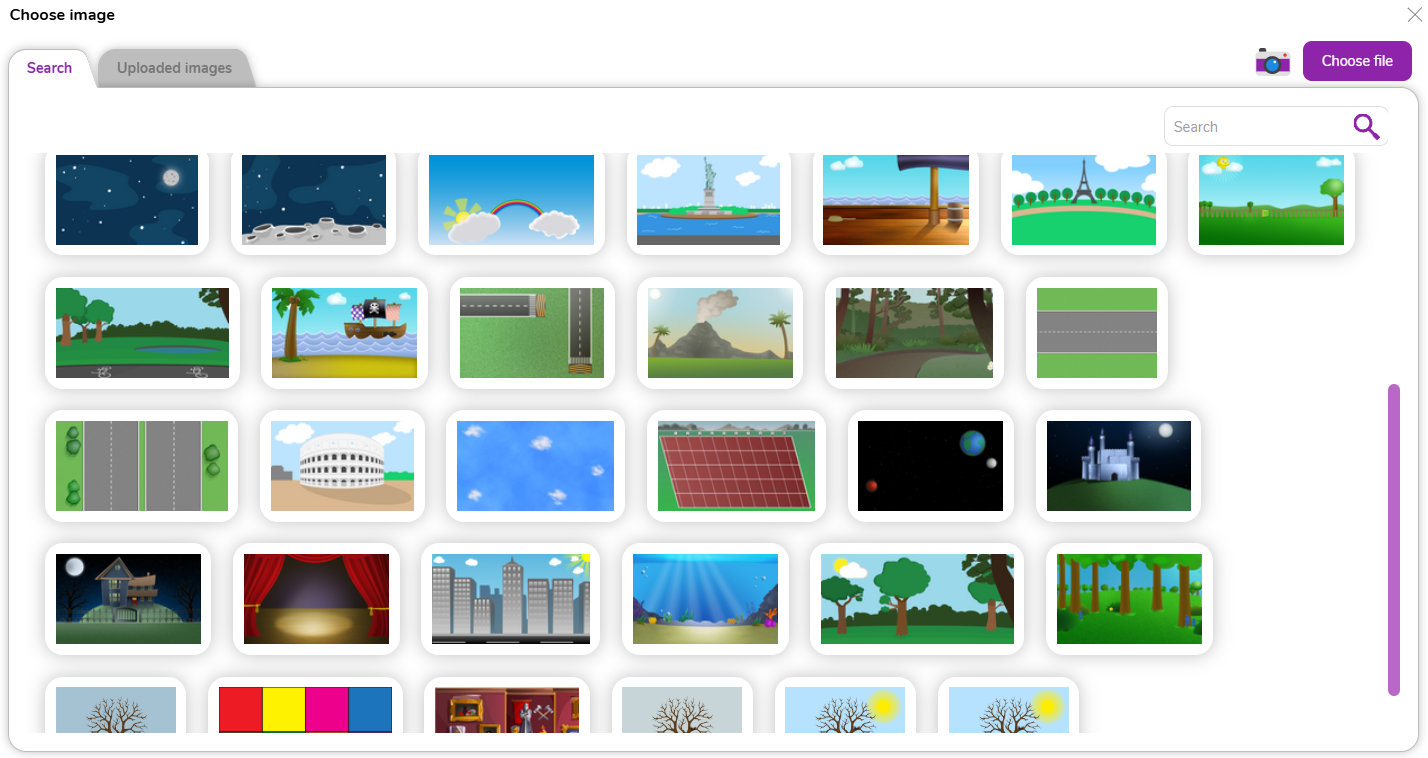
To choose an image, click on the background button at the top of the screen.

Photos are generally better for this task, but some of the landscape illustrations that are available can also work well.
For photos, use the search box and enter terms that relate to landscape images, such as beach, hills, mountains, countryside.
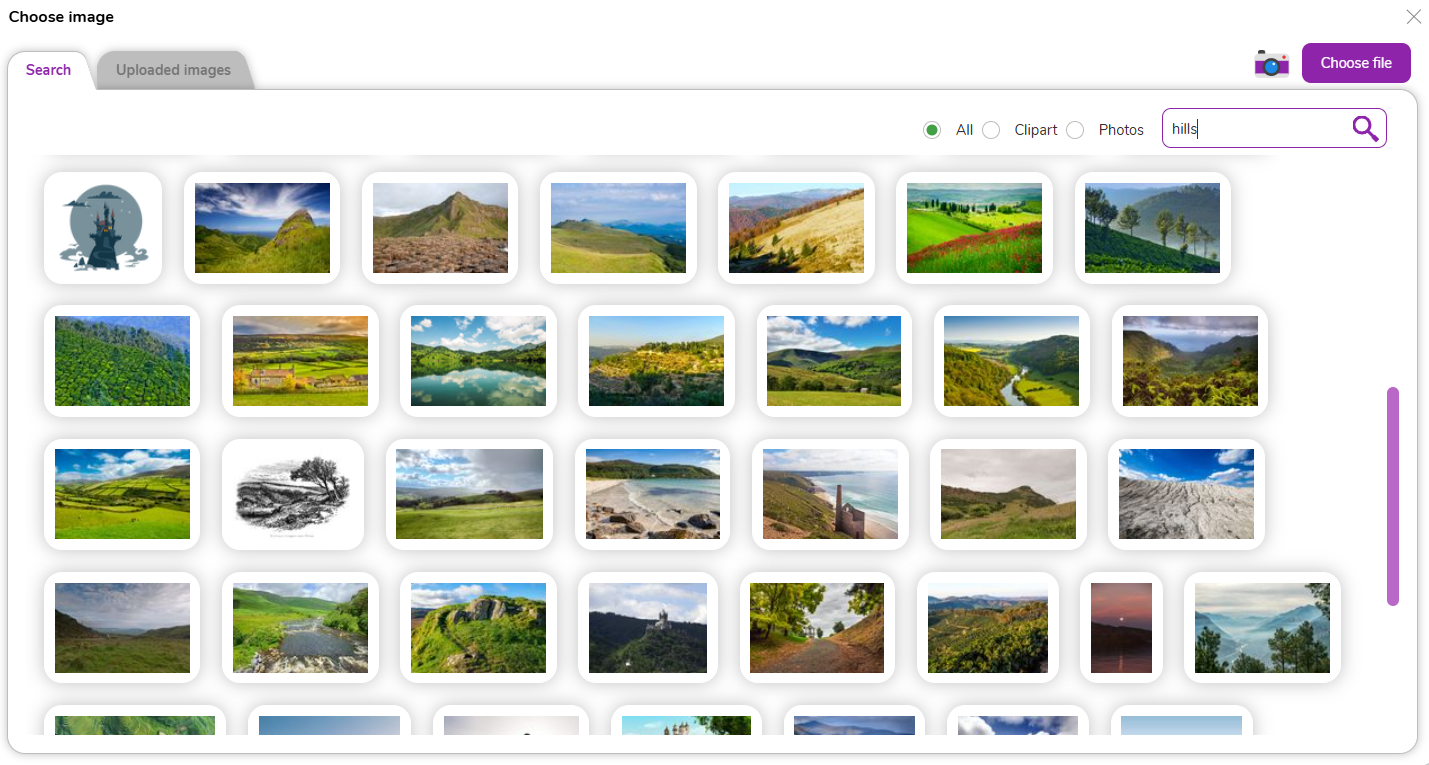
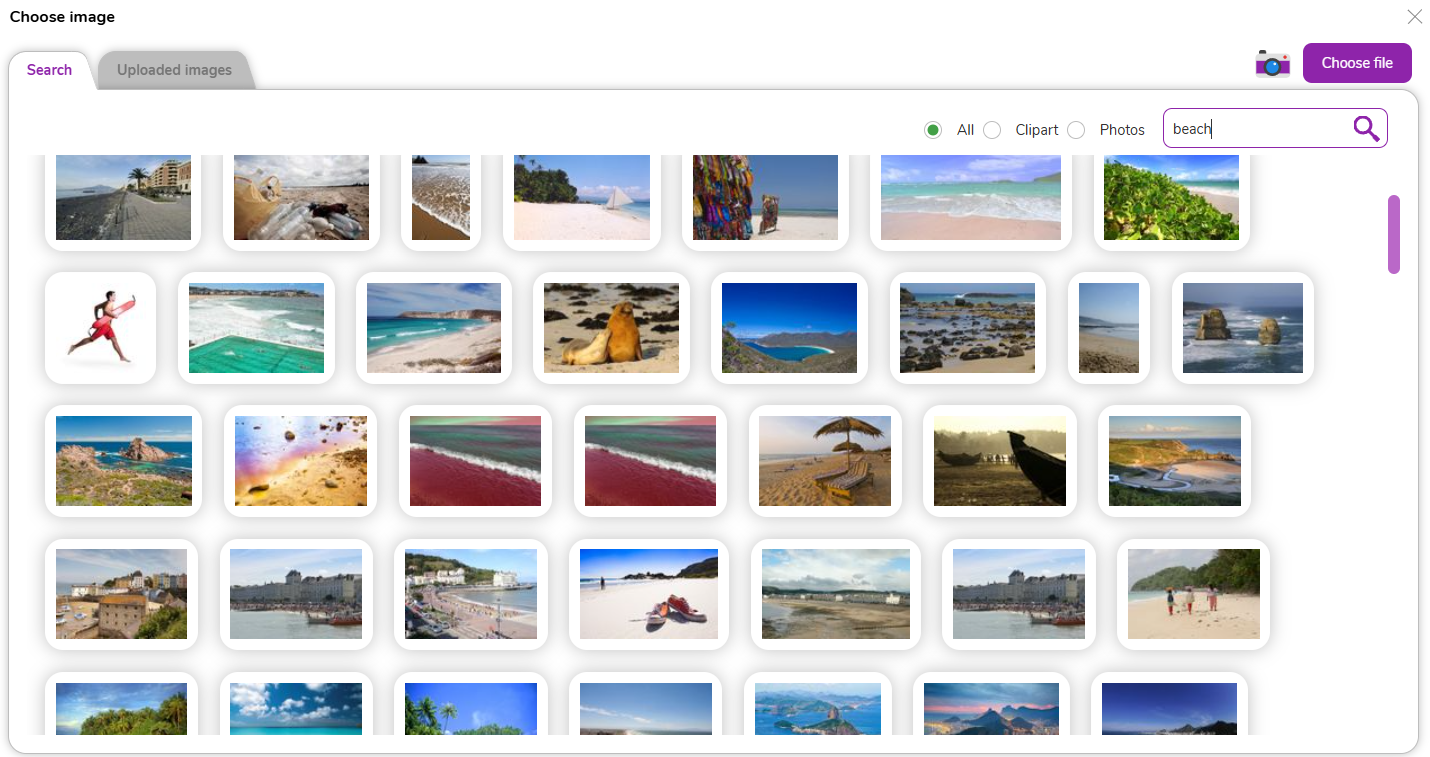
Select an image and it will be added to your page.
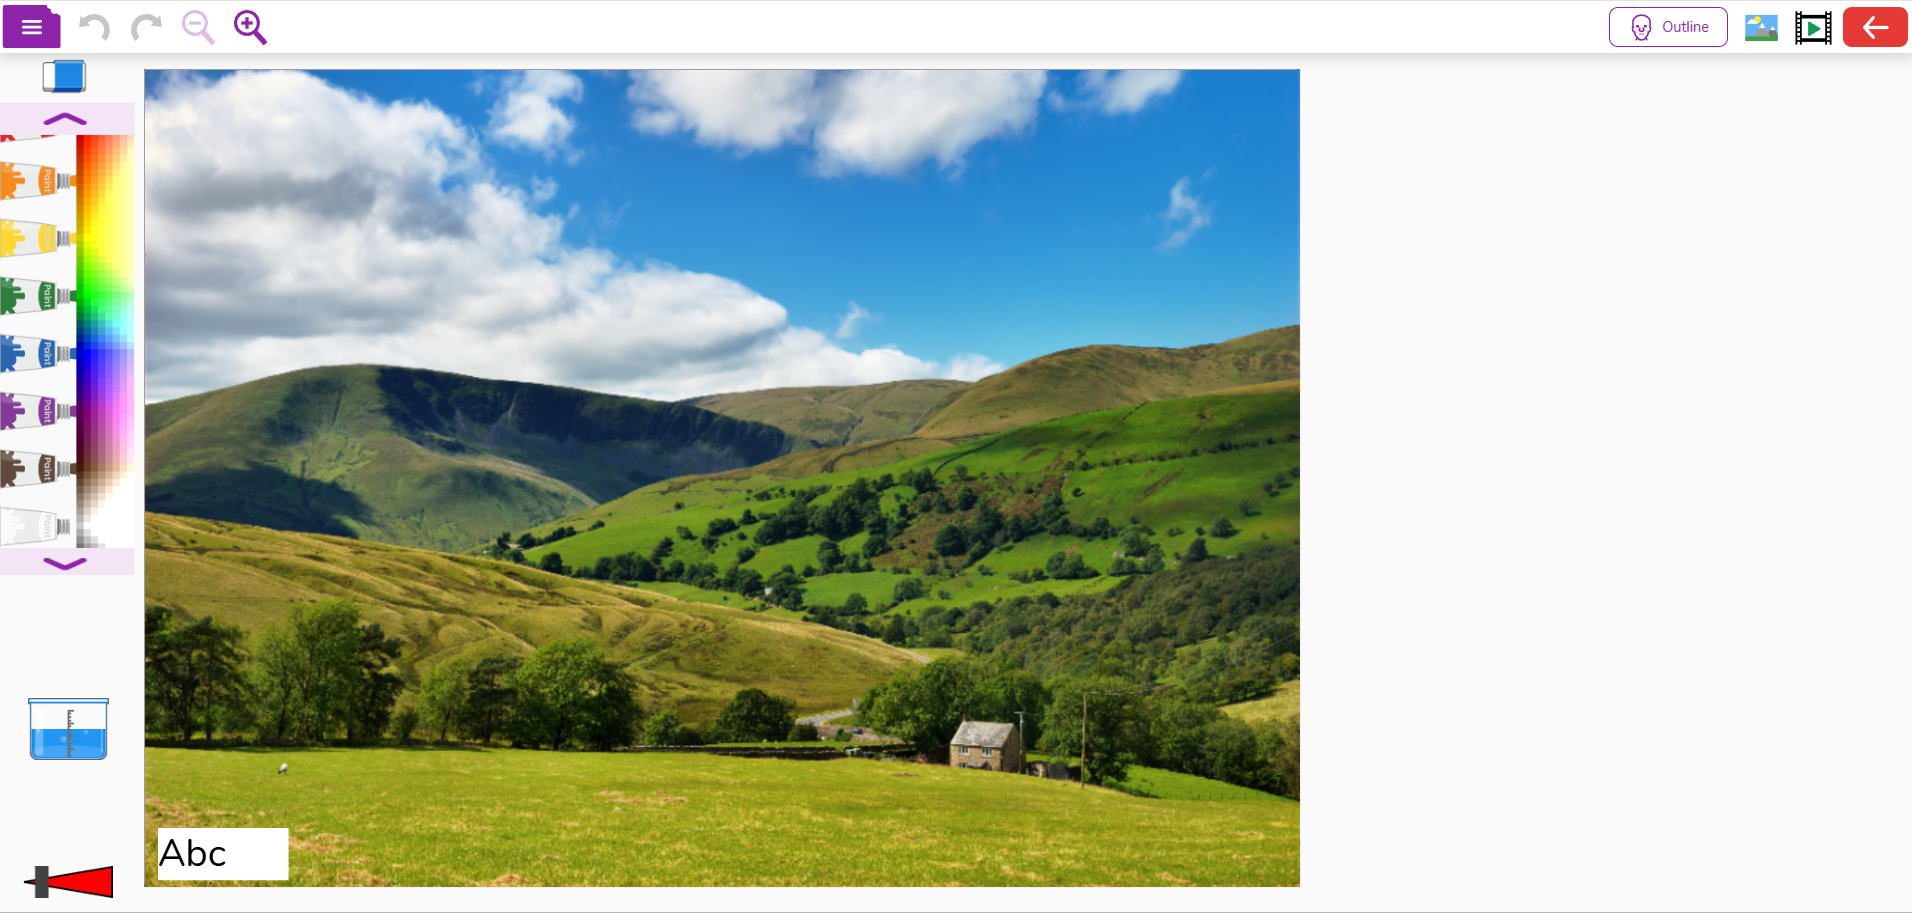
Demonstrate starting with the largest blocks of colour in the image and looking for the closest colours in the palette to match. Point out that things like the sky are rarely just one single shade of blue, so they might have to blend a few shades together. Increasing the water helps with this.
Ask the class questions such as:
- Does this colour match?
- Should it be lighter or darker?
- Should I use a large or small brush for this part?
- Is it a pale or vivid colour?
- Should I adjust the water for this colour?
Gradually build up the picture by painting over the image with the impressionism brush. They don't need to worry about being incredibly neat along edges because impressionism wasn't about being precise and accurate!
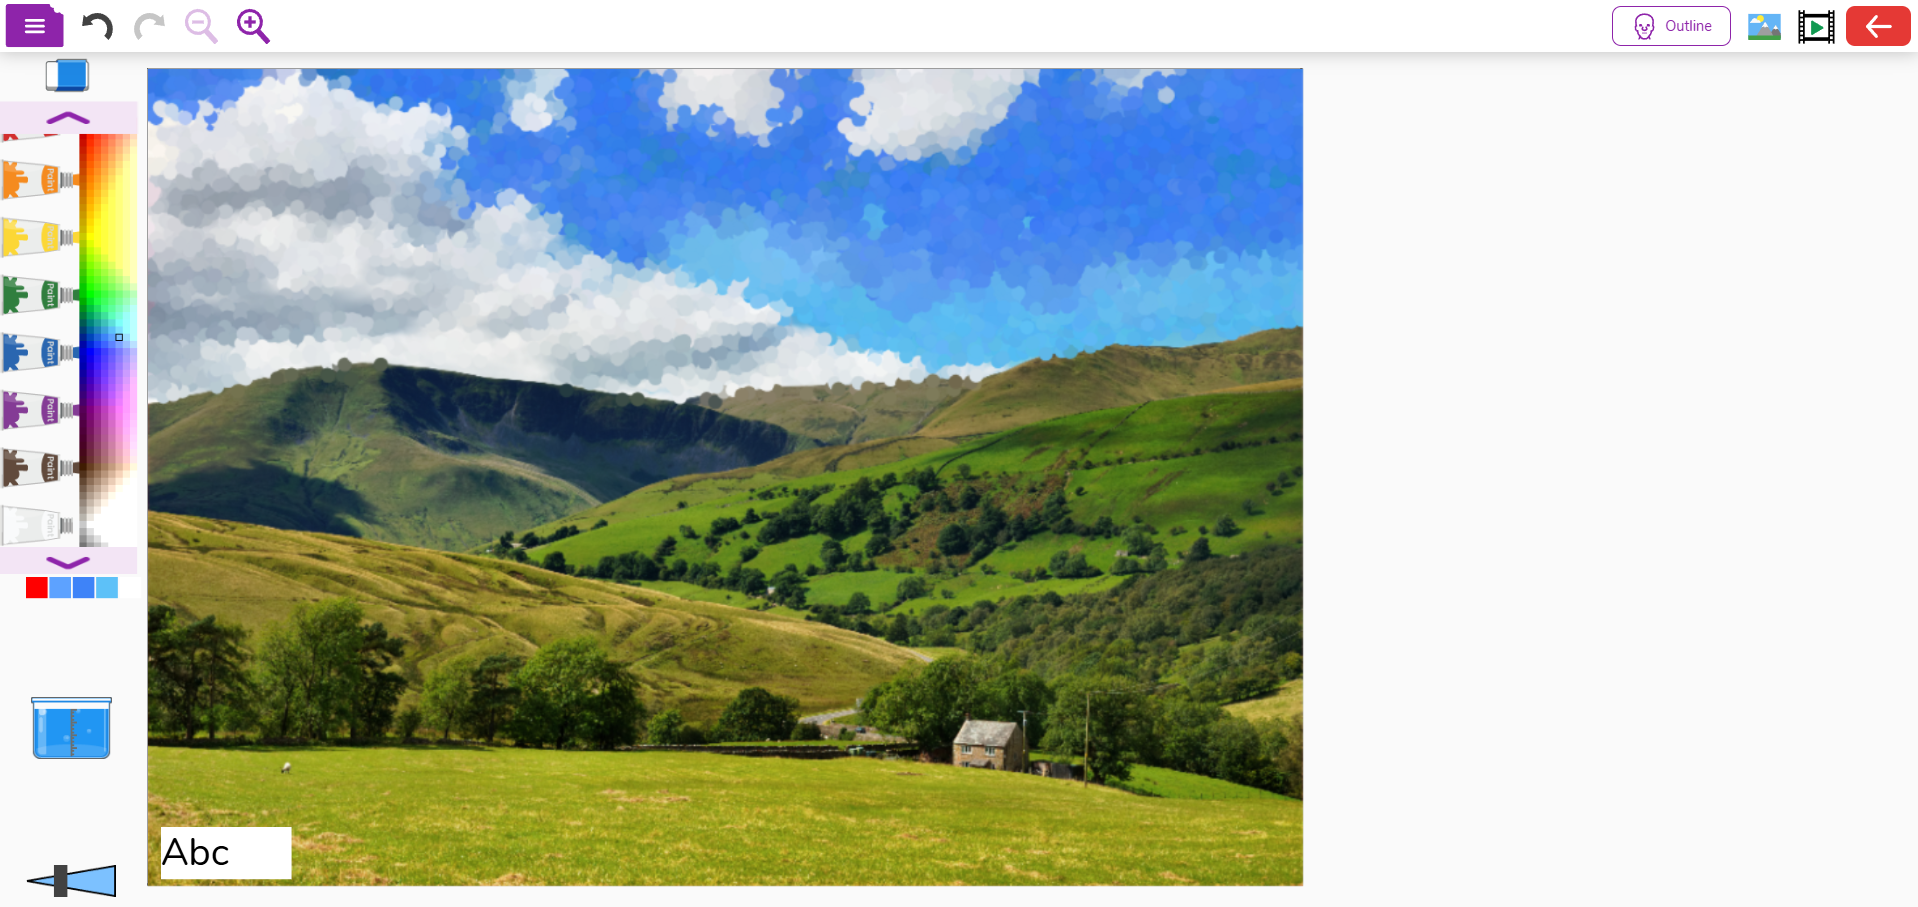
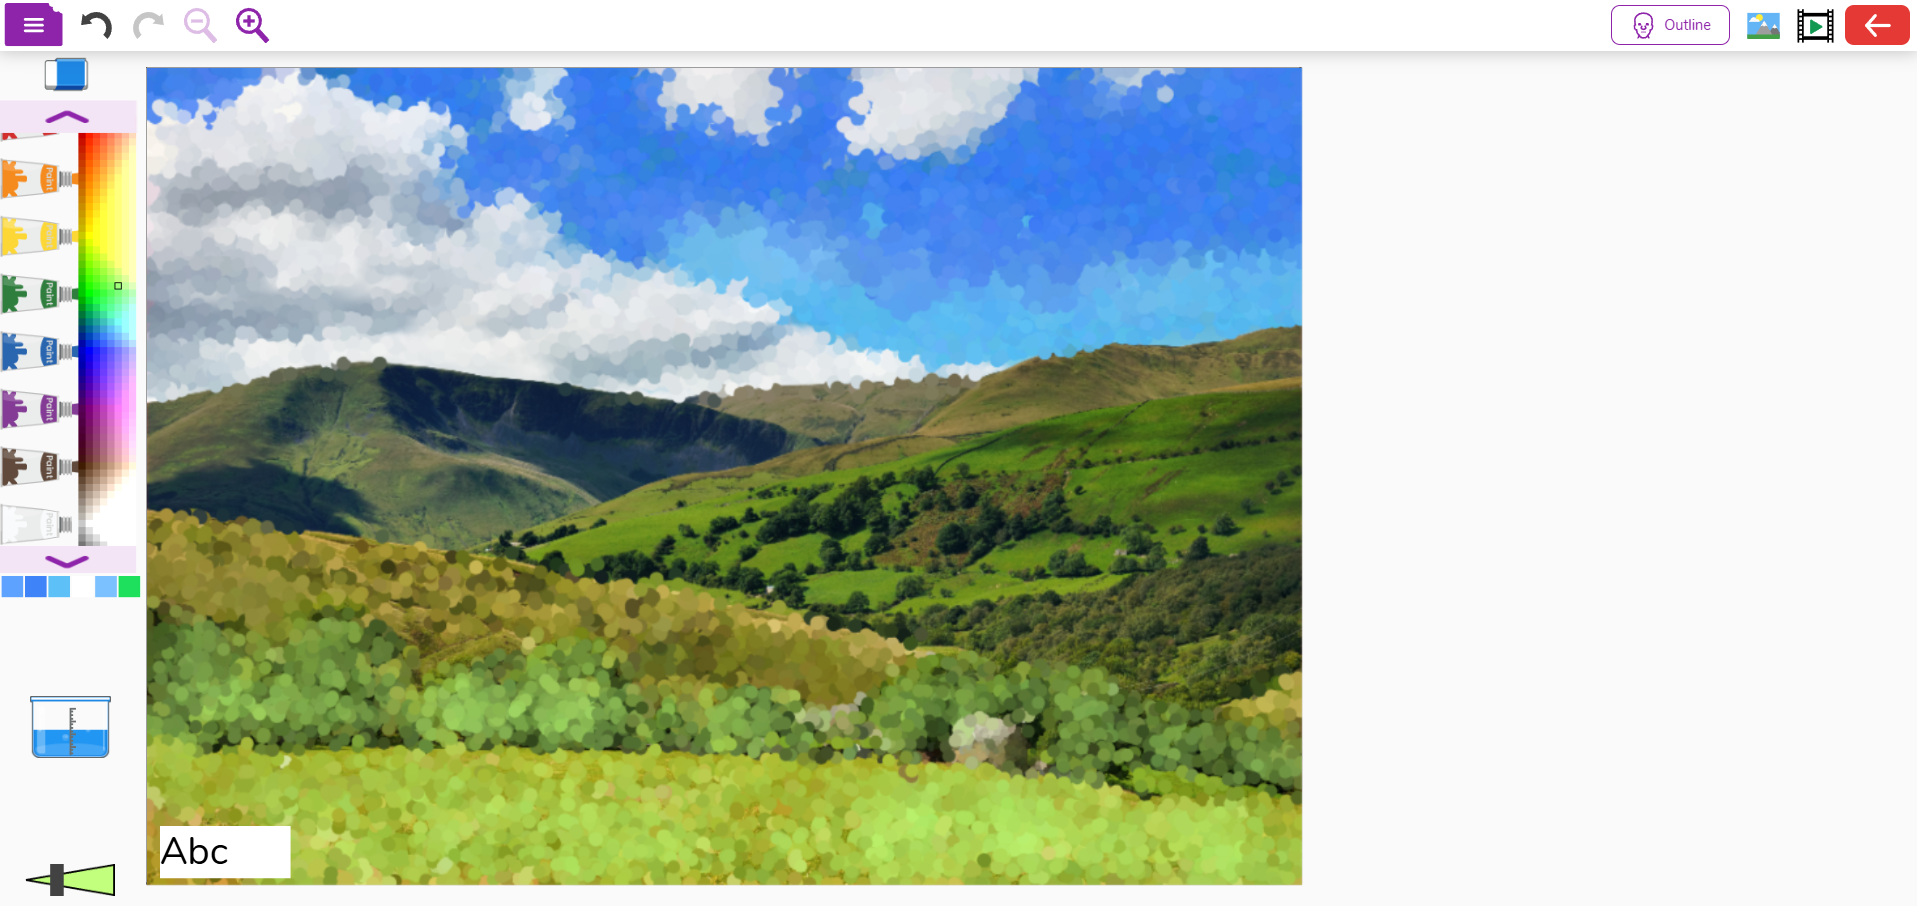
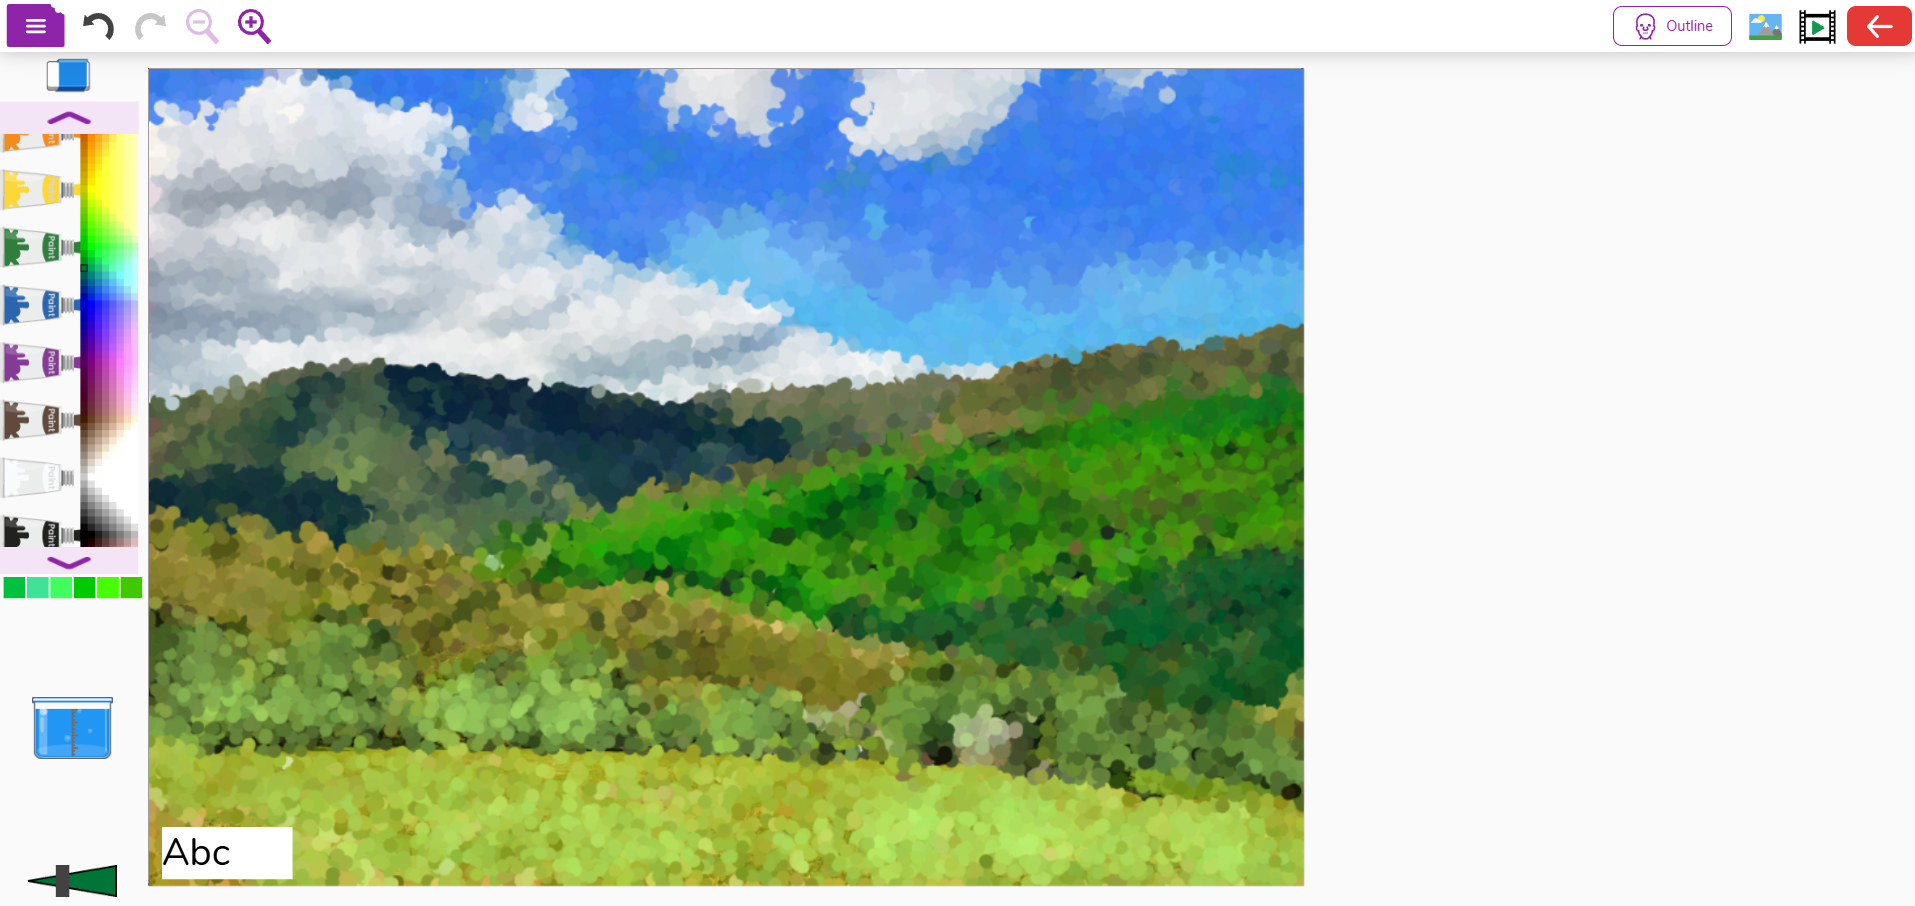
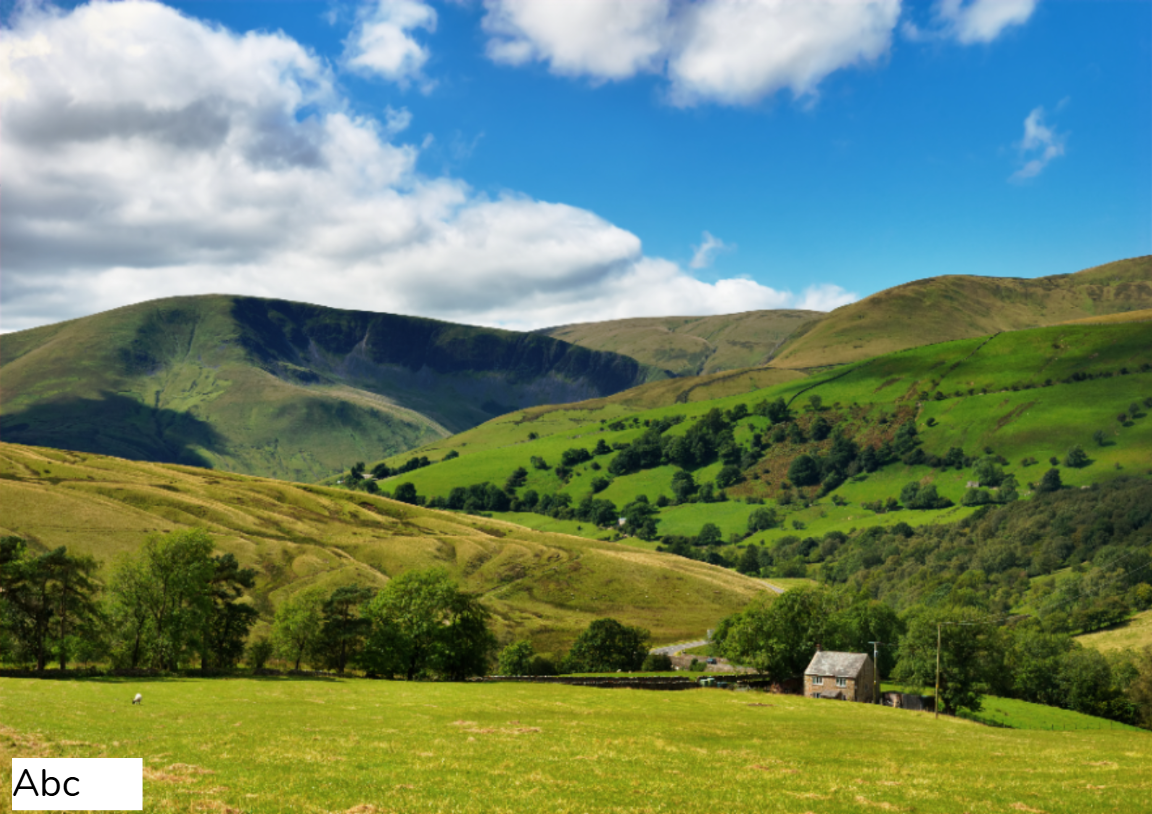
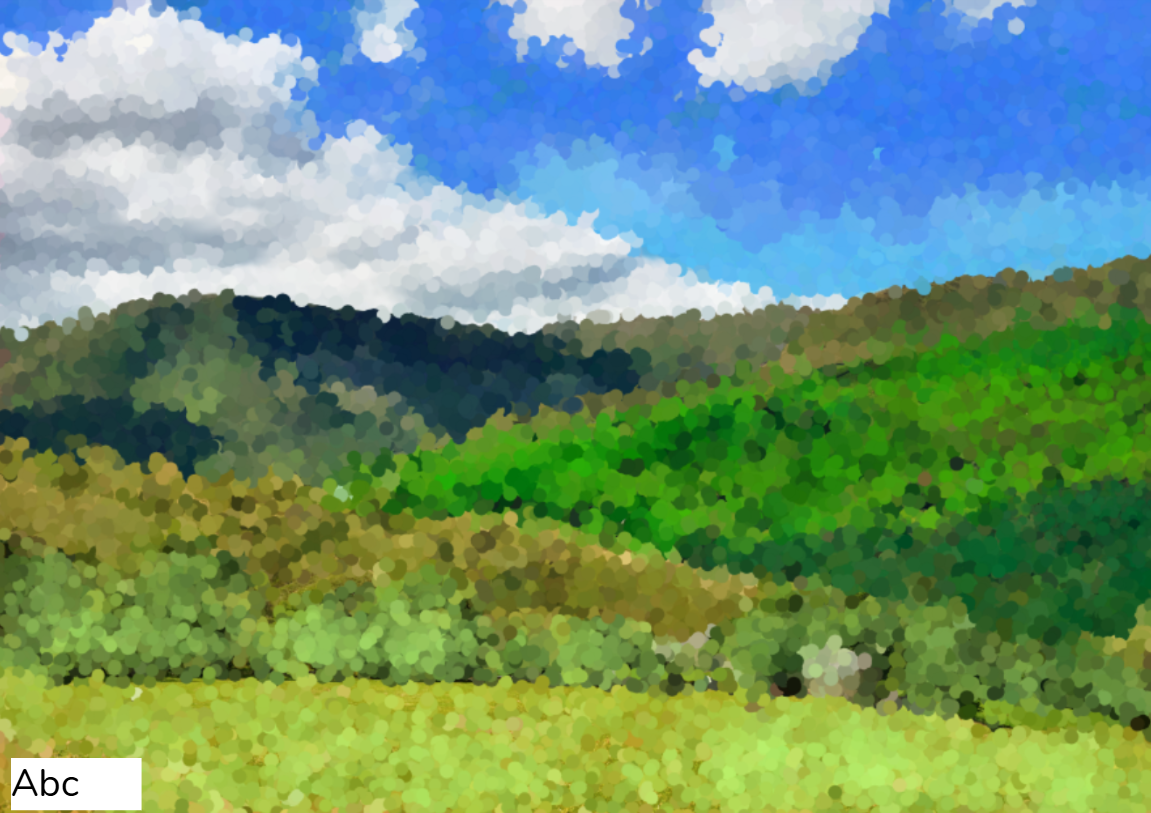
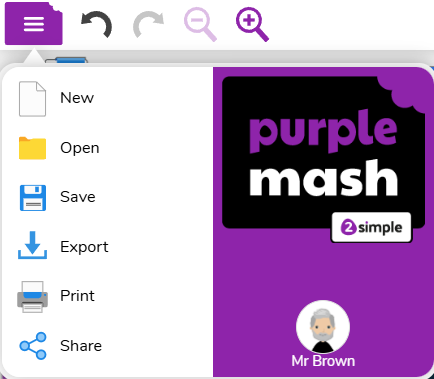
At the end, check they have covered the entire image and have made good use of colour and brush size. Ask them to save their work from the file menu.
Impressionism task 2
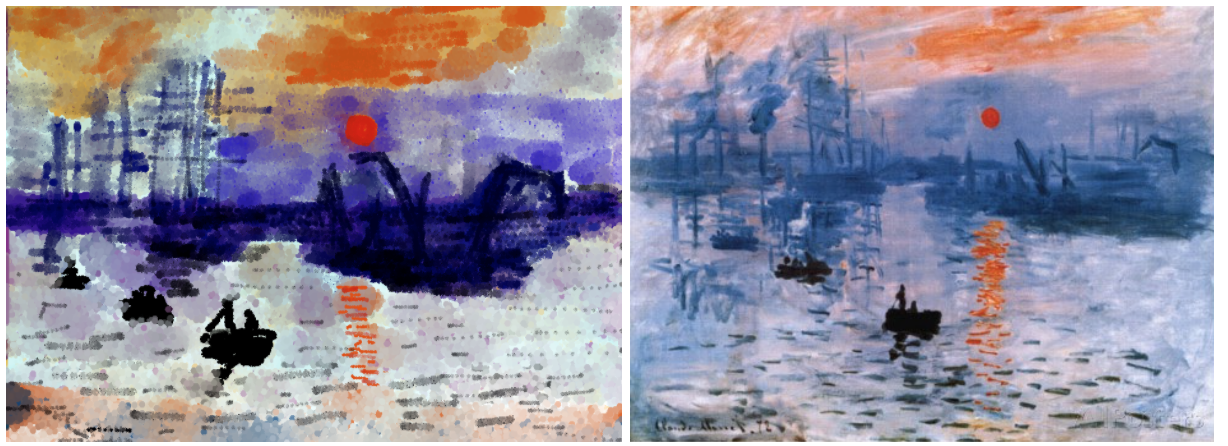
To follow this, ask the class to have a go at either replicating one of the famous impressionist paintings from the lesson slides (or find some of your own) or perhaps to create an impressionistic version of a photograph, like the landscapes photos in the lesson slides (or some of your own). If you want to print off the images so it's easier for the students to have the examples next to them, you can access the examples on their own HERE, and then print them from the File menu.
Here’s an example of Sunrise by Claude Monet created with 2Paint a Picture (can you spot the original?!!)
Plenary
If they save to the shared area you can open some of the students' work up on screen and evaluate as a class how closely they stuck to the artistic style they were trying to replicate, and compare it to the image they were working from.
- Did your creation match the impressionistic style?
- Could it have been improved in any way?
- Did you make use of the water tool?
- What did you like or dislike about the tools?