
KS1 sample lesson
An Introduction to Animation - Lesson 4
Objectives
- To compare 2D and stop motion animation.
- To experiment with stop motion animation.
- To work successfully in a team
Lesson Resources
- Lesson Slides
- iPads with iMotion or a PC with a tabletop webcams (1:2)
- Building bricks (e.g. LEGO, Duplo, Multilink etc)
- Small whiteboards and pens
- Blu Tack
Before you start
Stop motion animation is brilliant fun but does require the right equipment. Read on for which is the best option for you.
Using a tablet
The best option (for ease of use) is probably to use tablets, however they will need a case that will allow them to stand up on a table by themselves.
Our lessons use the free app iMotion. Other animation apps are also available, but this one is great, and free!


Using a PC with a tabletop webcam
For animating with computers, the lessons describe using 2Animate from 2Simple. You will also need a webcam for your PC or laptops that can stand on the table (a bit like these).

If you don’t have tablets or webcams available in your school we have some that are available for loan. Contact teachictnt@ntlp.org.uk to request a loan.
Introduction
Begin by recapping what the children have done in the last few weeks using 2Animate. Which tools did we use with 2Animate? How did we use the select tool? What did the inbetweening tool do? What were the advantages of these tools?
Can you remember discussing stop motion animation in our first lesson? Let’s take a look at an example of stop motion you might know. Take a look at the video about CBBC show ‘Shaun the Sheep’. The video is great, but quite long so you might want to skip to the focus on animation, which begins at 03:45 through to about 06:35.
You can find the video at:
https://www.bbc.co.uk/cbbc/watch/p01rrgt8
Ask the children to look out for the equipment that they can see being used on the set. What do they use to create the animations?
The key point here is that the animation is made with a normal (but very good quality) camera, not a video camera. Here it is highlighted in these stills from the video:

What’s the main difference between this and 2D animations?
Stop motion animation is all about taking photos (frames) of objects. This makes it a little different to the 2D animation they have done with drawings on the computer so far.
Tell the children that in the next few lessons they’re going to be trying out lots of little stop motion projects to practise their animation skills. They should work with a partner where possible and teamwork is a big part of how successful they will be.
Setting up your camera
The first step to successful stop motion is knowing a little bit about the equipment you’ll be using and how to set it up well. The only thing we want to move while we animate are the objects or figures in our scenes, the camera itself should never move.
Begin by demonstrating how to set up the equipment on the table.
Stand up your tablet on the table in its case (landscape) making sure you have some table space next to it for the animating.

If you’re using a laptop or PC, set it up a bit like this. Consider sticking down the camera to the table with a strip of masking tape or a lump of Blu-tack underneath.
Again, clear some space to the side so there’s room to animate. If you’re working in an ICT suite put some of the keyboards and mice away. As the children are working in pairs you shouldn’t need all your computers.
Introduce the software - Tablets
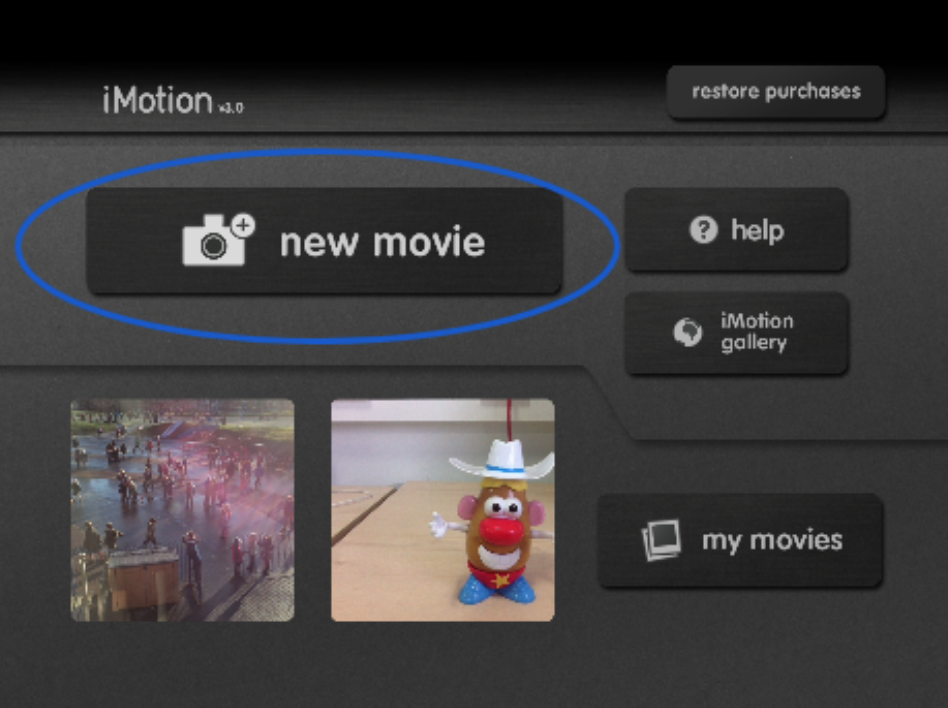
On a tablet, open iMotion and select new movie.
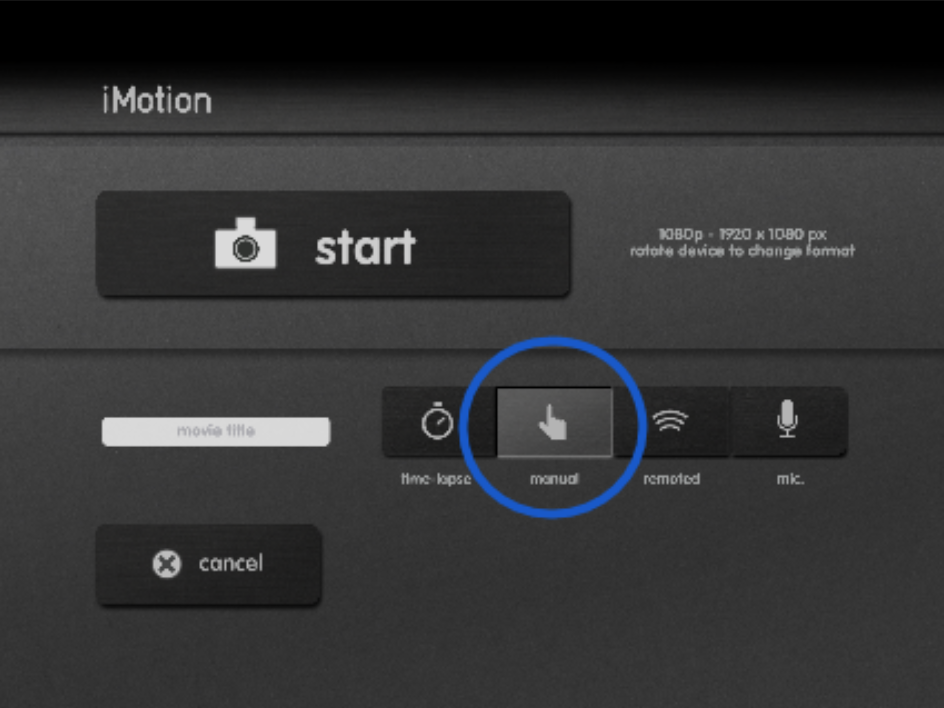
The next screen gives you choices about how you capture the frames. Make sure everyone chooses the manual option.
Taking photos, or capturing frames is really easy after that, just tap the big capture button. This will take one frame. The images counter at the top of the screen shows how many frames you have captured in total.

You can now skip onto the first task if you're using iPads.
Introduce the software - PCs
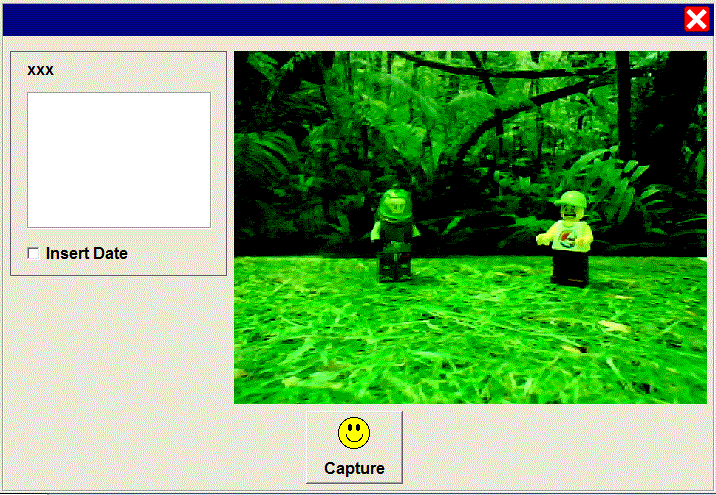
Open 2 Animate in Advanced mode.

Turn on the webcam option by going into the teacher options (Hold Ctrl, Shift+O) and tick the webcam button option.

Then go to the Animation tab and select the webcam you want to use, if your laptop or computer has a built in camera this may also appear in the list, the external camera will usually be the last one in the list. Once selected, click OK to return to the main animating screen.

Then start a new file from the paper icon and choose Large for the animation size.

Add lots of empty frames (about 20 for this demo, but more like 50 when they start their own animations) before you start animating, it’s better if this is done at the start. Then click on the camera icon at the top of the screen.

This will show your live camera feed. Once you can see this, adjust the camera position if needed. The Capture button at the bottom of the screen will capture frames.
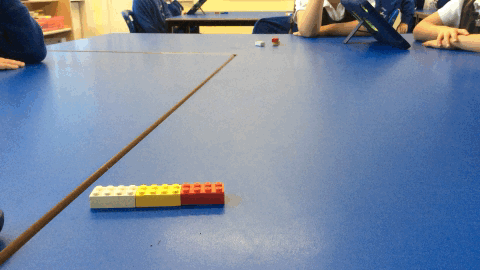
Stop motion challenge 1 - A single brick
A great way to start is to just give each pair a single building brick to animate. This helps them focus on the animating skills of very small movements, capturing frames and keeping the camera still. Emphasise again they must not pick up the camera at any time.
Place the building brick in the middle of the shot and show how to capture a frame. Then move the brick a very small amount, remove your hand from the frame and take another frame. Repeat this process, moving the brick around the table or rotating it. Each time remind them about waiting until the person moving the brick has finished (and is out of the way) before capturing the frame.
Encourage them to extend movements by taking ‘the long way round’ as shown here:

Around 30/40 frames should be enough to create some interesting movements. When you’re finished, in iMotion press the Stop button twice. The slider at the bottom of the screen then controls the speed of the playback in frames per second. 5-8 is usually a good speed to set it on.

In 2Animate close the camera window and press the normal green play button at the top of the screen to watch it back.
Here’s an example of a simple one brick animation:

Saving your work
In iMotion tap export to save. Bear in mind that the saved video will run at the fps speed that the slider is currently on. So adjust that if necessary before exporting.

This gives a number of options. You can save as a video (which can be played back on the iPad or added to other apps for editing or presentation) or gif (which is lower quality but is an image file and as a result can be added to documents like this, like the example above). Export it to the photo library.

Click Close and then Home to start a new animation.
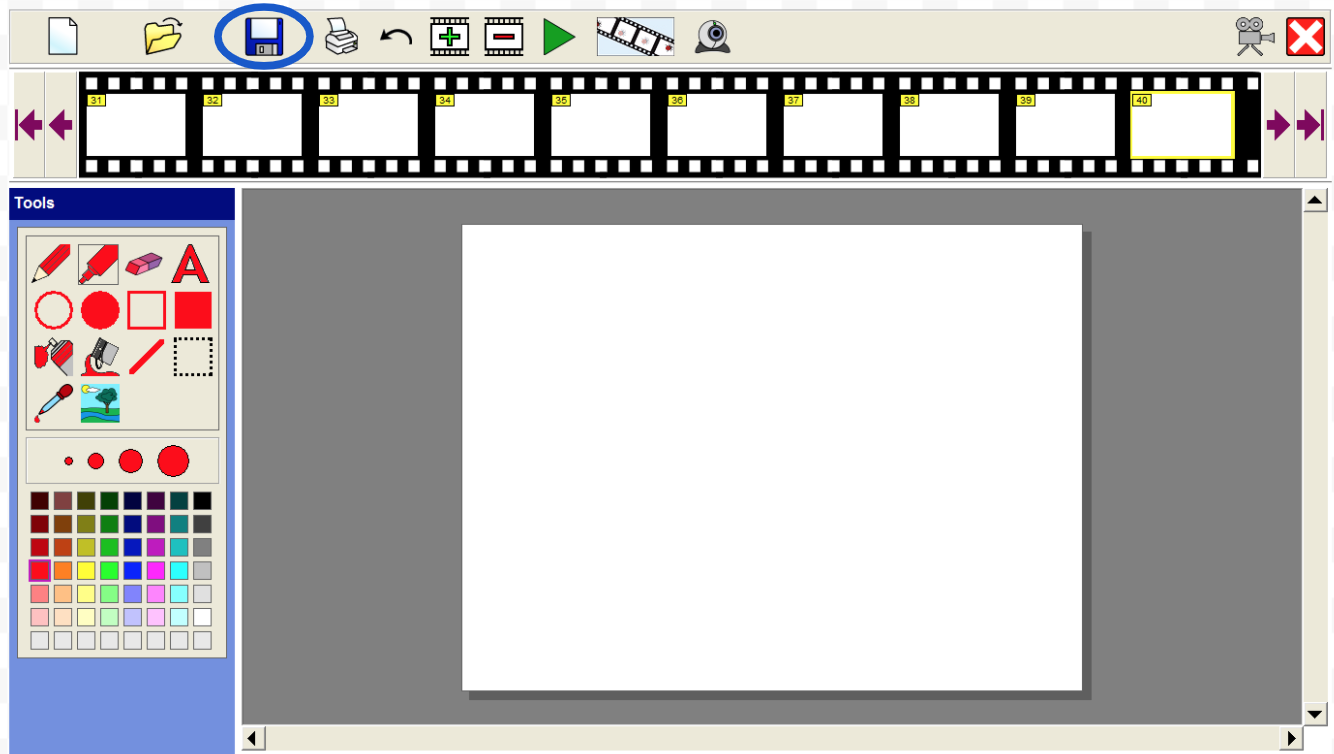
In 2Animate this is just done with the normal save (floppy disk) icon at the top of the screen.

Stop motion challenge 2 - More bricks!
They may want a couple of goes at challenge 1 to get the hang of it or to improve on their first effort, but when they’re ready you can give them some more bricks.
There are lots of options for how they can work with a few bricks. Demonstrate a couple to give them some ideas.
They can animate them all moving around the table, like this:

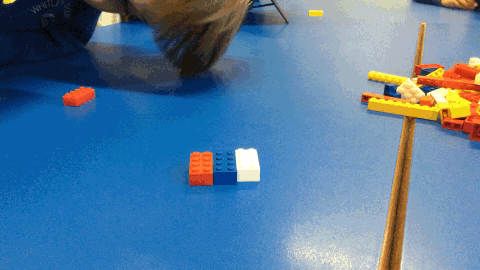

Or make them move and build themselves into a little stack:


Each time remind them to move the bricks in very small steps, don’t move the camera and to try and get their hands out of the way before capturing the frames. Also make sure they take it in turns to have a turn at moving the bricks and operating the camera.
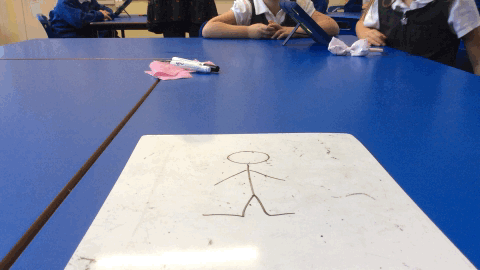
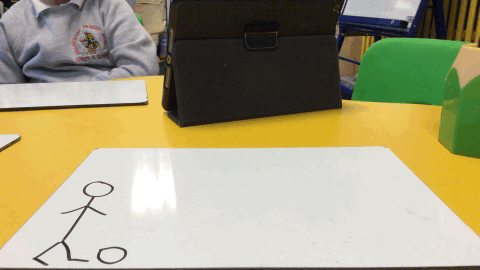
Stop motion challenge 3 - Dancing people
Another nice challenge is to take things back to drawing, but using stop motion instead of on the computer. Give each pair a whiteboard and pen and a small amount of Blu-tack. Get the camera in position looking directly at the whiteboard while it is flat on the table and then stick the board to the table with the Blu-Tack. This stops it slipping around and also reduces the temptation of the children to pick it up as they create their drawings. Try and position the camera so its still easy for them to get to the board.
Start with a stick person. You can animate the person appearing by drawing a bit at a time and capturing a frame in between each step. Then make one of the arms move by drawing in a new arm, just above the original, then rub out the old one and capture a frame. Repeat this a few more times to move the arm up and then back down. Whiteboards make it very quick and easy to edit the drawing. You can then make other body parts move too, like the head, legs or feet.
Here’s a couple of examples:


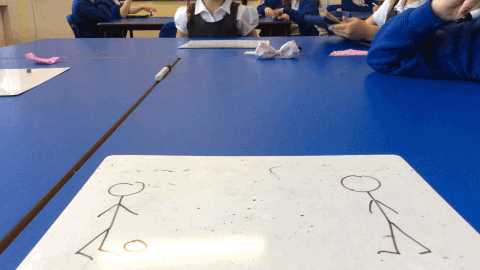
Stop motion challenge 4 - Stick people sports
Finally, ask the children to have a go at making a short sports based animation using two stick people. They could be passing, throwing or bouncing a ball or other sporting object, but keep it really simple and again emphasise small movements, teamwork and patience!
Here’s a couple of examples:


Plenary
If you have time, show some examples of work produced in the lesson.
If you’ve used tablets and have the ability to ‘screen mirror’ to the classroom projector or board, you can show them directly from any device. Otherwise, once they have been exported to the Photo Library they could be AirDropped to a teacher device that can connect to the board, or once on the teacher device, you could connect it to a PC with a USB cable and transfer the video files to be shown that way.
If you’ve used 2Animate on PCs, ask the children to save to your shared area so you can open their files on the computer connected to your big screen.
As you watch each one, ask the class to look out for what they did well and what could be improved.
- Did they keep the camera still?
- Did they move things in small steps?
- Did they manage to get their hands out of the way?