
What is a network?
Inside the internet - Lesson 1
Objectives
- To know and explain the purpose of key components in a typical school network
- To draw, label and explain a typical school network
- To know and explain the services offered by a typical school network
Lesson Resources
- Lesson slides
- Build your own network - role play cards
- Mapping Network support sheet
- See Mrs Fitrzyk and pupils from Markland Hill Primary School in Bolton learn about networks
- Playground and chalks, or school hall and different coloured string or wool.
- A class list of pupils
Lesson 1 - What is a network?
Lesson 2 - What is the Internet?
Lesson 3 - What is HTML?
Lesson 4 - Remixing the web
Lesson 5 - HTML and CSS
Lesson 6 - More HTML and CSS tinkering
Unit introduction
This lesson adapted from code-it.org.uk by Phil Bagge on a Creative Commons licence. The original planning can be found on Phil's excellent site here.
This unit aims to help students understand both how the Internet works and also how it is built with code. The first two lessons look at the journeys that data takes as it moves around the internet and the following lessons look at web coding with HTML and CSS, how that can be remixed and how students can begin to build their own web content by using and remixing code.
Key terms and information (read before lesson)
Be sure to check out the key vocabulary on the unit home page before you start this lesson! You can find it here.
Some key things to know about are also listed below:
Server - The heart of any school network is the server or servers. These are computers made from the best components. Typically schools spend 10 times as much money on a server than any other computer. Find out where your servers are stored. Servers are rarely turned off.
Server Jobs - Manage a list of people who are allowed on the network (logon), hold all school saved work, manage printers.
Switch - A box that switches data from one computer to another. Schools can have lots of switches but this model is best served by one. All wired computers connect back to the switch.
Wireless Access Point (WAP) - A box that takes data from a wired network and converts it into wireless signals. Schools can have lots of WAPs but our model is best served by one.
Router - A box that connects the a household, business or the school’s network to the internet. There are millions of routers across the world that route data from one location to another via the internet.
Firewall - Software that tries to reduce the amount of viruses, malicious software and hackers that can come into the school network from the Internet.
Proxy server - A proxy server improves Internet access speeds from a network primarily by using a caching system. Caching saves recently viewed Web sites, images, and files on a local hard drive so that they don't have to be downloaded from the Web again. The other main purpose a proxy server is to filter what is allowed into the network. The proxy server can limit what Web sites users on the network can access.
Wired Network - These are wires that go from the switch to every wired computer. These are typically much faster than wireless connections and are usually ethernet cables. On our diagram these will be solid lines.
Wireless Network - Signals that pass through the air from the wireless access point to laptops or tablets.
Laptops - Most laptops are wireless computers managed by the server.
Computers or PCs - Personal computers that are managed by the server, typically these are wired into the network. Every school is different but if you have a suite or banks of computers they are most likely to be wired.
iPads or Android Tablets - Typically most of these devices are not managed by the server but do use the network to access the internet and sometimes share media such as photos and videos Every network is different but this basic model is similar to most primary school networks.
Introduction
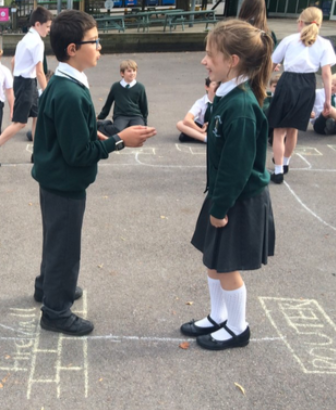
The lesson is best done on the playground with chalks, but could also be done in a hall with cards and string replacing chalk labels and lines.
You can use our 'Build your own network role play cards' to help you with this activity. The diagram on the first slide is to show you roughly how the whole thing can be laid out, and where you will need children to play the various roles.
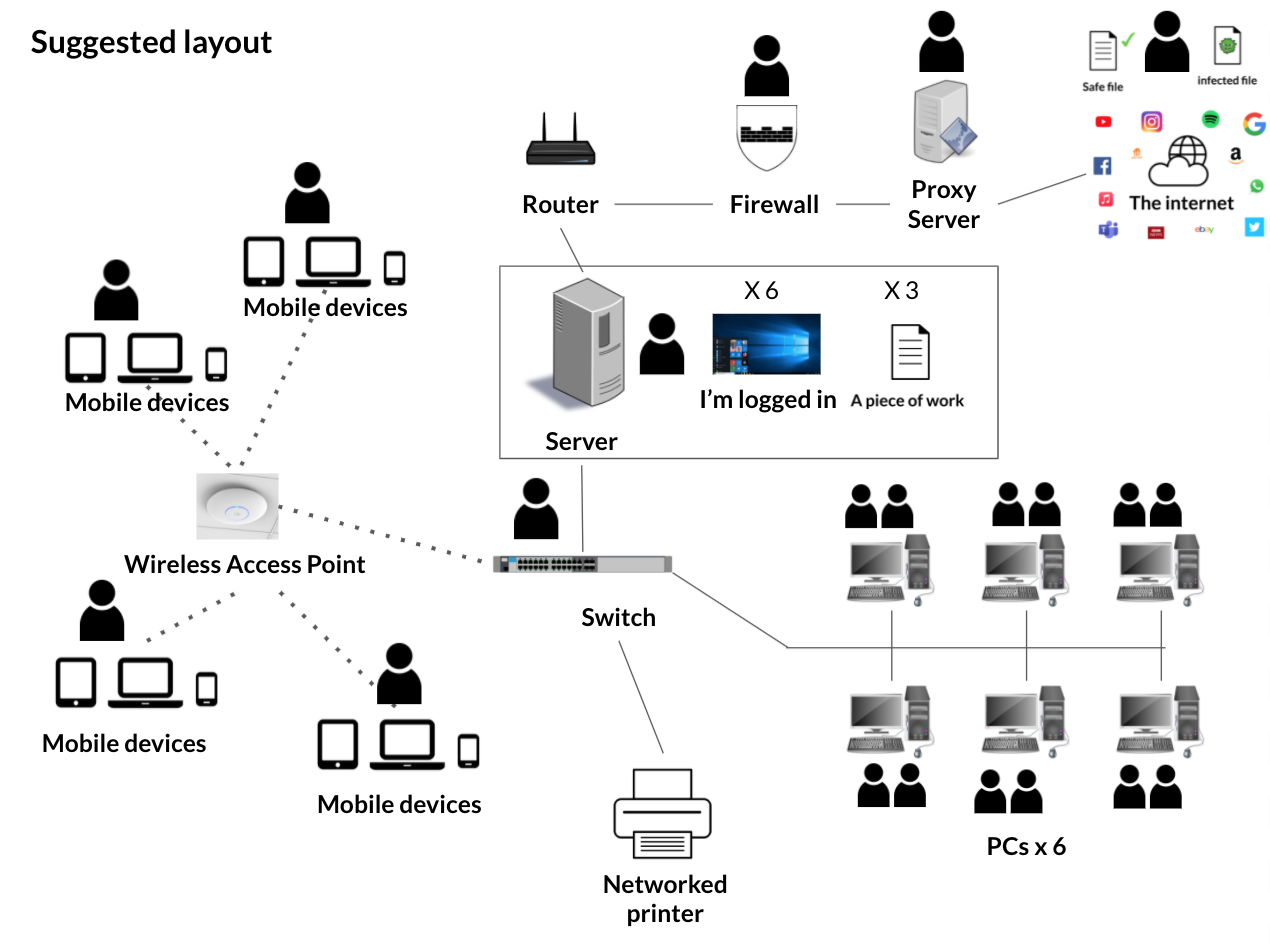
Before the lesson go out onto the playground and mark in the main server, computers (PCs), laptops, tablets, switch, wireless access point, router, firewall, proxy server and the internet. Don’t mark in the wires or wireless connections as you will do this in the lesson. (Alternatively if doing the activity inside, lay out the cards for the same equipment listed above).
Take your pupils outside and position them near to the model but not on it.
Server
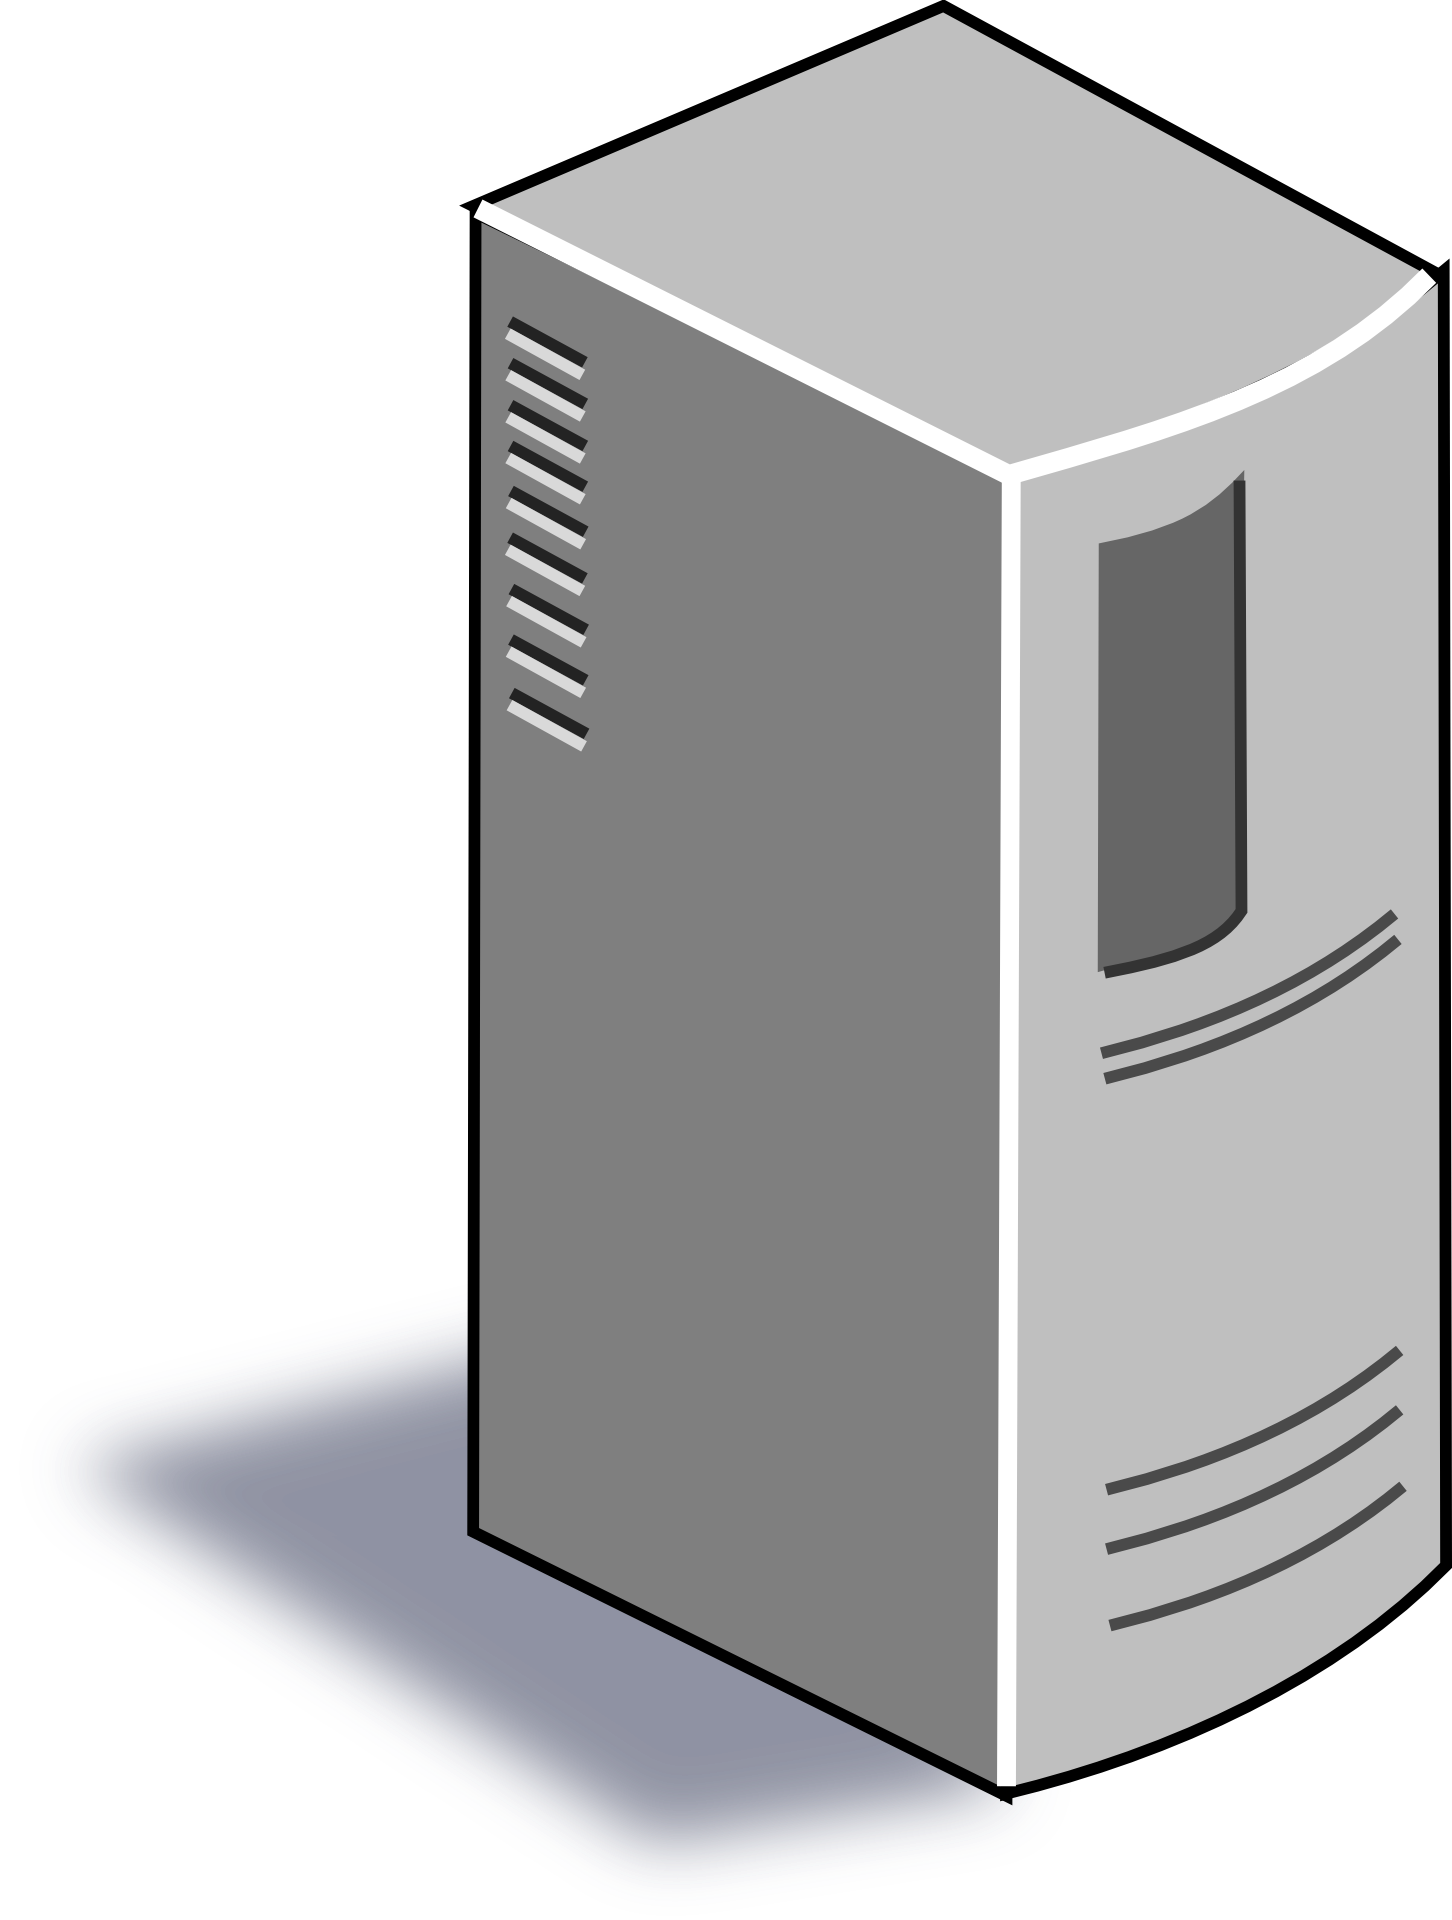
(Image courtesy of Pixy.org)
Start with the server. Mention that it is the most important computer in the school and that it is typically 10 times more expensive than other school computers. Explain that it has a list of everyone's names who are allowed on the school network and that it holds everyone's saved files. It helps to mention specific projects that they have saved recently. Choose a sensible child to model the server and sit them behind your drawing/card of a server. Give them a class list to check when pupils try to logon "Let me see if you are on the server list" "Do you have an account I recognise?"
Switch
![]()
(Image courtesy of Pixabay.com)
Now draw a line (or use string/wool) from the server to switch box. Explain that the switch carries signals from the server to every other computer on your network and back again. You may wish to show the pupils an old switch if you have one in a cupboard.
Log on
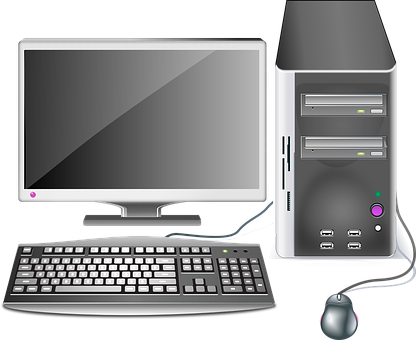
(Image courtesy of Pixabay.com)
Continue your line (string/wool) from your switch box to link up one wired computer (PCs). Sit a child behind the marked PC and choose another child to carry the data requests from the PC. Ask the child to logon, what message should they send to the server?
Answer: The username and password for the user trying to log on.
(If your school network uses passwords let your children say password instead of their real password so they are not sharing their actual password with the group) The data child will now carry the username and password to the server along the wires. When they get to the server they will tell the server the information, the server will check this on the list and if it is the same, will send them back to tell the computer it can logon.
Ask the class - What will happen if we spell our username incorrectly or get our password wrong? If this happens the server won’t find the user on its list and won’t let them login. Draw wires (or use string/wool) to connect the other wired computers and place children behind them. Add another child for each computer as the data carrier.
Opening Files

(Image courtesy of thenounproject.com)
When you get to the last wired PC get them to logon like the first one did. Now ask them to think of a piece of work they saved recently. Ask them to send the data child to open the file and bring it back to work on. The data should go along the wires, through the switch and ask the server for the file before bringing it back for the computer. If it is saved and closed the data should take it back to the server. Model this with one computer (and pupil helpers).
Connecting Wireless Computers
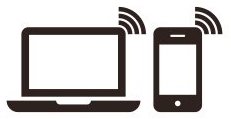
(Image courtesy of Pixy.org)
Now wire up the switch to the wireless access point (with chalk/string/wool). Explain that this converts the signal from data in a wire to data that can be carried through the air. Draw a dashed line (or a different colour of string/wool) to one of the wireless laptops. You may wish to ‘logon’ and 'open a file' to demonstrate that this uses the same procedure as the wired computers for logon and file opening.
Connecting to the Internet

(Image courtesy of thenounproject.com)
Explain that not every computer on the network is controlled by the server, iPads and Android tablets don’t logon to the server and many don’t save work on the server either.
However they do connect to the Internet through the school network. Connect up any tablets you have drawn on your network (with dotted lines or the same coloured string/wool you used for wireless connections earlier). And connect the switch to the router by a solid line. Explain that this carries signals beyond the school all over the world to fetch web pages, emails, videos and other internet services. Now join the router to the firewall. Appoint a child to be the firewall and explain that their job is to check data to see if it has viruses before letting it in or out of the school.
(Image - The firewall checks a piece of data for viruses before the data completes its job)
If it does find a virus it locks the data down so it can be cleaned or deleted. Now connect up the firewall to the routers and websites. Model a child looking up a webpage on a tablet, laptop or PC, They send the data off to find the webpage, through the switch, through the router, through the firewall, through other routers until they find the web server. They collect the page and return it back to their original device. This takes less than half a second typically!

(Image - data travels towards the router as a web search takes place)
Network Printing

(Image courtesy of thenounproject.com)
You may wish to add a printer to your model and model an open document being sent to the server and then to the printer. On your school network your servers manage the printing queues. If you were at home the page would go straight to the printer.
Network Role play
Make sure every computer has a data child. Before you start tell pupils that you will get them to swap roles half way through the role play.
At the end of the role play lead a brief class discussion about what they found out. Ask the class - Did they spot any bottlenecks where lots of data was trying to do the same thing? The queue for the server is the obvious one. On larger networks there are often more than one server to speed the process up.
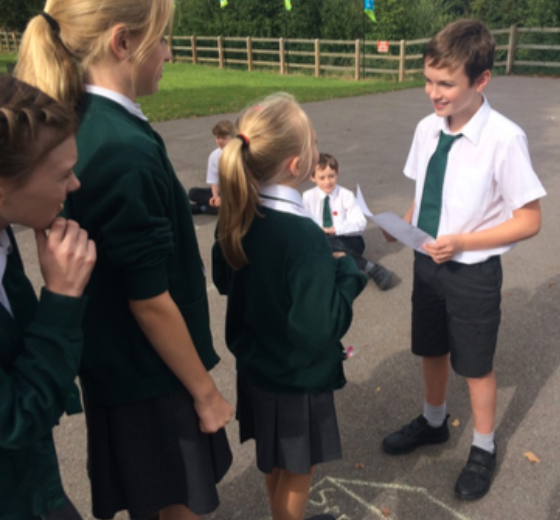
Image - The server checks the list to see if users can logon. Note the bottleneck that has built up because everyone is logging on at the same time)
Creating their own Map
Get all pupils to leave the map. Explain that they are going to draw the network and explain how some of it works. Get them to look at the playground map and memorise the key features. Lead them back to class before handing out the network map sheets.
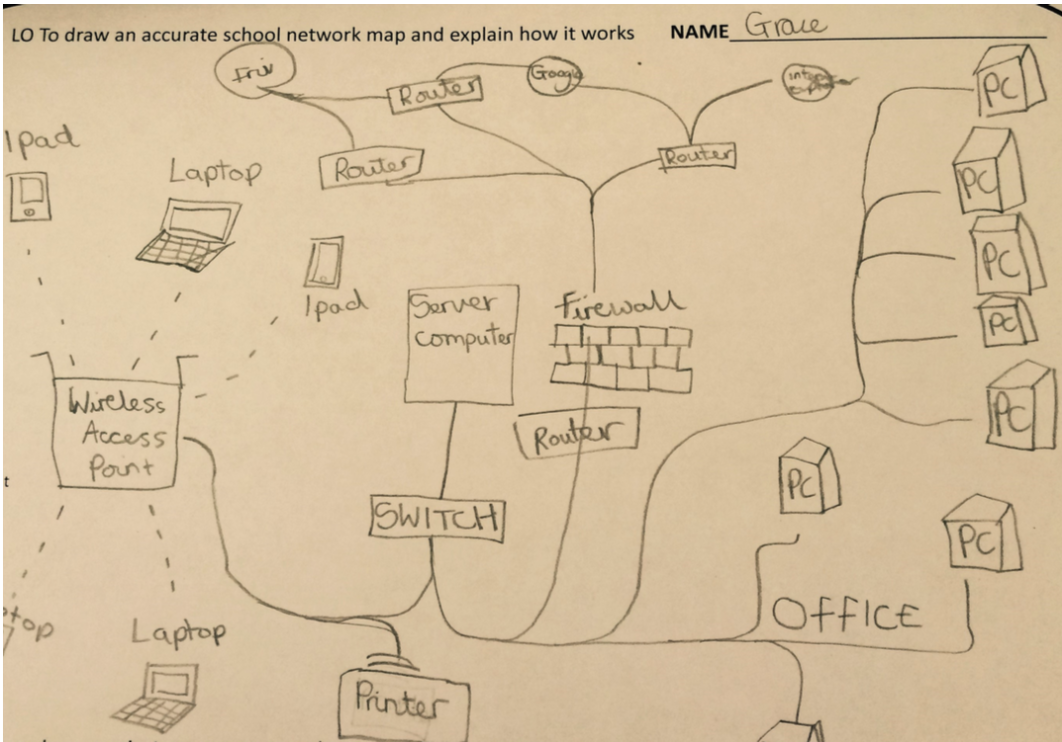
(Image - Grace shows one possible layout in her diagram above.)
Plenary
Review the purposes of some of the key equipment in a network that they should have added to their diagram, asking students to explain what each part does.
Give out Internet Use Homework Sheet to be used in the next lesson.