
Building your site
Building Collaborative Websites - Lessons 3, 4 and 5
Objectives
- To work effectively with others on a collaborative document or application
- Understand that images, sounds and text can be subject to copyright and abide by copyright rules.
- Make use of reviewing tools (comments) to collaborate and evaluate each other’s work.
- Independently select, and import images, video and sounds from a variety of sources to enhance projects.
Lesson Resources
- Lesson slides
- Group planning documents as described in 'Before you start' (one for each group)
Pre-lesson guidance - Before you start
Lesson 1 - Starting the research
Lesson 2 - Planning the website
Lessons 3, 4 & 5 - Building your site
Lesson 6 - Evaluating the sites
Introduction
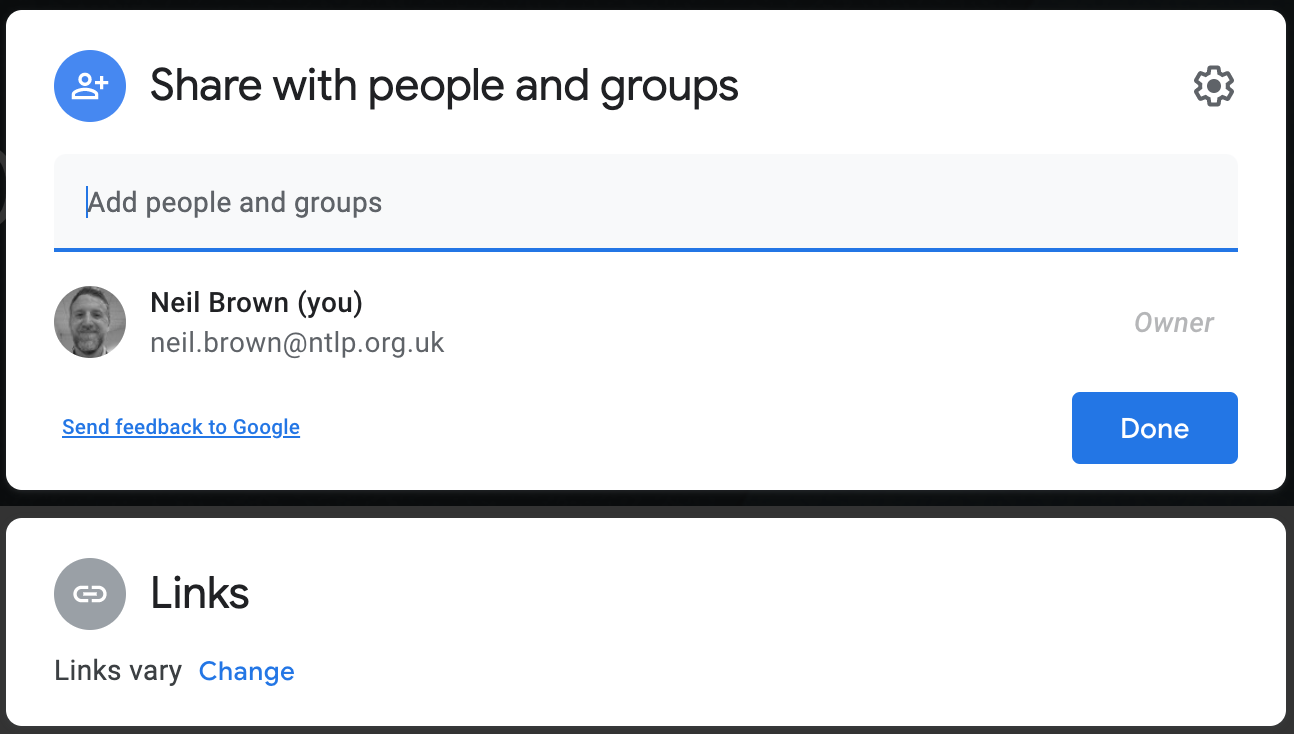
Prior to this lesson beginning, share the basic websites you created with each team. This can be done when the sites are open on your screen by clicking the add collaborators icon

Then add in the email addresses of the group members to the Add people and groups box and press the Done button.
Alternatively, sharing can be done directly from Google Drive by right-clicking each site in your folder and choosing Share, then add the email addresses in the same way.

Sharing the sites with either of these methods will send an email to the students to notify them and also add the site to their Google Drive in the Shared with Me section.
Getting started with their site
From here the project becomes very open ended in terms of how they will present the information on their site and what they will add. However, they should be encouraged to make it a multimedia experience that is well presented with consideration for audience. The best sites will have consistency throughout and will have considered layout, use of colour, language and overall how engaging the site is to their intended audience.
Their site may contain some of the following:
- Text
- Images, these could be:
- Images sourced from the internet labelled for reuse
- Photographs they have taken themselves
- Illustrations that they have created themselves in other applications
- Image slideshows created with Google presentations
- Google Maps
- Videos - Self made, downloaded (add via Google Drive) or from Youtube (if available).
- Sound files - music, pupils speaking, interviews
- Quizzes made with Google forms
- Links to other useful and appropriate websites
Their job is to take all the information they have found from different places and make it all sound like it came from the same place and is suitable for their audience.
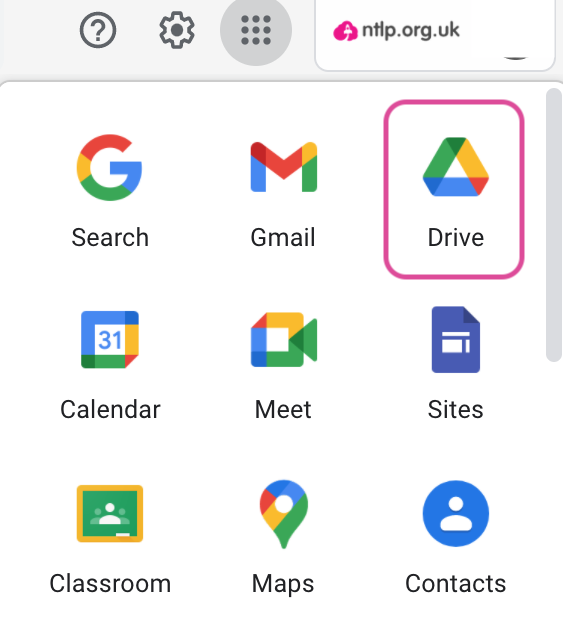
Show the students how to get to their team site via their Google Drive. They can open Drive directly from the home page of NTLP, or go to your Google apps via the nine dots in the top right of your screen and choose Drive:
How to guides:
Below you will find guides for editing your site and adding a range of content. Show your students how to add these different types of content during these ‘building’ lessons, starting with pages, themes, text and images and multimedia content later:
This is the contents list for our guides:
- Customising the site - Themes, Colours, and Fonts
- Adding pages
- Layouts
- Adding and editing text
- Adding images
- Adding a slideshow of images
- Adding Google maps
- Adding videos
- Youtube
- Videos from other sources
- Adding hyperlinks
- Adding quizzes using Google Forms
- Previewing your site
Customising the site - Themes, Colours, and Fonts
You can customise many aspects of the look and feel of the site, but Google Sites will give you some steering of choices.
It’s usually sensible to demonstrate this early on as it might then affect the other design and layout choice the groups make. You might also decide to just show this to managers (call them to the front while the rest of the teams are adding content to their sites.) and then let them go back and make the changes they want (following a discussion with their team).
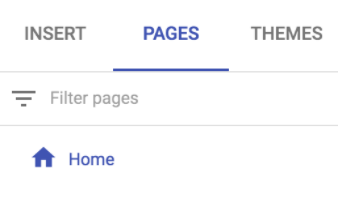
Go to the THEMES tab in the right-hand menu (most things are created from here in this newer version of sites)
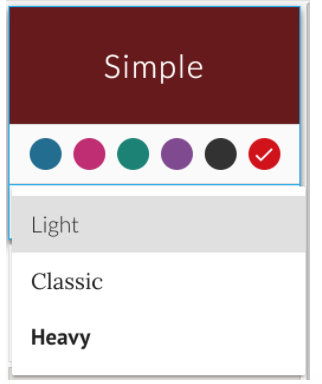
Here you’ll see a range of Themes that you can choose for your site. Each one will alter the overall colour theme as well as main fonts for your pages. However, each one can also be customised.
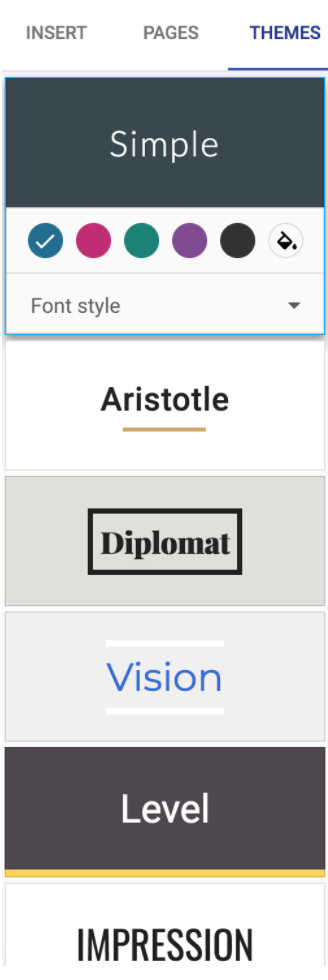
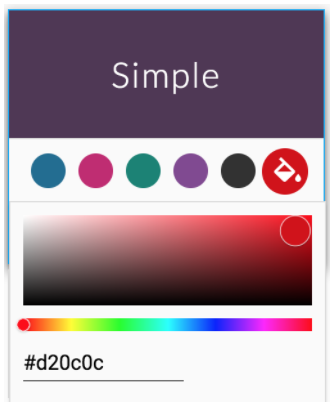
Click on each theme and you’ll see five colour choices for the theme, pick any of those or choose your own with the pain can button.
Clicking on Font style with give you three choices
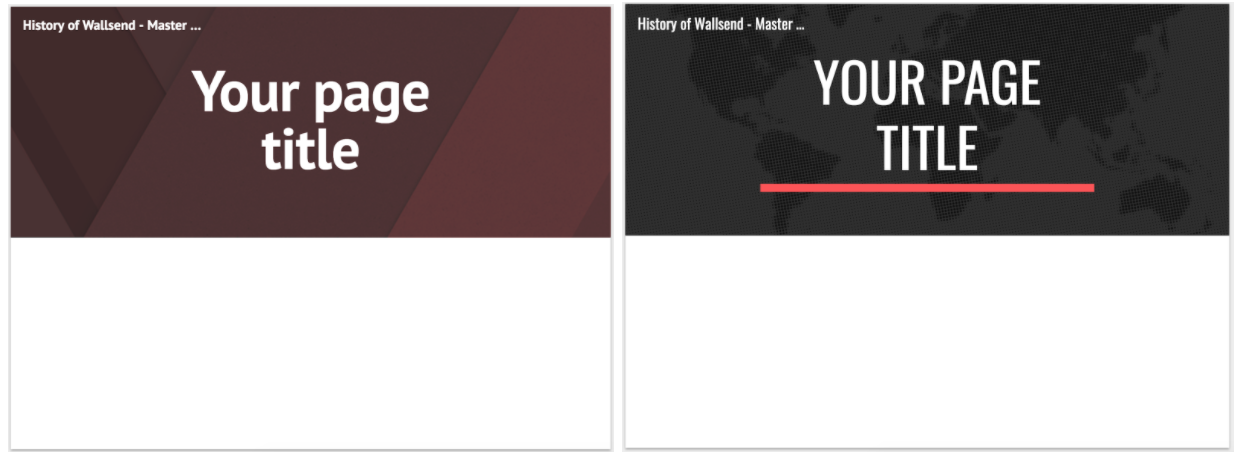
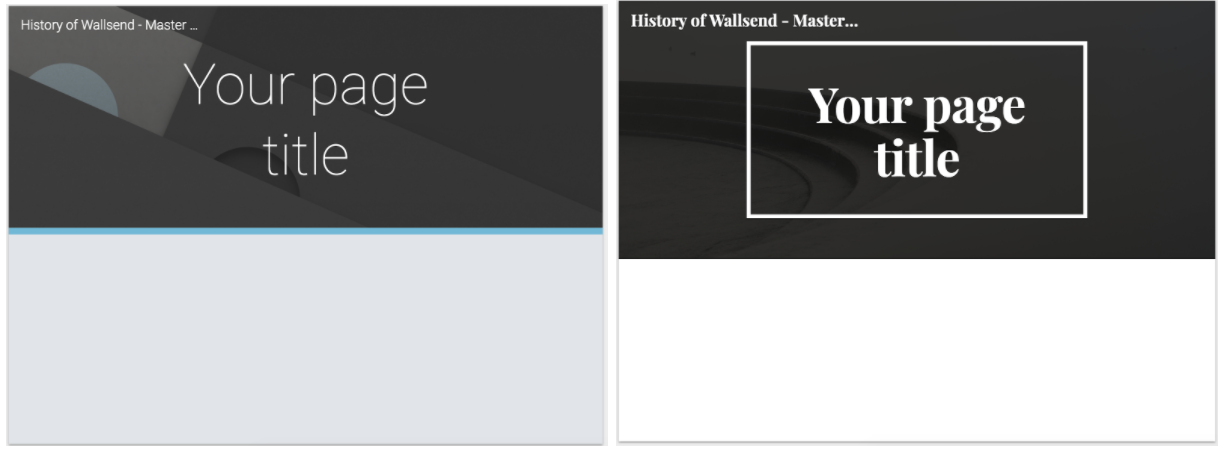
You can see from these examples how the empty homepage will immediately change to match the theme you choose.
You can do lots more to personalise the site, which we’ll look at next.
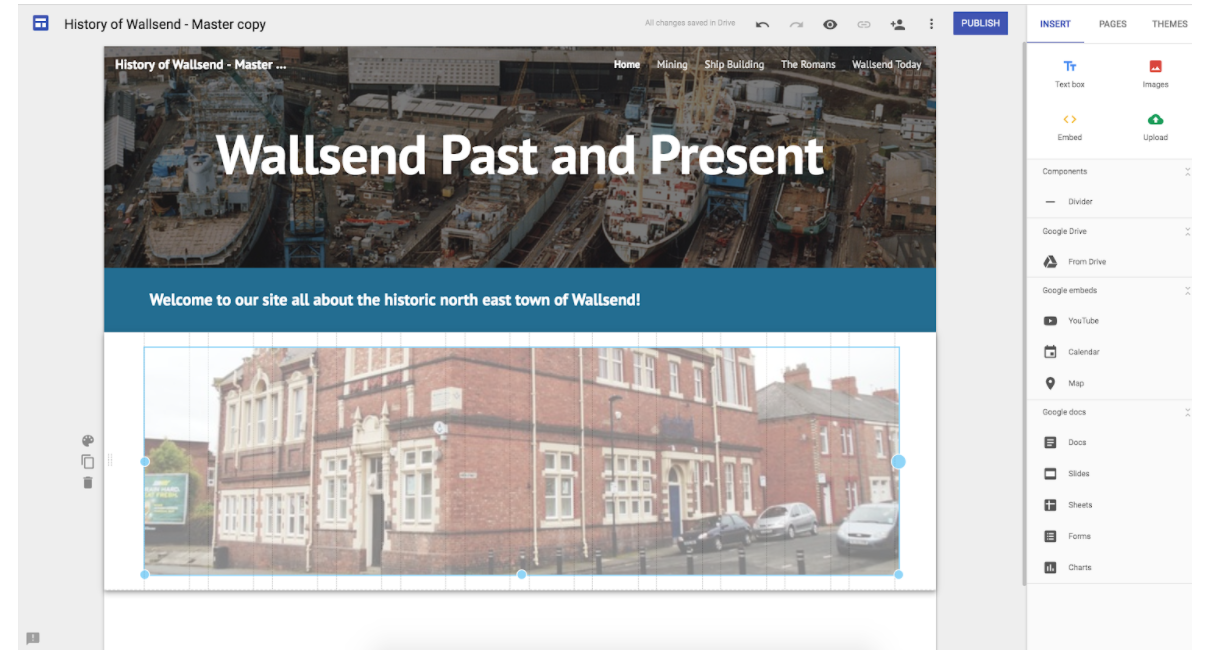
If you hover over the title banner on the main page you’ll see some options buttons appear.

Header type lets you choose the size of the title banner at the top of the page, there are four options:

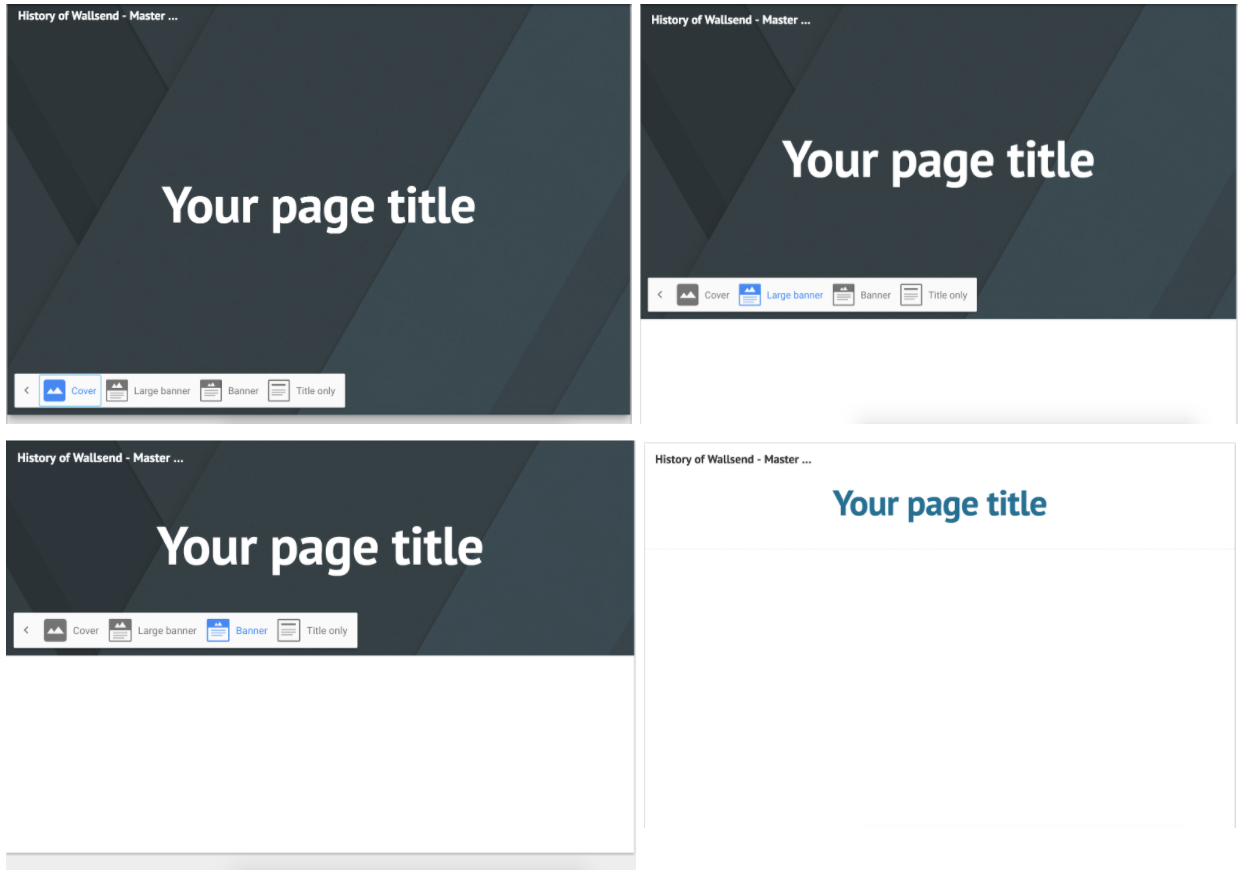
Once you’ve chosen the size you want you can click the back arrow and select Change image for the header.
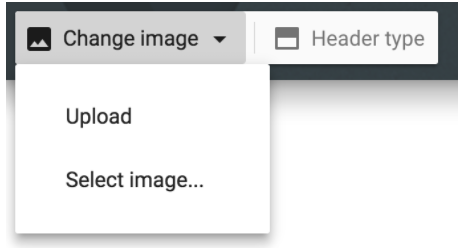
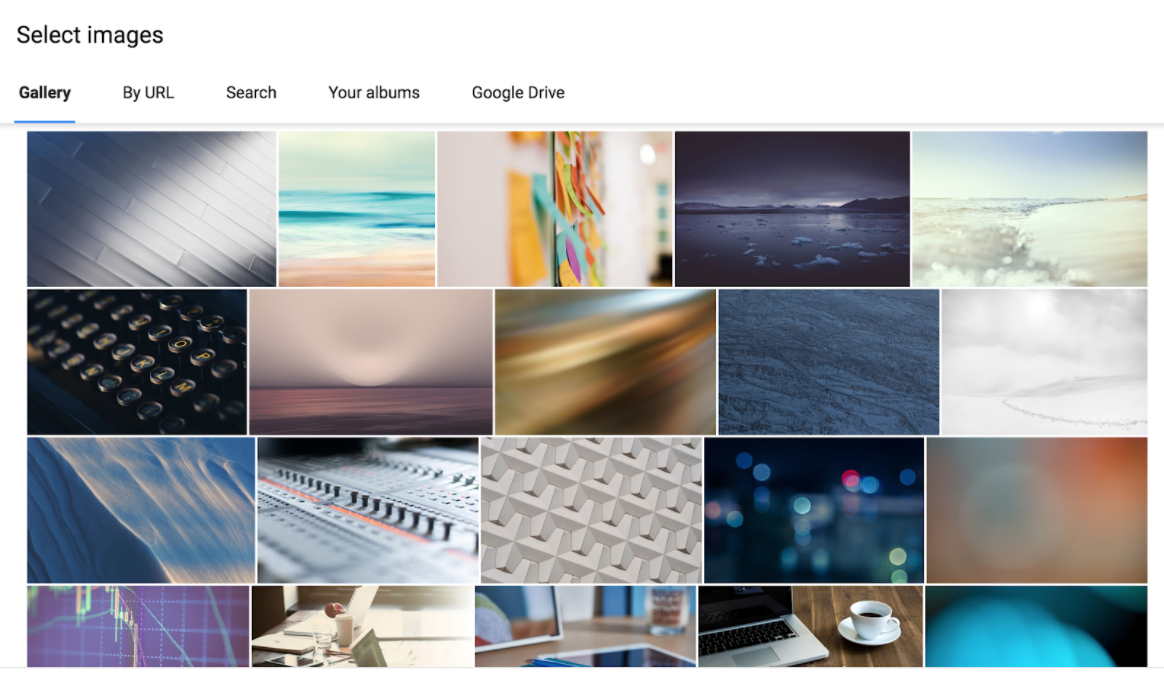
You can Upload your own image if you want to use something you already have saved, or something you have created with another piece of software. Alternatively, you can choose Select image and choose from a gallery of images and patterns provided, or add an image from your Google Drive or do a Google search for an image.
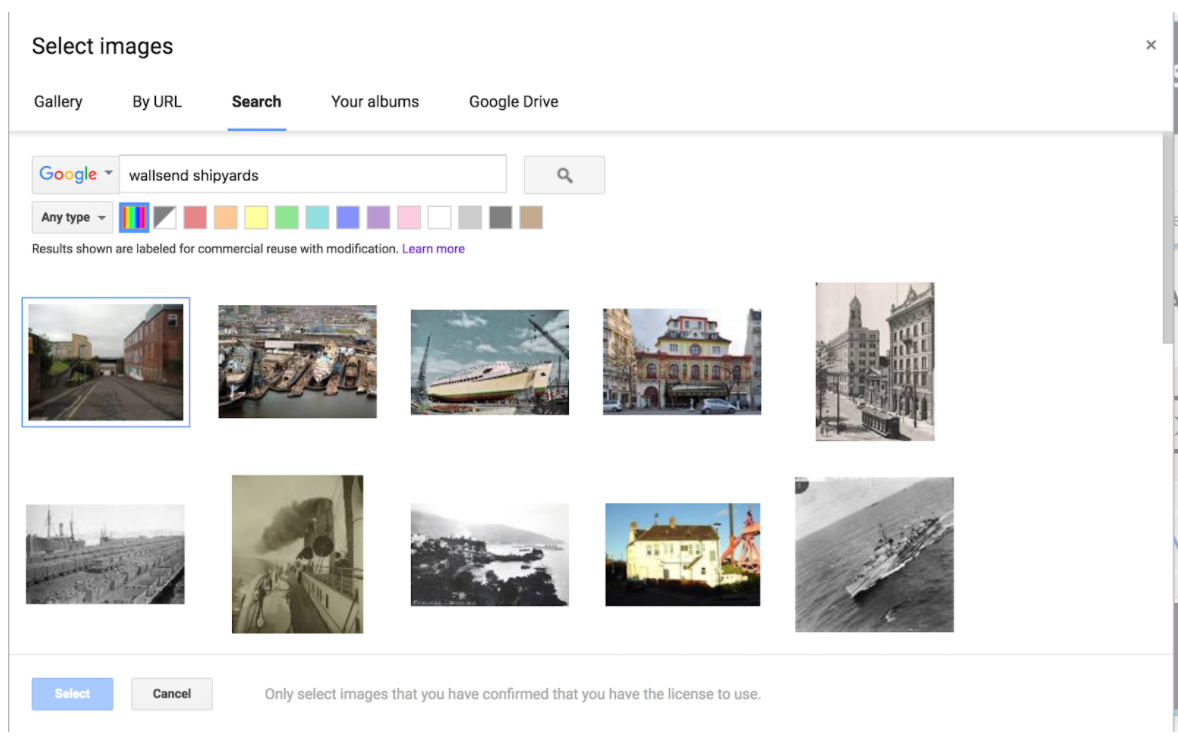
Every image on the web is owned by someone. Sometimes people say it’s okay for others to use their images, sometimes they don’t give permission (out of choice or ignorance). Creative Commons (CC) is a licence that anyone can apply to their work (including images) that tells others it’s okay for them to use it, and it’s important that we respect other people’s things and don’t just take without permission. The images that show up in the Search tab have been filtered by Google search to only include images that have been labelled as having permission for reuse with modification. Make this point to the students and ask them about their understanding of copyright. What is copyright? What does it mean for content we find on the web?
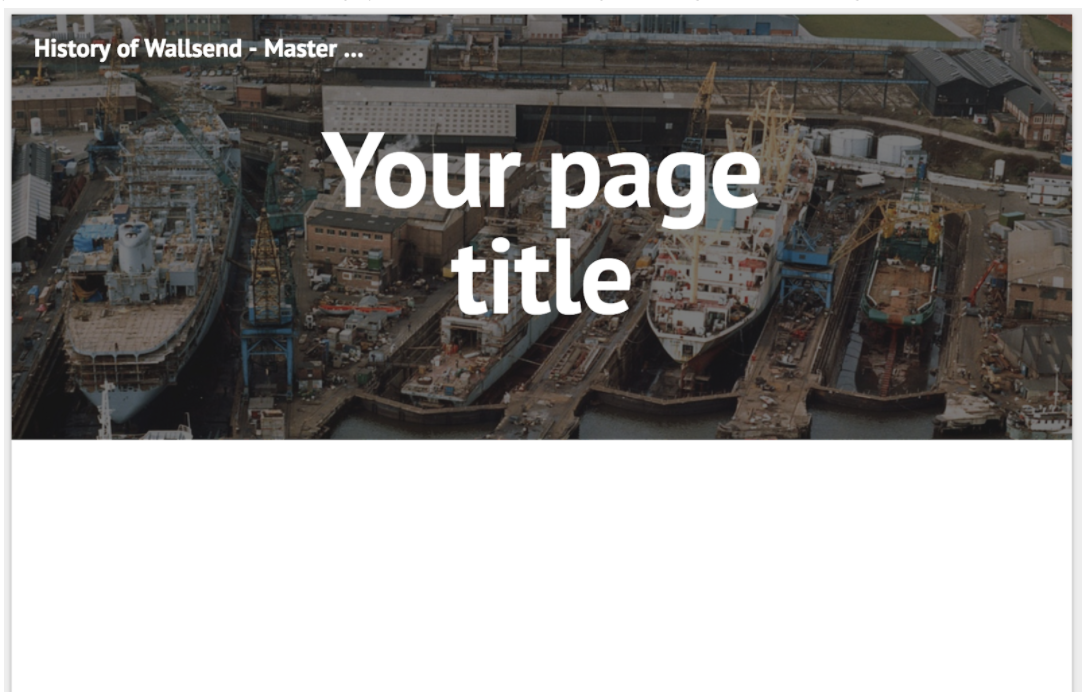
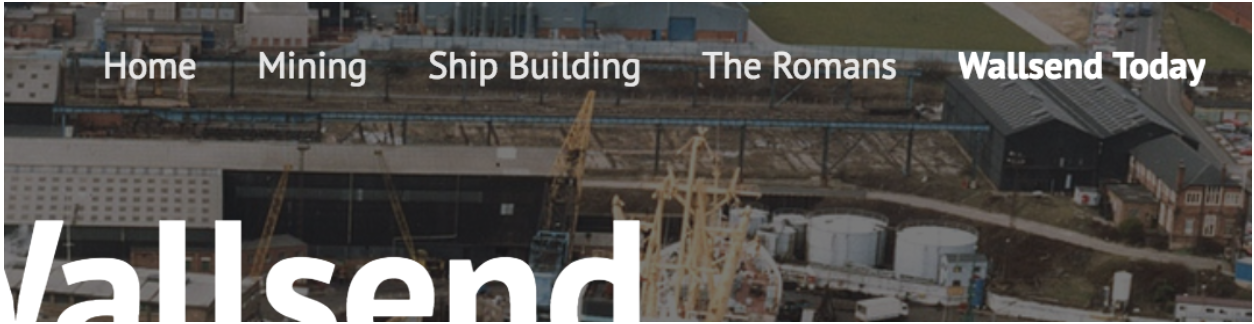
Google sites will cleverly adjust the brightness of the image to make the title text over it readable and also fit the image to the size of the banner you have chosen, although note that if you have chosen Title only you won’t see any background image.
Adding pages
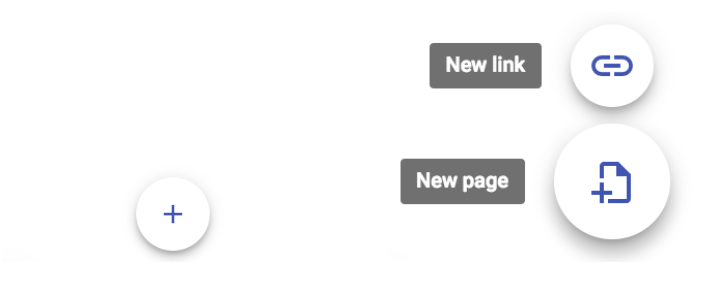
This is really easy to do. Students can just go to the Pages tab in the right-hand pane and click the + sign button at the bottom. From here you can create a page or a direct link to another URL, this could be another website or perhaps a published Google Slides presentation or anything else you like that has its own URL (web address).
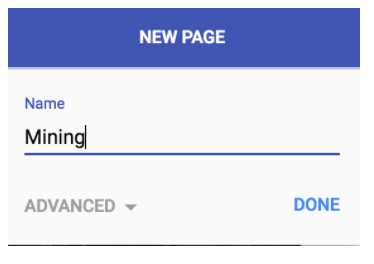
Students should initially build their main pages, one for each subtopic that their group is covering. Name the page as you create it and repeat for the other pages you need.
Once complete you’ll see a list of pages in the side pane, which you can use to navigate between pages.
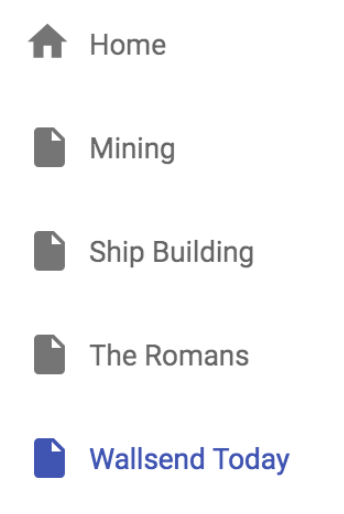
You’ll also see that Google Sites automatically creates a navigation menu for the site itself at the top right of the page.
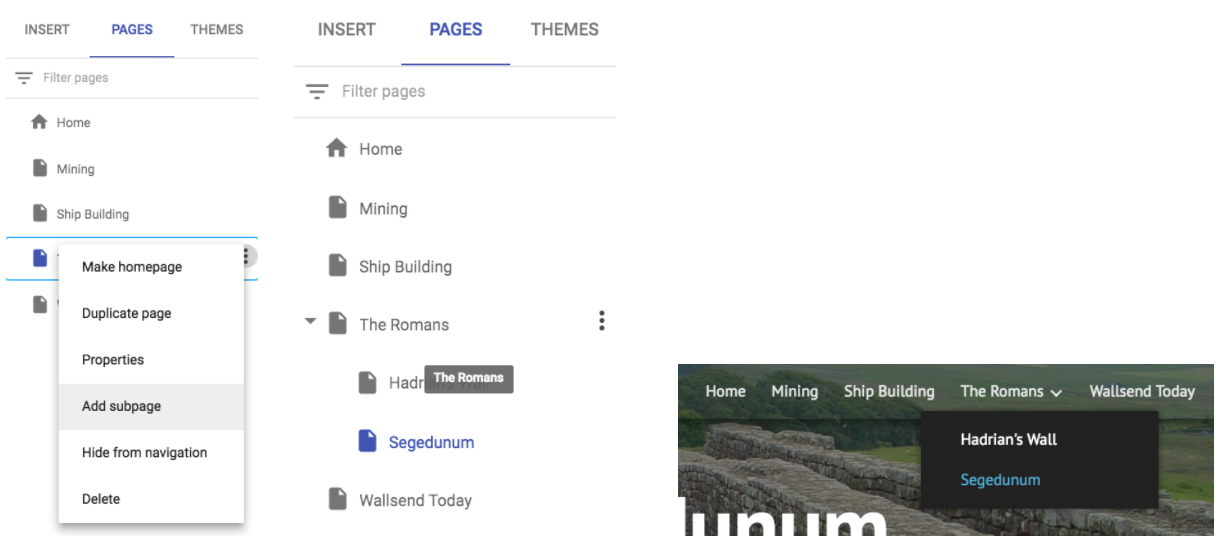
You can also find other page options from the three dots that appear as you hover over any of the page titles in the side menu. These include setting a page as your homepage and also adding subpages to a section. This can be really useful for the students and can stop their pages getting too big and cluttered. Once created, subpages show indented in the page menu and are also automatically added to the top of the page navigation bar.
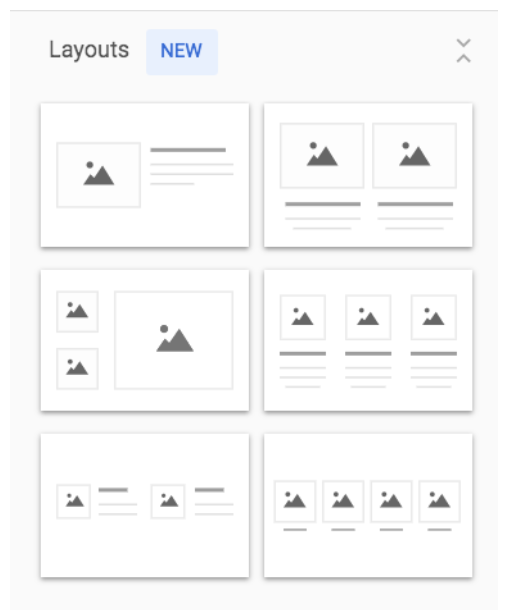
Layouts
A layout feature has now been added to Sites in the Insert side panel. So you can quickly add text and image or feature boxes to your page in different configurations:
Adding and editing text
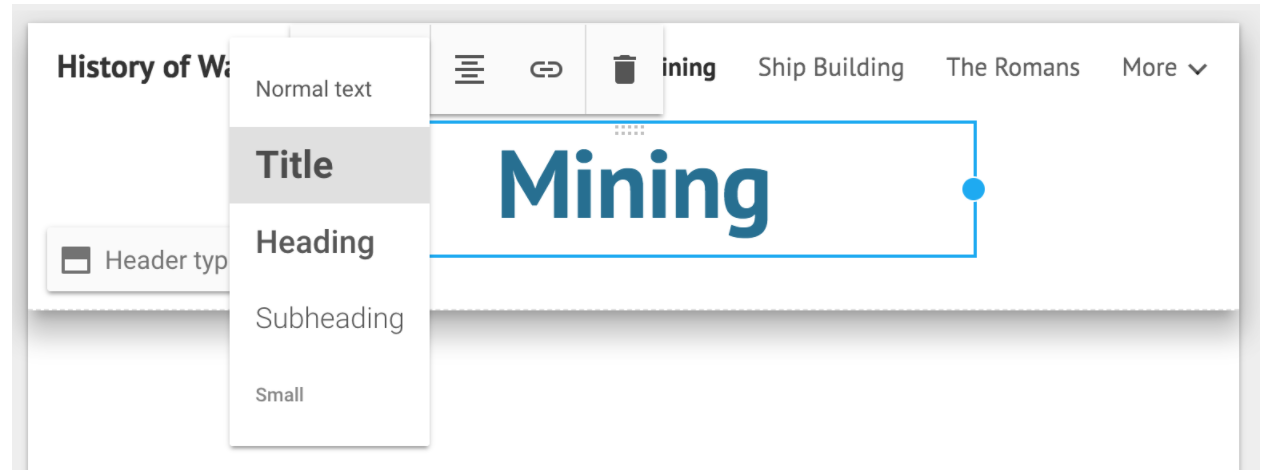
Titles on each page will be automatically added but the banners can be edited on each of the pages to customise them to the topics or themes if wanted.
As you click on the title text box options will appear to change the style (and size) of text. Slightly different options are available for different styles of text, but Titles, for example, have to match the colour theme chosen for the site. These text boxes can be made wider with the blue circular handles at the edge of the text box.
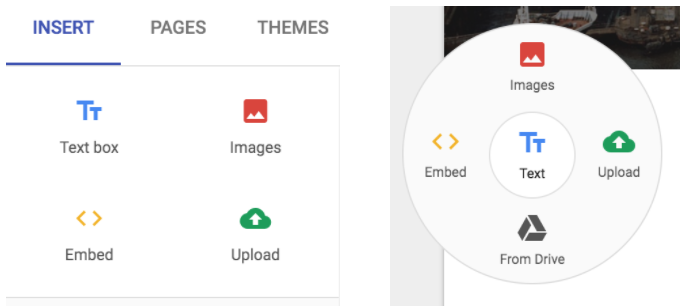
Simple editing of your site pages is easy, just go to the page you want to edit, then use the Insert tab in the side pane.
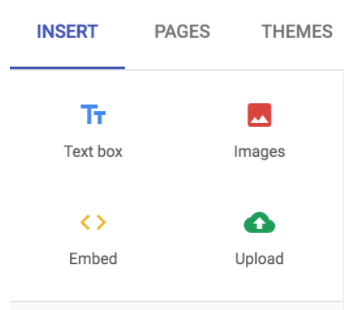
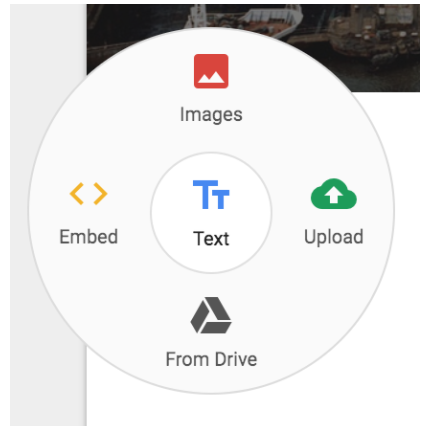
You can click any of the options here and they will be added to the first available space on your page, or you can double click anywhere on the empty page itself and you’ll get a wheel of choices for adding content.
Once you’ve added a text box you’ll see some simple formatting options above it (depending on the type of text you choose, e.g. Choosing Title text eliminates some options such as lists and bullet points etc).
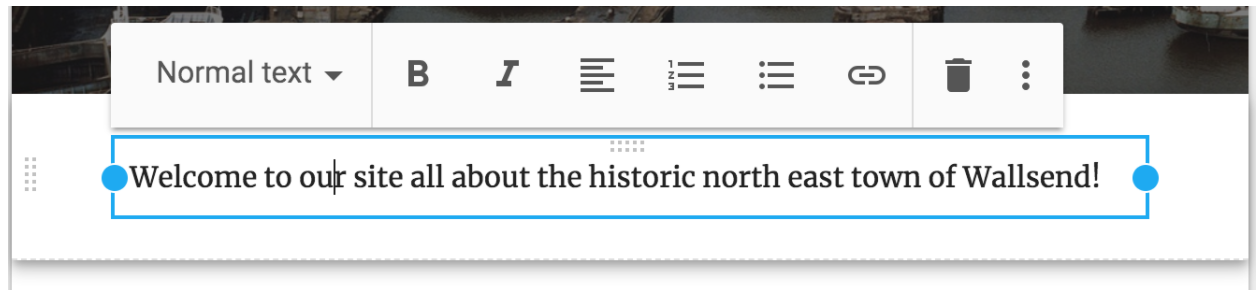
Clicking the blue handles at the edges of the box will let you resize the width of the box, guidelines will appear on the page as you do this to help you keep things in line vertically. The vertical size of the box is dictated by the amount of text in the box.
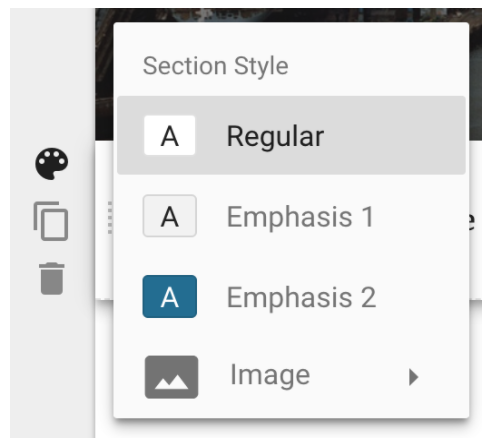
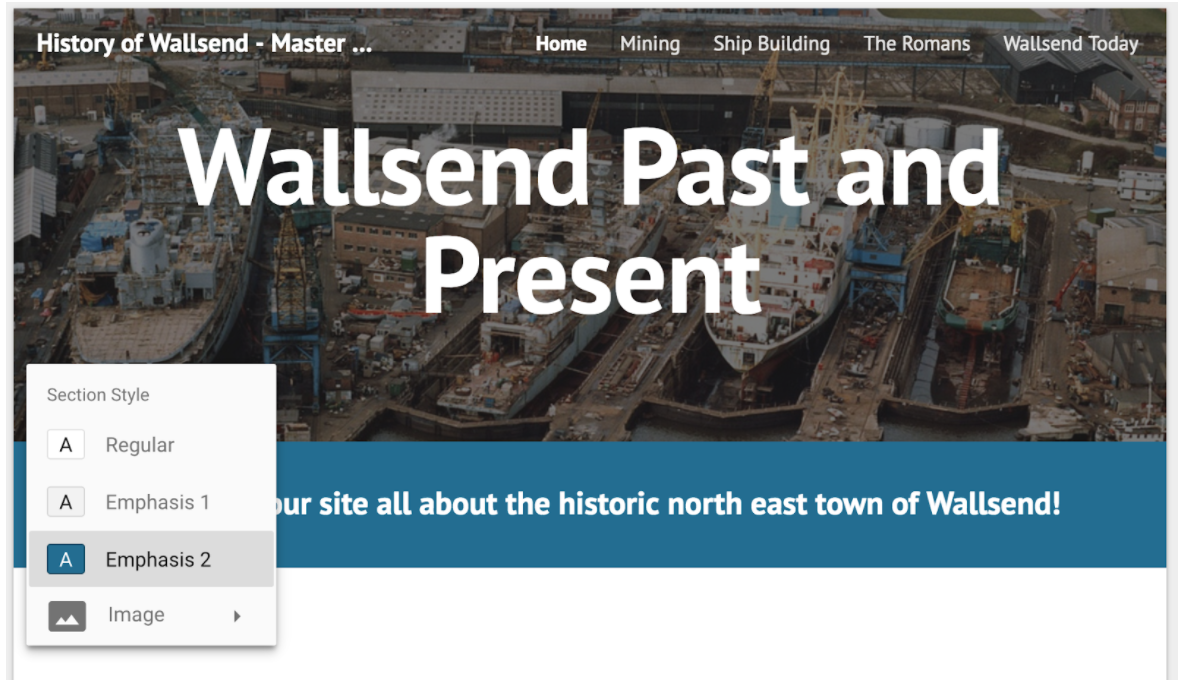
At the left hand side of the screen you’ll see some other options for text boxes. The colour palette lets you choose a style for that box so you can leave it as a regular text box or make it into a heading or divider on the page with the Emphasis options. These add colours that match the Theme you have chosen for your site, like the example below. You can also duplicate and delete text boxes from this side menu.
Depending on the quality of the students’ planning document notes they may be able to copy and paste these across onto the site, and then perhaps giving them a tidy up formatted into paragraphs etc if needed. They should be reminded that all website content should be in their own words and not chunks of text lifted from other websites.
Adding images
Before adding any image, get the students to consider:
- Why are you adding it?
- Is it appropriate for this page?
- Does it improve the page?
- Is it a good quality image?
- Should you look for a landscape or portrait image?
- Do you have permission to use it?
Images can be added in the same way text it added; from the Insert tab or by double clicking on the page and choosing Images.
You’ll have the same choice to upload your own image or choose from various sources. Remind the students of copyright at this stage.
Once you’ve added an image to the page when you click on it there are a few simple options. You can crop the image by resizing it with the slider within the frame provided or by dragging it to decide which part is visible in the frame. Click the tick to confirm changes.
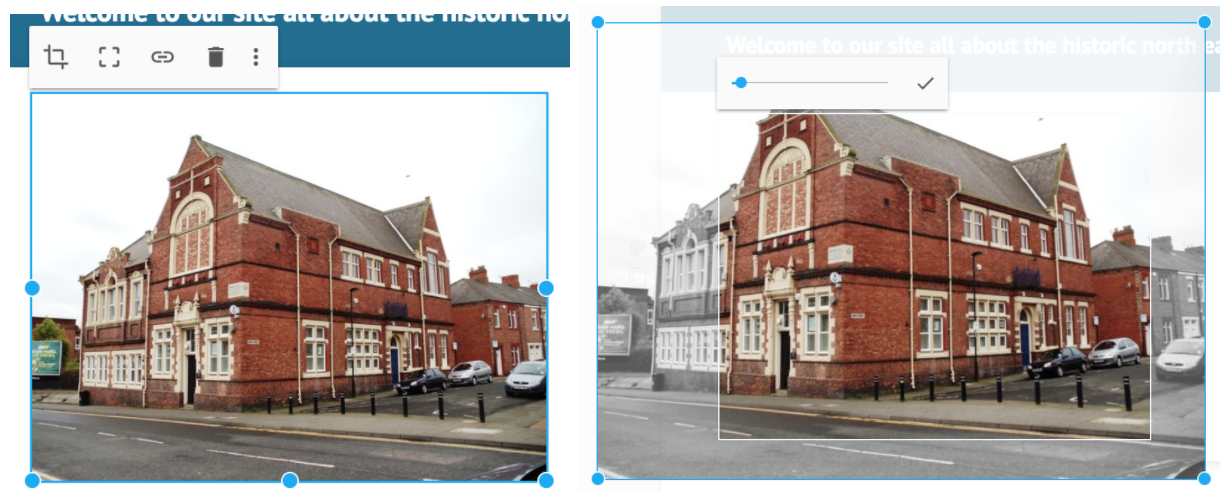
If you try and resize it with the handle at the edge of the image you’ll again see the page guidelines and you’ll notice that it will automatically crop the image to fit inside the new frame you create. This is a feature of the newer Google sites and stops you from squashing and skewing images horribly on the page (hooray!)
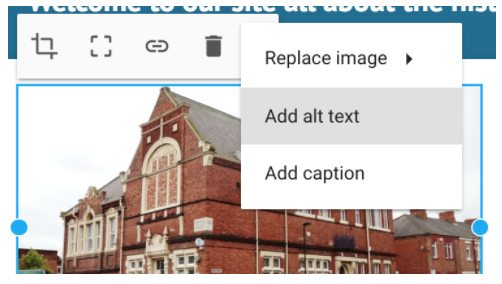
The other buttons on the image options allow you to make the image a button that hyperlinks to another page on your website, delete the image, or from the three dots add alt text and captions to an image. Alt text’s purpose is to provide a description of the contents of an image file. One of the most cited uses of alt attributes is to provide text for visitors who can't see images in their browsers. ... If a viewer can see your images, alt attributes will also show when the user hovers over your image. So adding alt text is important and makes your site much more accessible to all users.
Adding a slideshow of images
A nice way to add multiple images to your page and keep the page tidy is to add it as a slideshow.
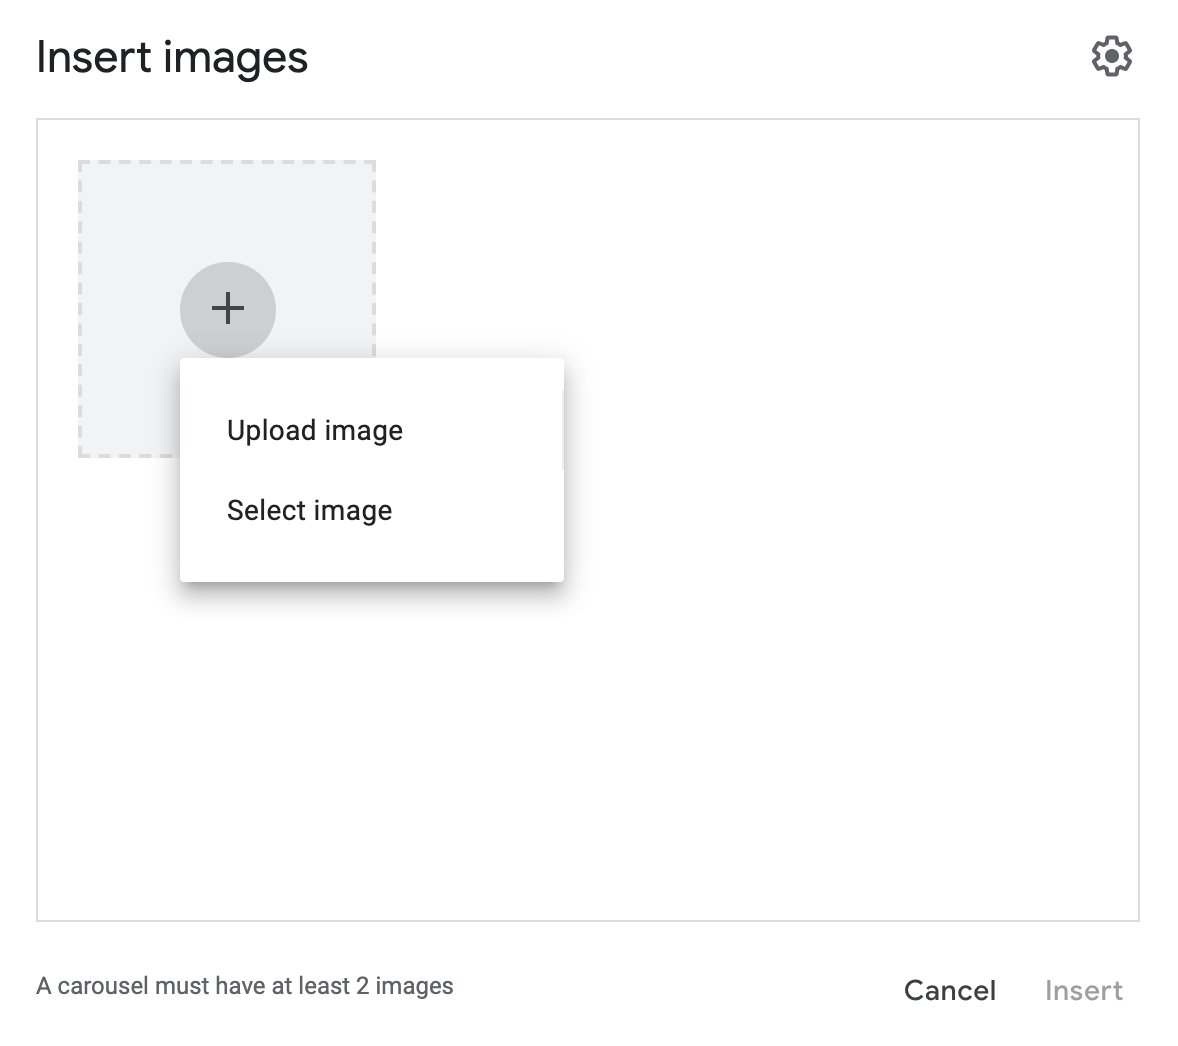
Go to Insert > Image carousel.
![]()
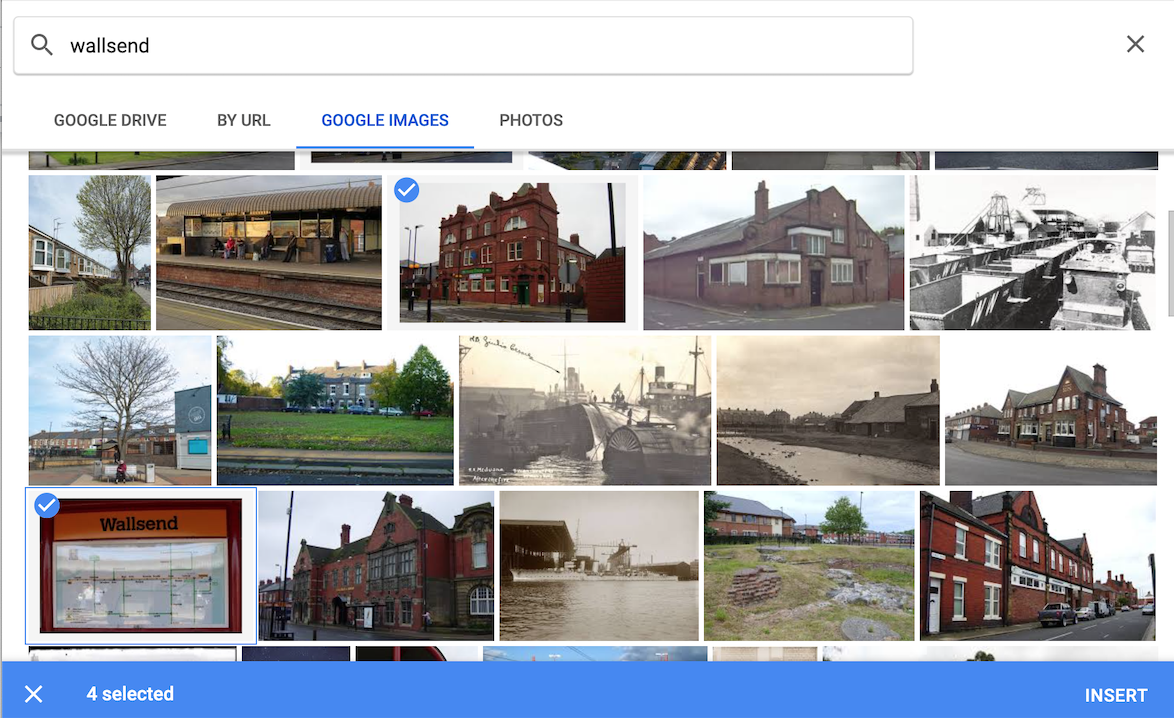
You can then upload images from your computer or click select image to add images directly from a Creative commons Google search, or from your Google Drive.
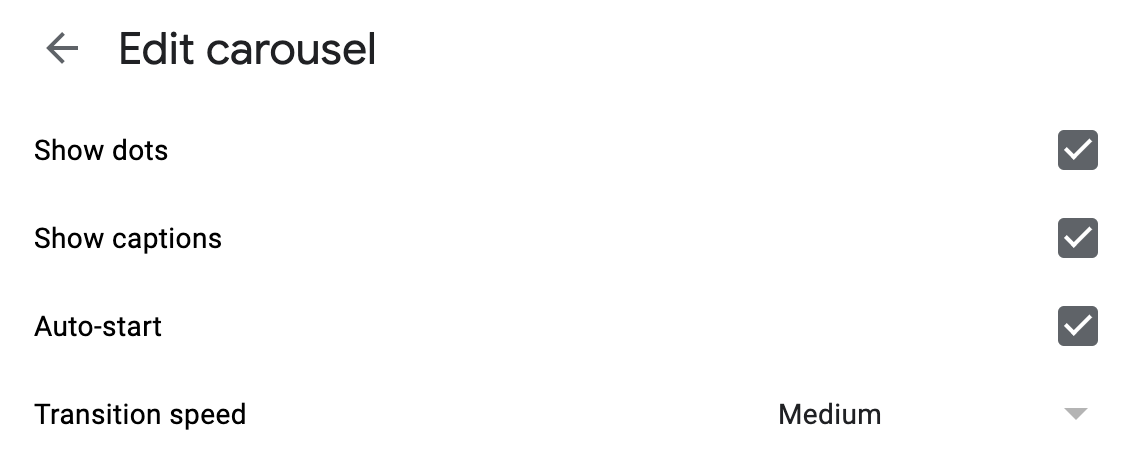
Click the gear icon for options of how the carousel works. This lets you set the slide show to start and transition through the images automatically.
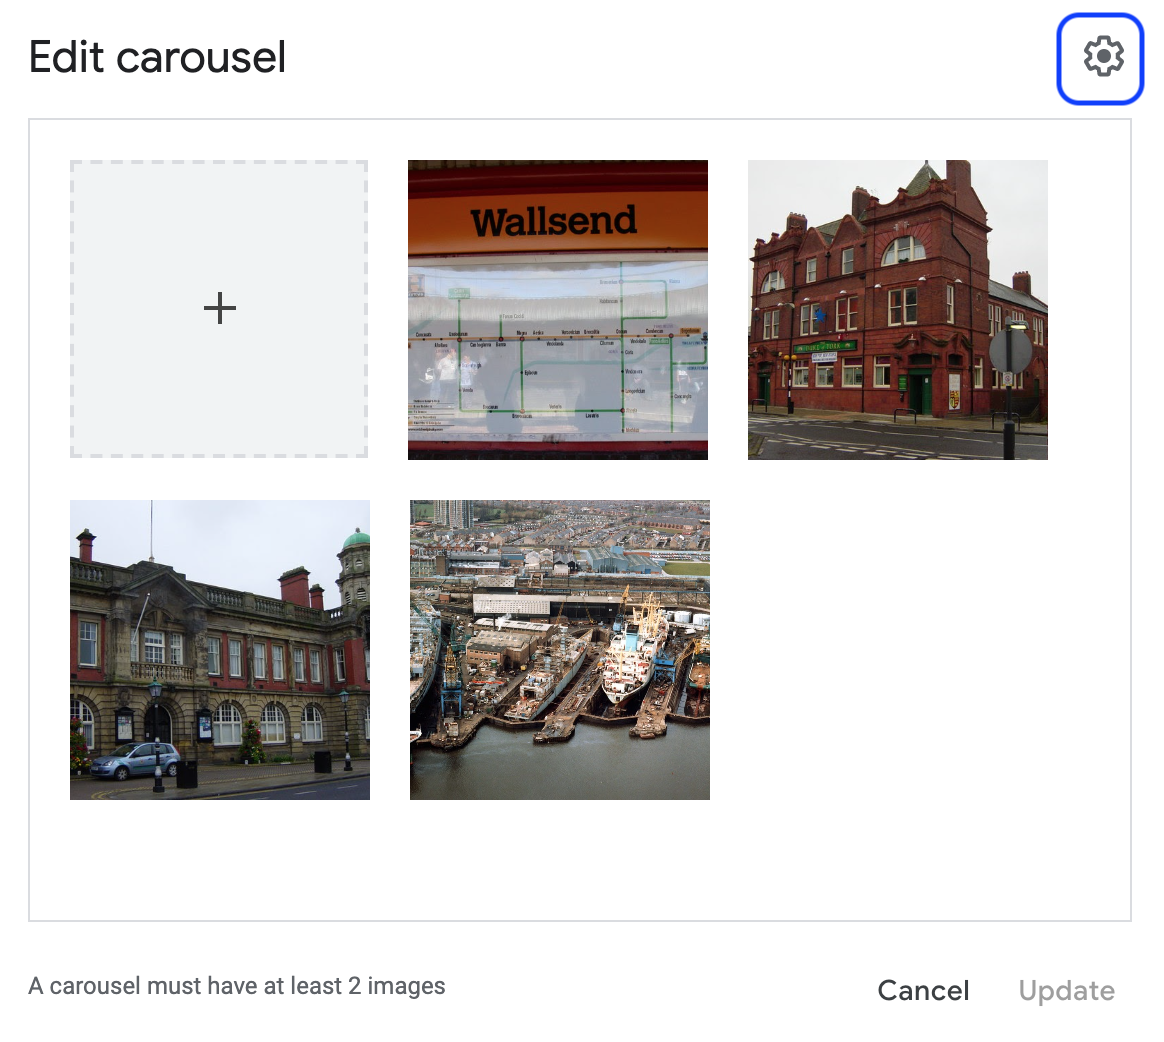
Click Insert to finish creating the carousel
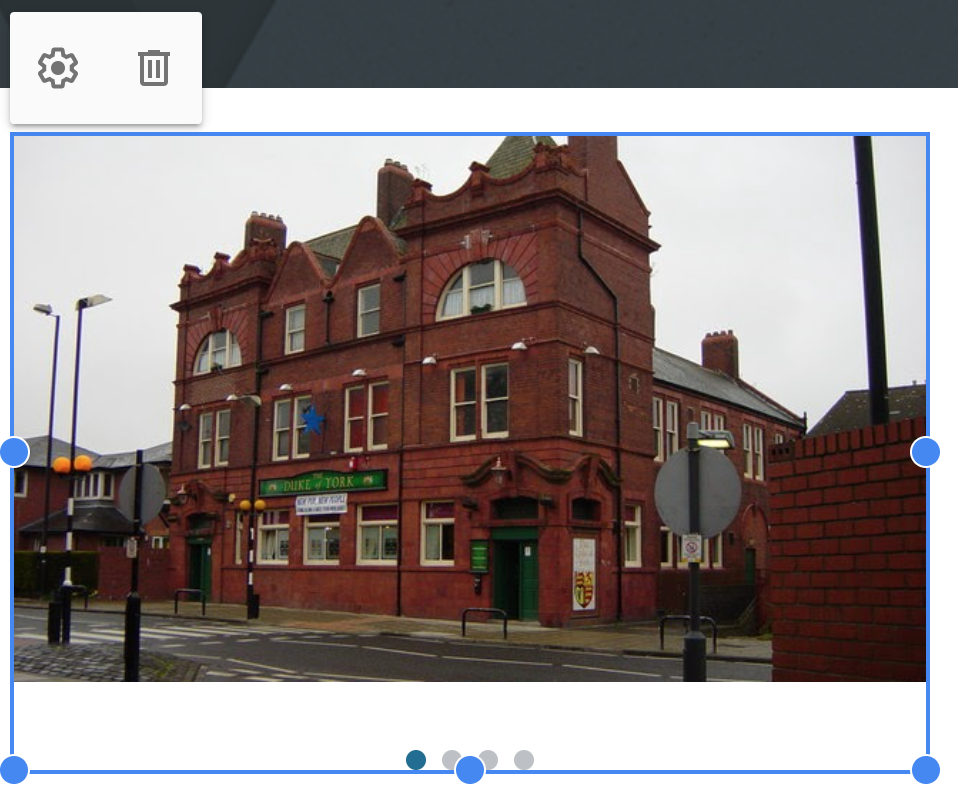
Once on the page, to make any changes to the carousel, click the gear icon that appears above it when it's selected.
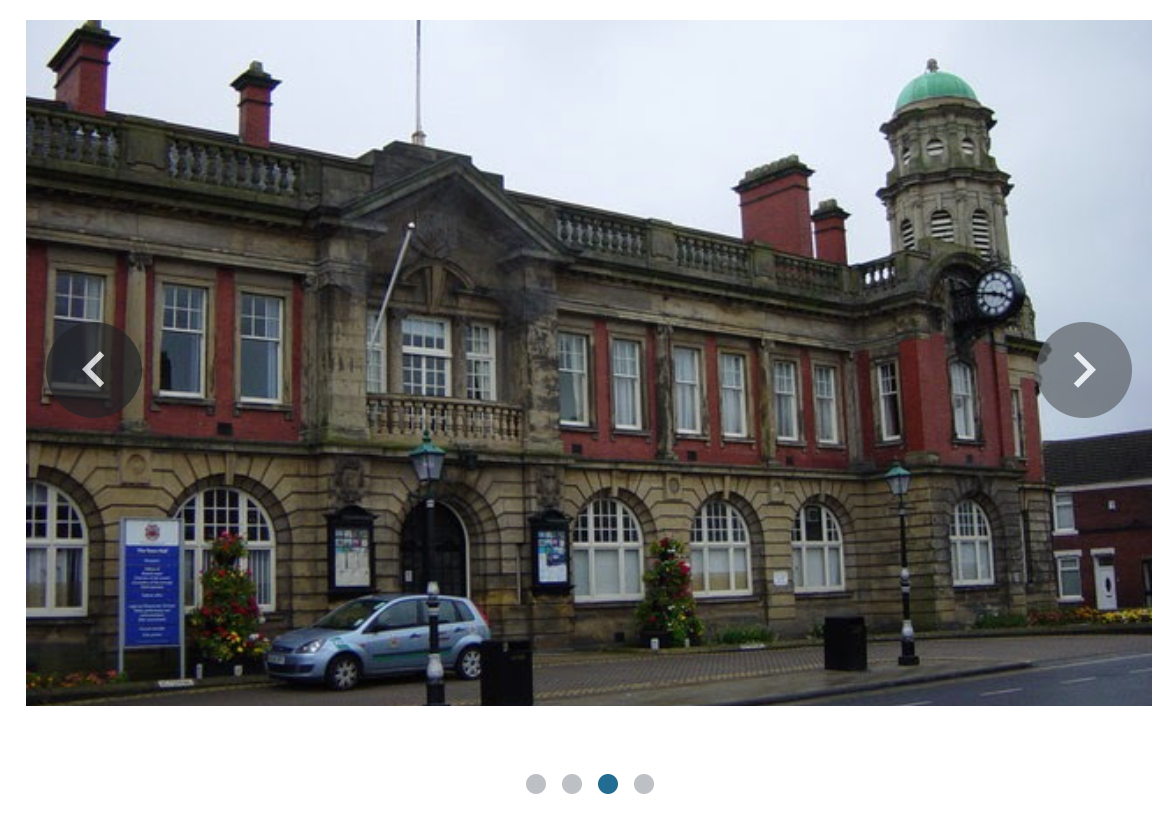
When viewed on the published site the carousel appears like this:
Adding Google maps
If your page is about a country or place you may want to add a live Google map to show its location. This is easy to do, go to the page you want to add your map to and then:
1. Go to Insert > Map and enter a location by name or postcode. (allow any requests for Google maps to access your location).
2. If there isn’t already the place marker you require you can drop one of your own. Then zoom in or out to the position you want the map to show on your page, and then click Select to add the map to your site.
3. Once on the page you can drag it around (as you can with images and other content) and resize it to fit the space you want.

4. You can change the background colour of the section by going to the colour palette on the left of the page.
Adding videos
Youtube
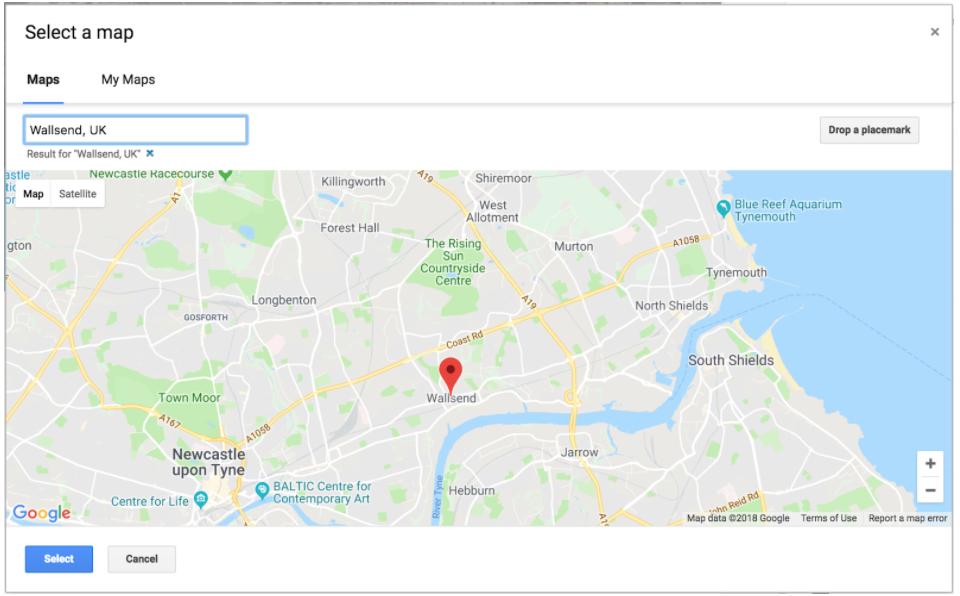
If you have access to Youtube, go to Insert > Youtube and search for a video to embed on your site.
Click on the video summary that appears and click Select to insert it to your page.
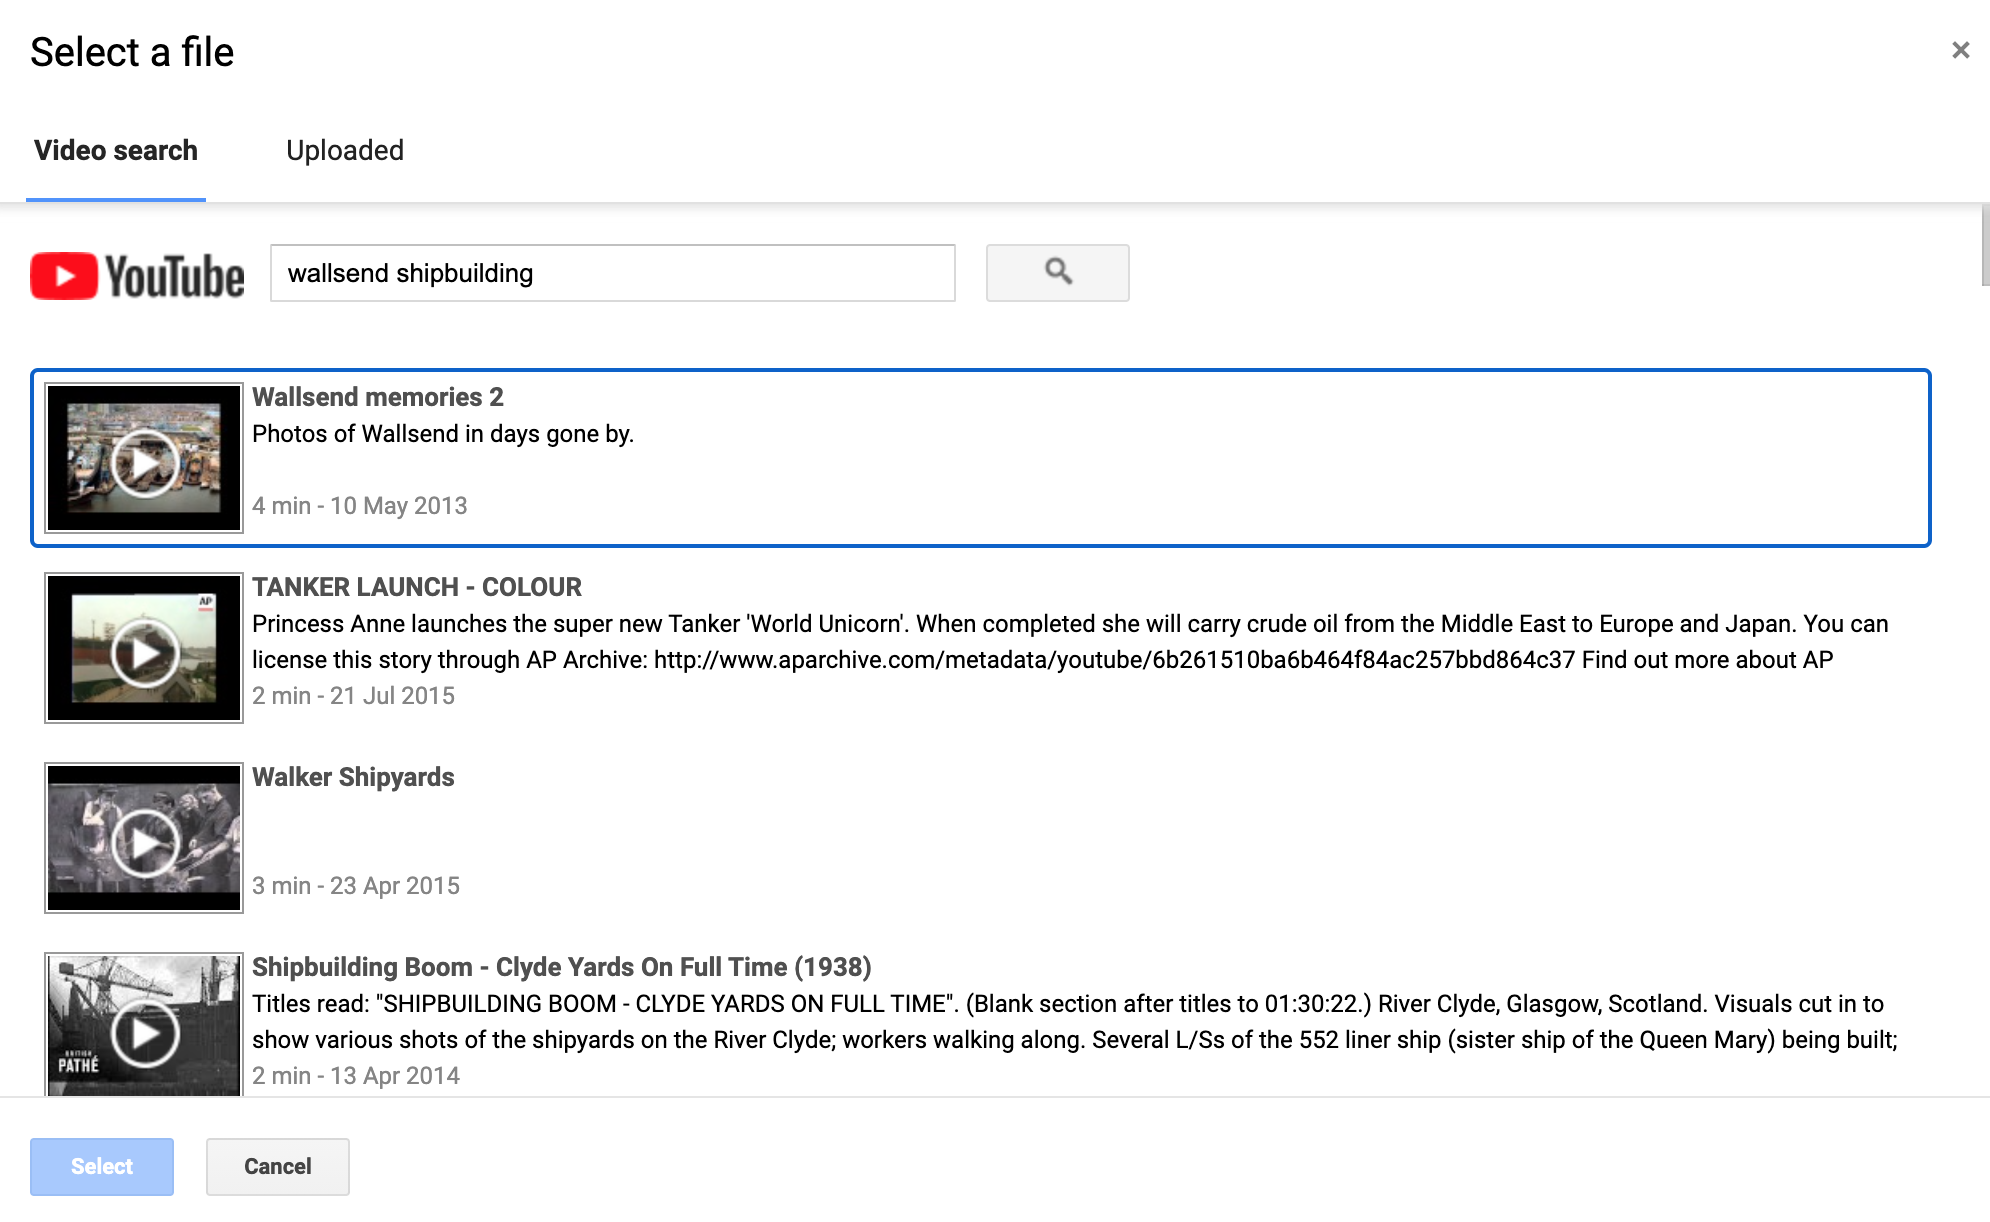
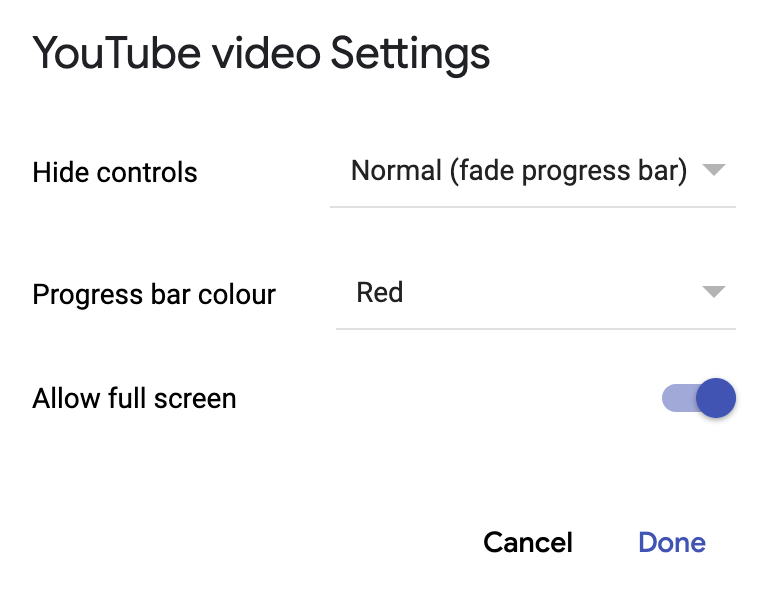
There are a few simple setting choices for videos that can be accessed from the Gear icon that appears when you select the video on the page.
Videos from other sources
You may want to add videos from other sources, perhaps things you have created yourself with other devices or software, for example, interviews, news reports, animations, explanation videos etc.
The best method for this is to again use Google Drive. If you have created a video on another device such as an iPad, the finished exported video could be added straight to Google Drive on the device if you have the app installed, or Air Dropped to a teacher iPad with Google Drive, or transferred to a computer via a lightning cable (the device will show up in the drives on your computer like a USB stick does) and copied and pasted onto the PC and added to Google Drive from there.
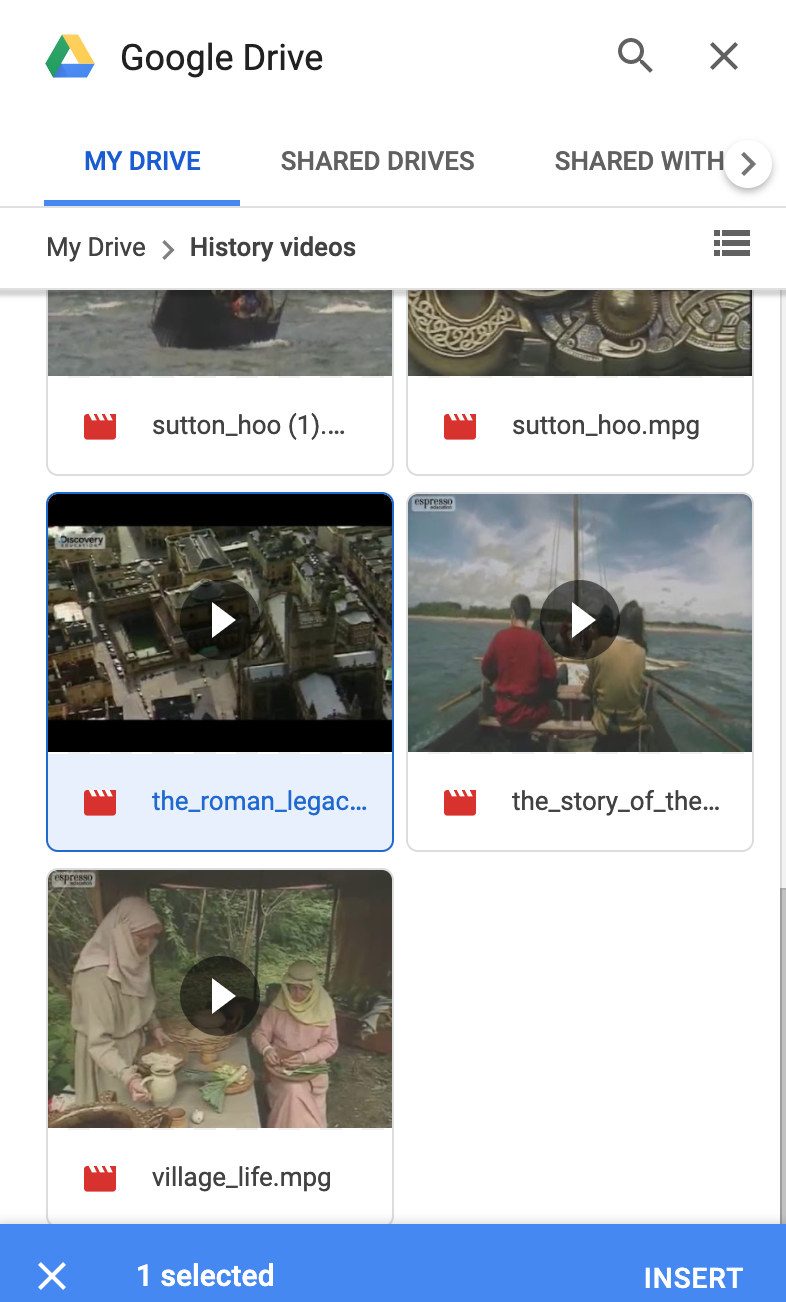
Once it’s in Drive it can be added from Insert > Drive > and browse for the file or search for the title of the video clip you uploaded.
Select the video from the side pane and it will appear on your page. You can resize it from here with the handles as normal.
The video will show on the page but won’t play until you are in the preview or published view of the site.
Adding hyperlinks
Hyperlinks can be added to take the user to other pages on your site or to pages from other external websites. Always take great care when adding links to external sites to ensure the material you are linking to is accurate, legal and appropriate.
Adding a link is easy. If you want text to be your link, just highlight the text you want to be the link (what people click on), and click on the hyperlink icon.

Then just type or paste the URL of the website you want to link to into the link box.
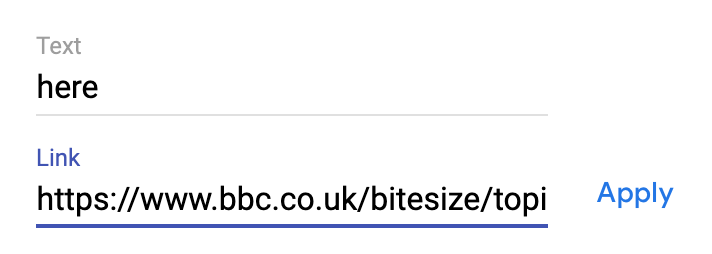
Click Apply to Save it and the link is created, for example:
Click HERE for the BBC website.
If you want an image to be the link, first add the image to the page and then select it and click on the hyperlink icon.
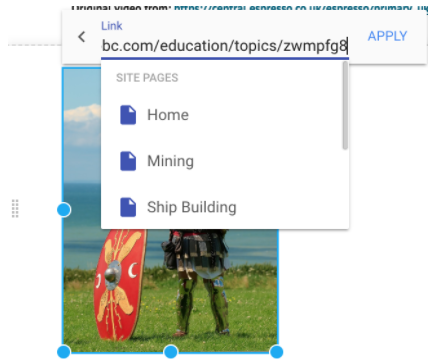
In the Link box that appears, type or paste the URL into the box (or choose the page from your site from the list) and click APPLY when complete.
You can also create buttons for your pages that can link to other pages on your site or external sites. From the Insert menu, choose Button, then complete the box that appears which lets you choose the text that will appear on the button (Name) and the Link for where the button will take you.
![]()
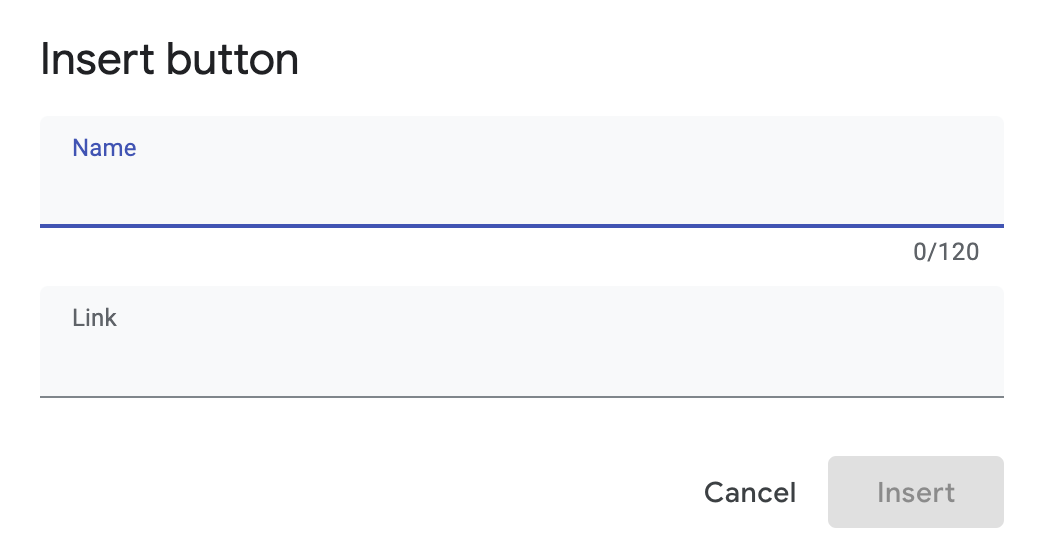
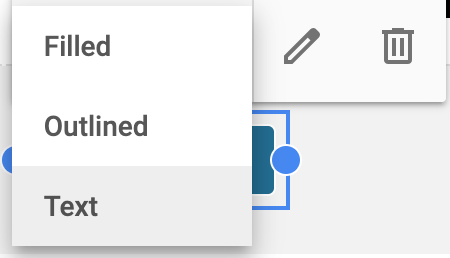
Then click Insert and it will appear on your page. From there you can resize or move it and edit it by clicking on it in edit mode and selecting the pencil. It’s colour is linked to the site theme you choose, but you can choose from three appearance options by clicking on the dropdown option when you select the button.
Buttons only function when you are in view mode (not in the editor).
Adding quizzes using Google Forms
A great interactive addition to your site is a quiz! You can make these with Google forms and then add them to your site.
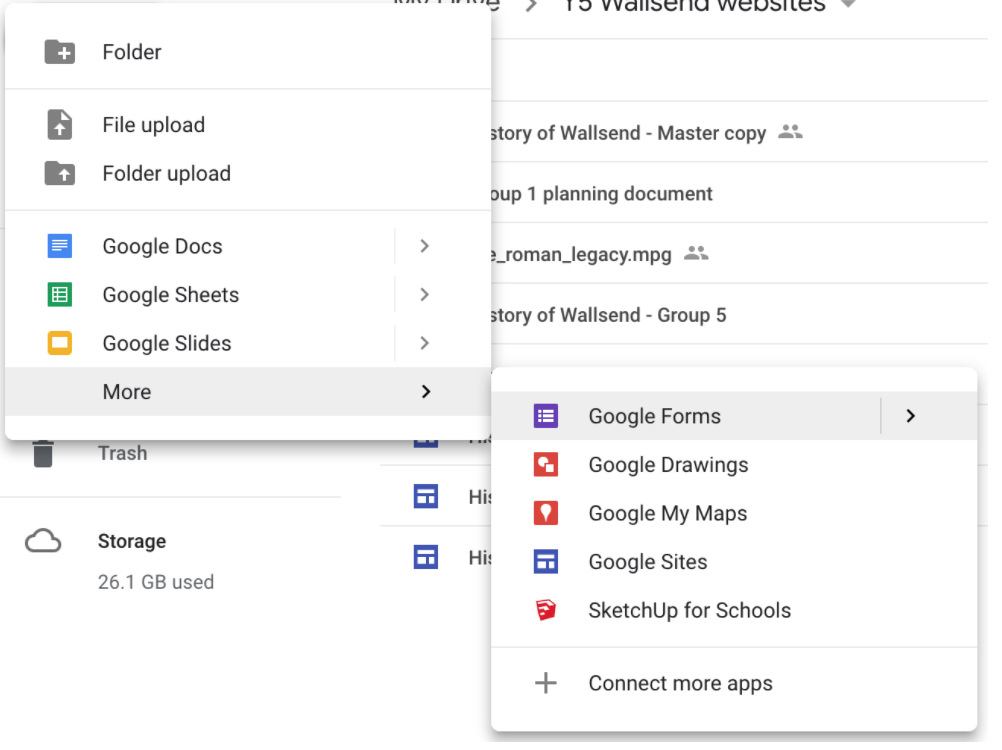
1. Go to your Drive and create a new form from New > More > Google Forms
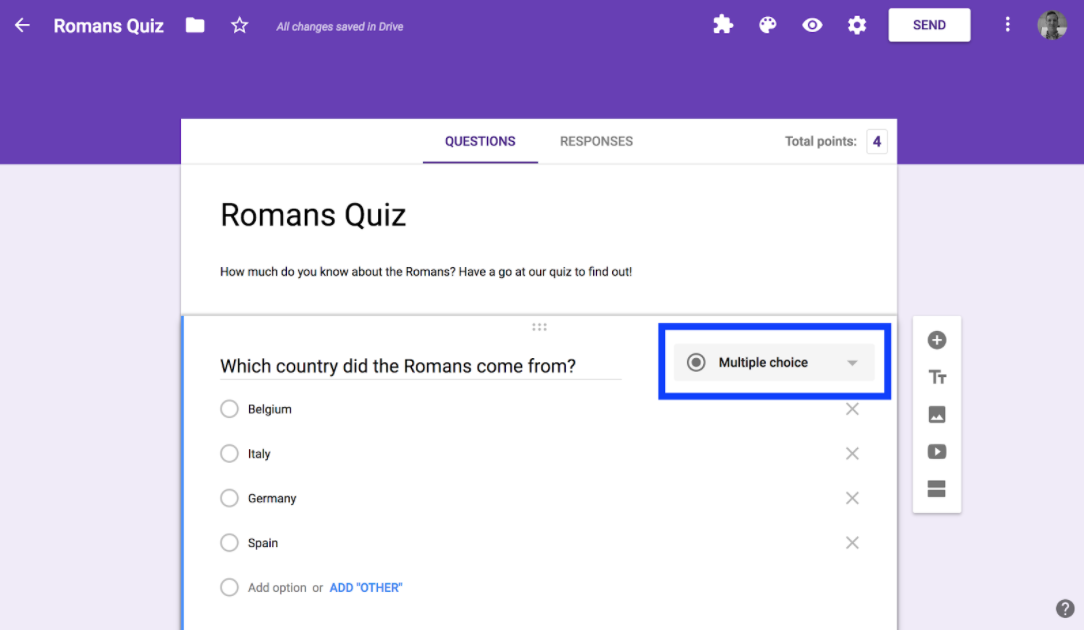
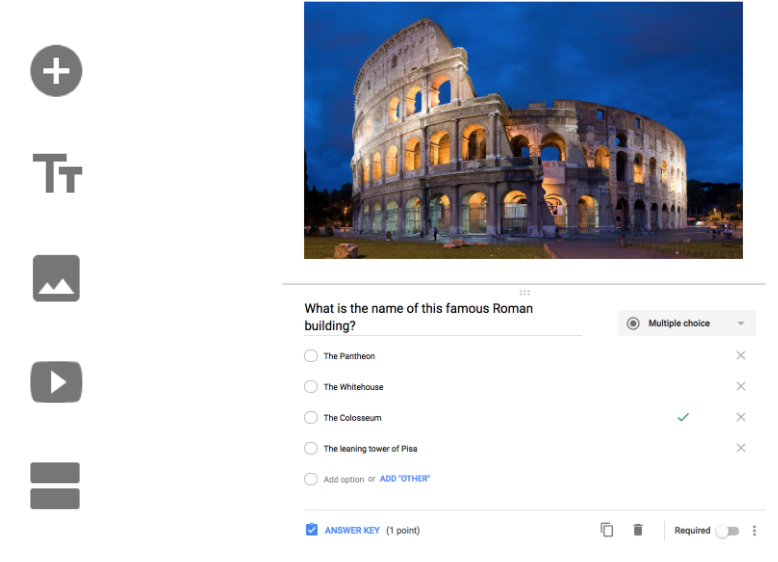
2. Name your form and add some questions. Multiple choice questions work best for quizzes as they provide a definite correct answer. These can be chosen from the drop down box next to the question.
3. Add more questions from the side buttons. You can also add images to include picture questions!
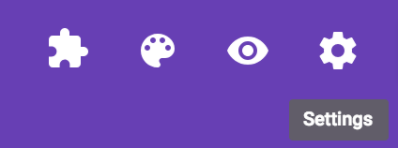
4. When you have finished adding questions go to the form settings with the Gear icon at the top of the page.
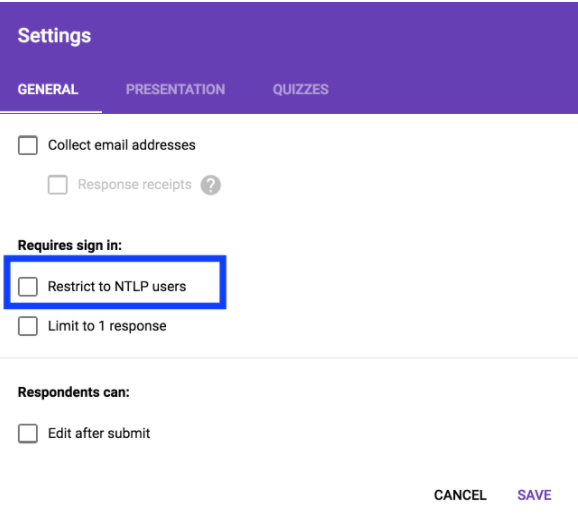
5. In settings uncheck the option that restricts the form to just NTLP users so anyone on your site can enjoy the quiz.
6. Then go to the Quizzes tab in settings. Flick the switch to Make this a quiz and click save.
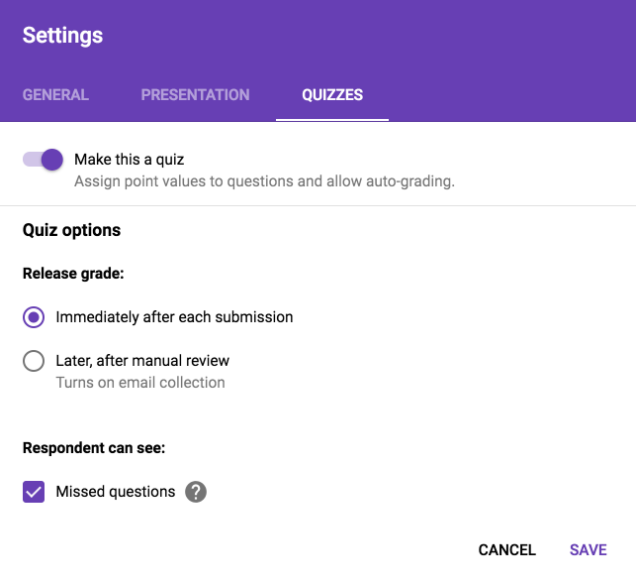
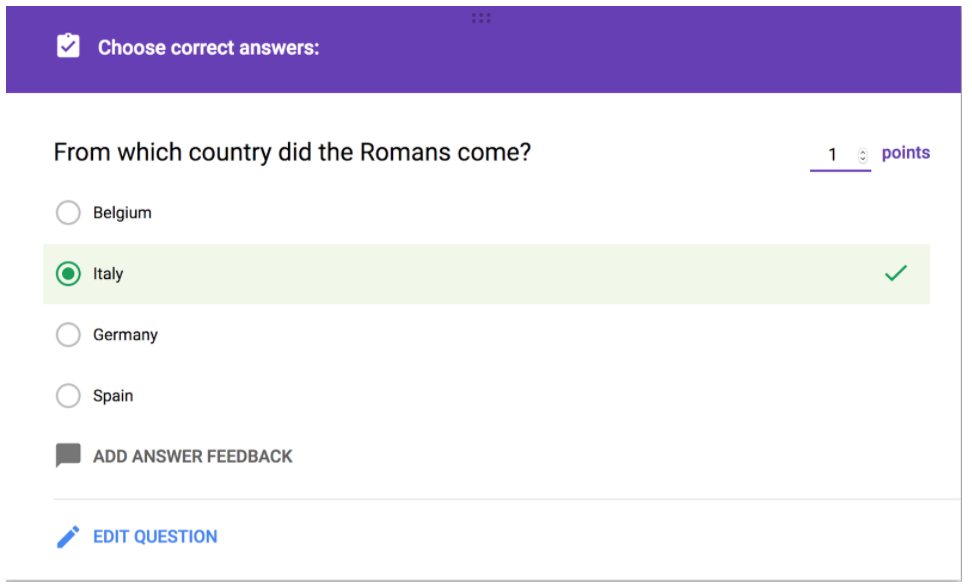
7. Then under each question you will now see the option for an Answer key.
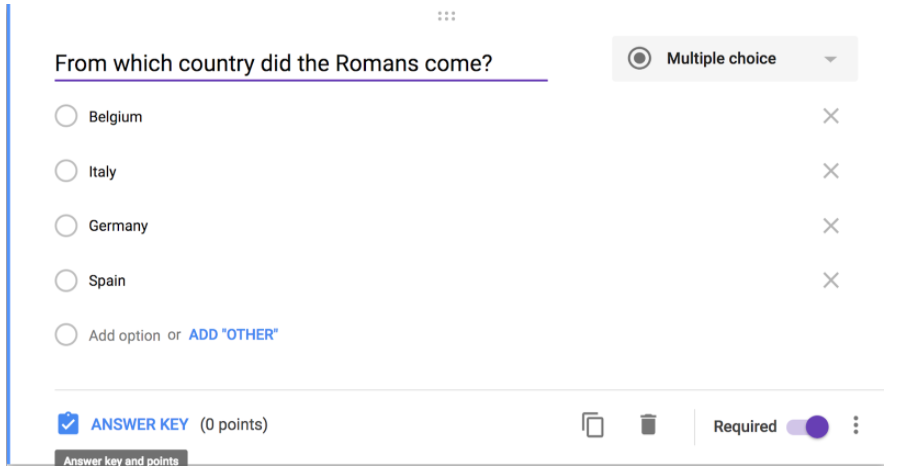
8. Click on this for each question and identify the correct answer each time, also add 1 point to be awarded for each question.
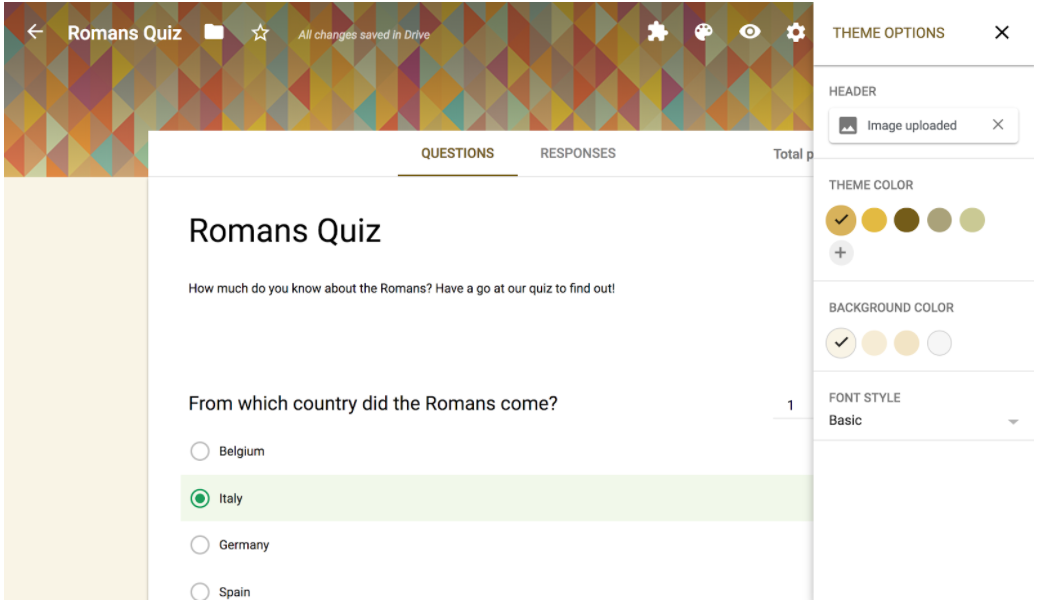
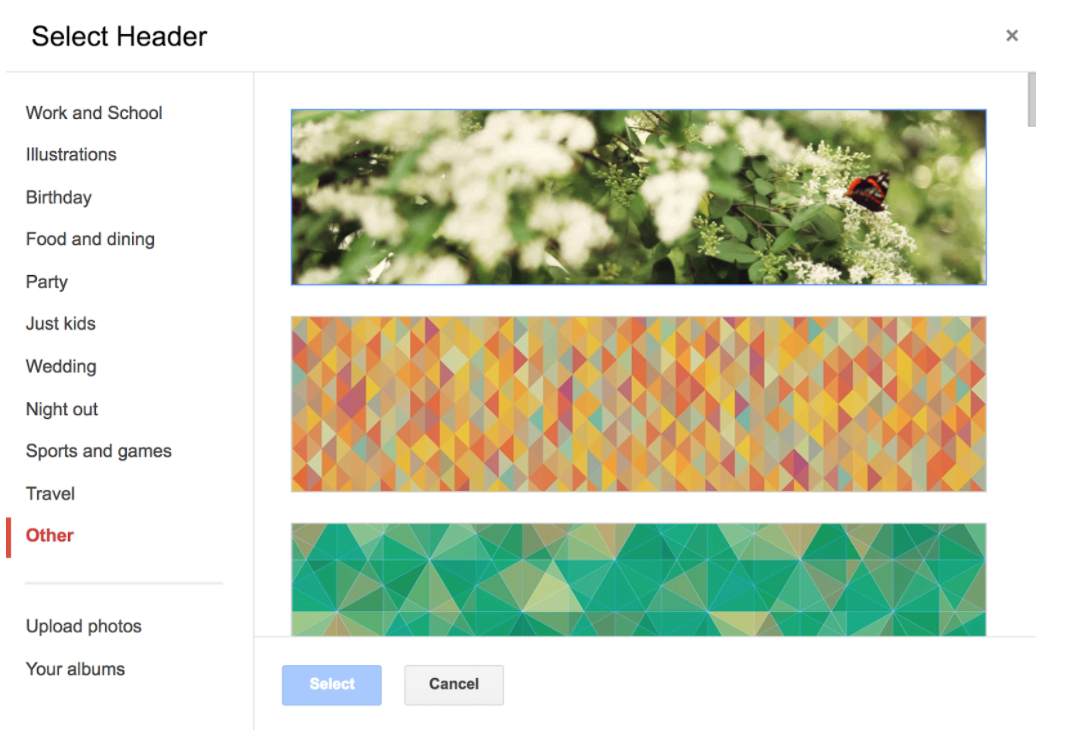
9. Finally, make it look nice by choosing a colour or theme. Go to the colour palette at the top of the page and choose from the menu on the right. Adding a header image will also add matching background colours. There’s a wide range to choose from or you can add your own custom image to match your theme.
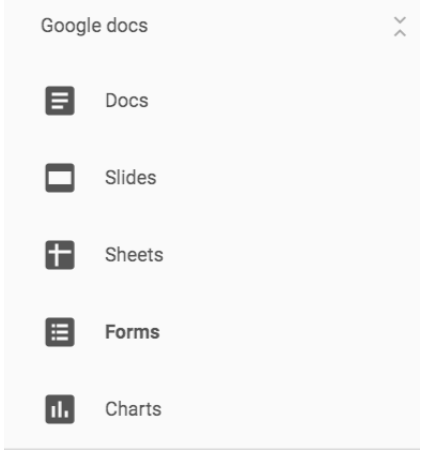
10. Once your quiz is complete, back on your website go to the Insert menu and choose Forms from the Google Docs menu.
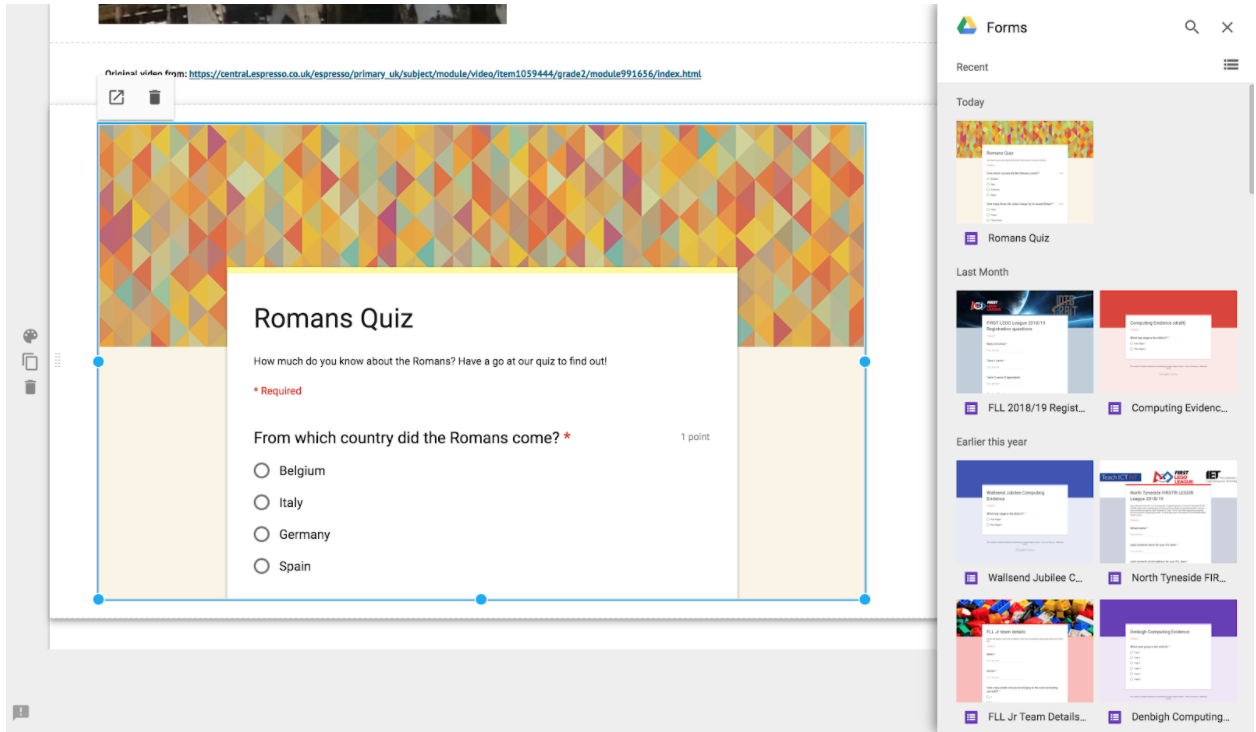
11. It should bring up recent forms you have created. Select the quiz form and click it to add it to the page. Once it’s on the page resize it as needed.
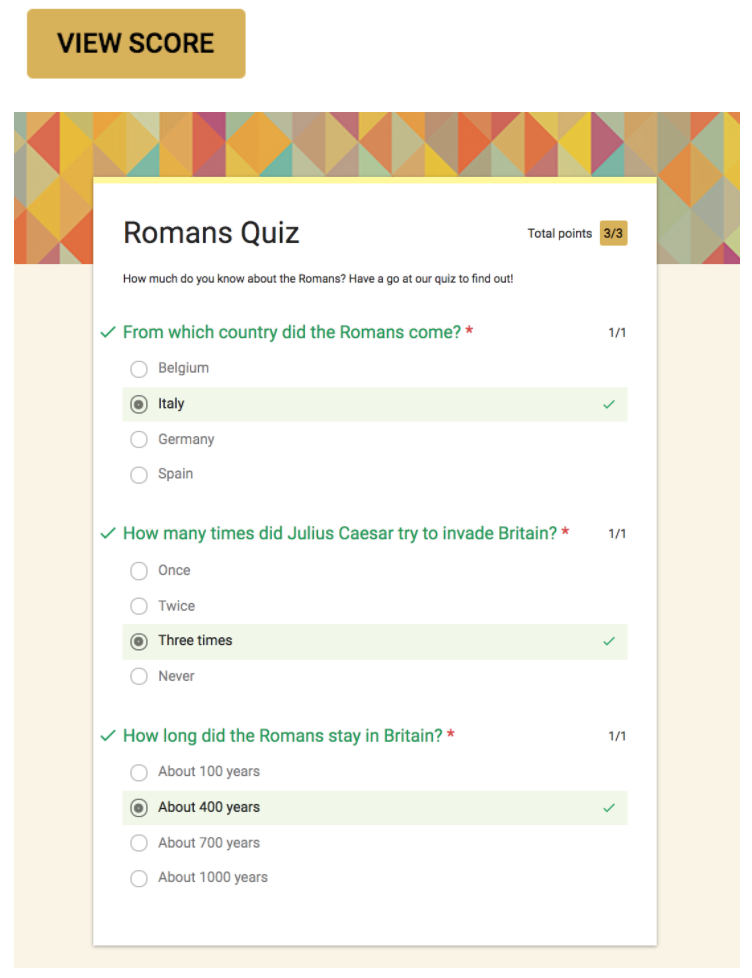
12. When you preview your site you’ll see the finished live form that users can try out. When they complete the quiz they can click View Score and it’ll show them a breakdown of their answers and their score!
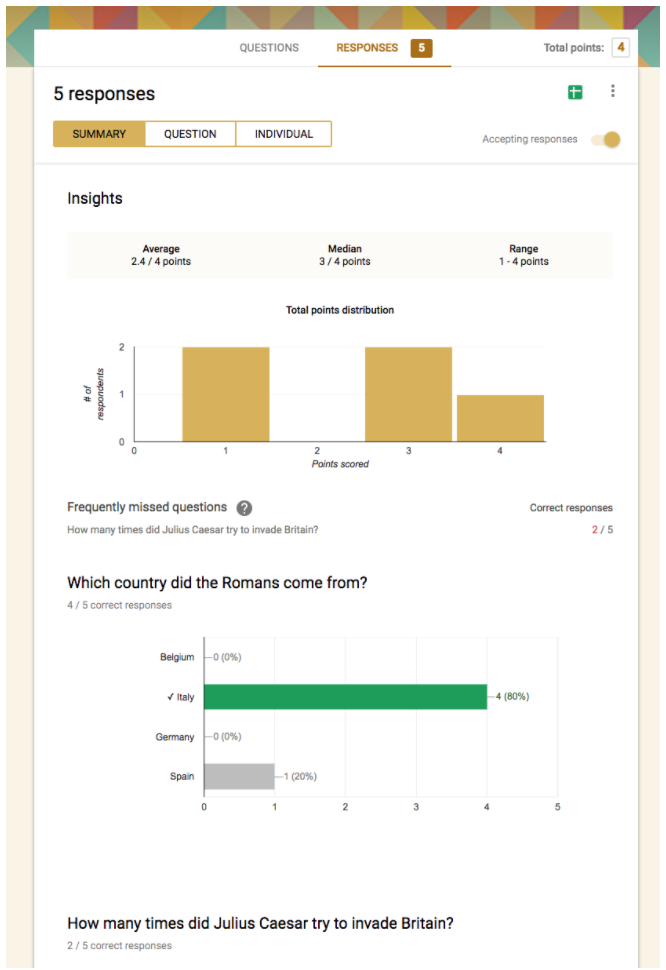
13. The great thing about forms is they collect data, so you can see how people are doing with your quiz by going back to your form and going to Responses at the top of the page. You can see straight away how many people have submitted answers but it also gives you average points scored and graphical summaries for each question of what people answered! (This data can even be outputted to a Google spreadsheet if needed with the green spreadsheet icon in the top right of the Responses window)

14. You can, of course, make these self marking quizzes yourself to use with your class!
Previewing your site
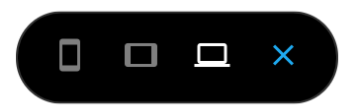
At any point you can preview your site to see how it is looking to the end user (out of editing mode) by clicking on the laptop/phone icon at the top of the page.

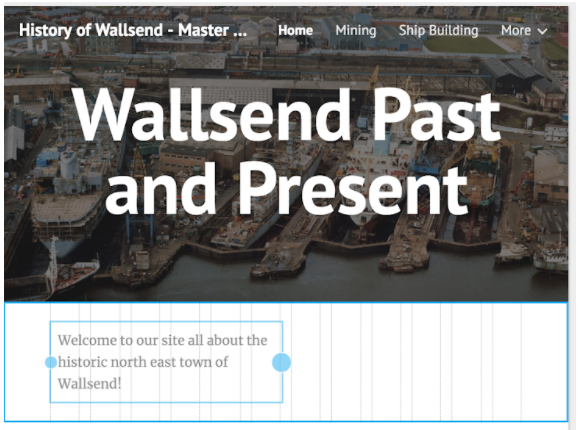
This will show your site in full screen without any of the editing tools. This newer version of Google sites has also added a really nice new feature that shows you how your site looks when displayed on different types of devices. You can view your site as a phone, tablet and desktop computer, which is important as around half of global web traffic is on mobile devices and sites should work and look good on these devices too.
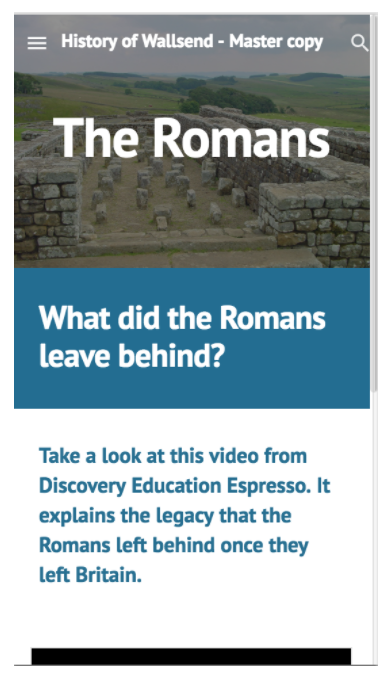
An example of a page in ‘phone’ view - page menus are condensed into the button in the top left.