
Illuminated making
Getting started with a Crumble - Projects part 1
Objectives
- Use sequence, selection, and repetition in programs and various forms of input and output.
- use logical reasoning to explain how some simple algorithms work and to detect and correct errors in algorithms and program.
- Design and make and test objects or artefacts that successfully incorporate the Crumble controller and Sparkles to illuminate the object.
Lesson Resources
- Lesson Slides
- Crumble starter kits (1 between 2 students)
- 3 x AA batteries (per Crumble)
- Crumble batons (optional)
- Single LEDs (optional)
- Paper, card, sticky tape, art materials etc
Other useful resources:
- Crumble website home (Redfern Electronics)
- Crumble Getting Started guide (Redfern Electronics)
Lesson 1 - Let there be light
Lesson 2 - Switch it up
Lessons 3 - Crumble colour codes
Projects part 1 - Illuminated making
Projects part 2 - Making it move
Credits
Many of the resources in this unit of work come from Redfern Electronics (creators of the Crumble) and the excellent work of Phil Bagge on his website code-it.co.uk. Between them they have created lots of great guides and ideas for Crumble projects in your classroom. We recommend you check them out.
The book ‘Crumble Creations’ by Phil Bagge is also available from Amazon and University of Buckingham Press.
As a result, this unit is FREE FOR ALL TO ACCESS and can be viewed by anyone without logging in to our website.
Introduction
The two project pages in this unit are not structured lesson plans but a collection of ideas to inspire what comes next for you and your students on your Crumble journey. Choose the project that best suits the age and abilities of your students.
This first page of ideas focusing on ways that you can integrate the Sparkle LEDs in creative art and DT projects.
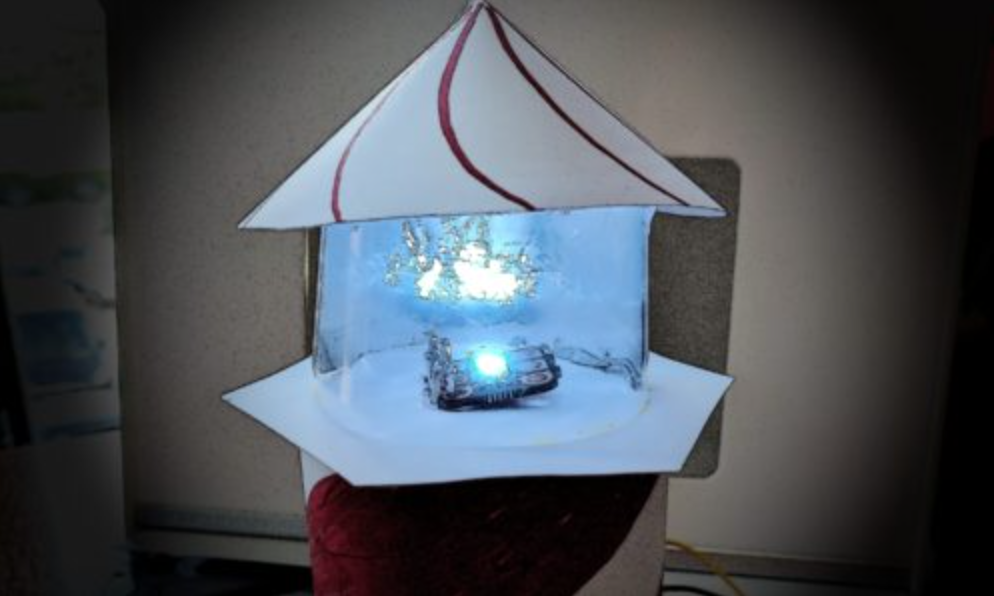
Lightboxes
Design and build simple light boxes in which to place your Crumble and the Sparkles. Design a night-light or disco box and write the code to achieve the mood lighting to match. Tissue boxes turned inside out work well, or create your own box nets. Take care with punching holes in the boxes to let the light through.
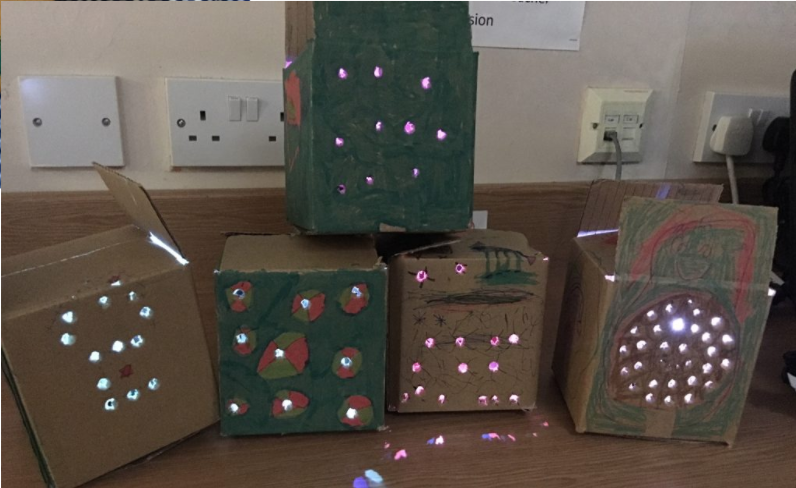
Images courtesy of http://code-it.co.uk/crumblecreations
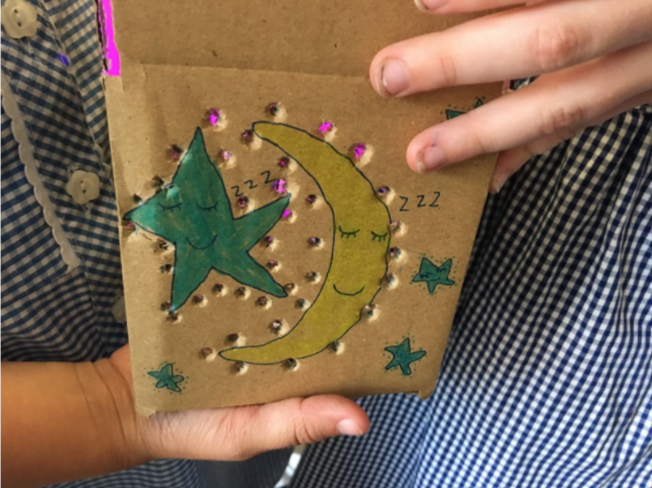
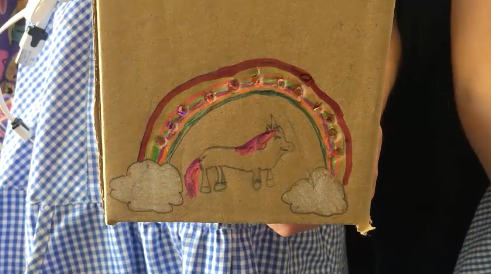
Illuminated pictures

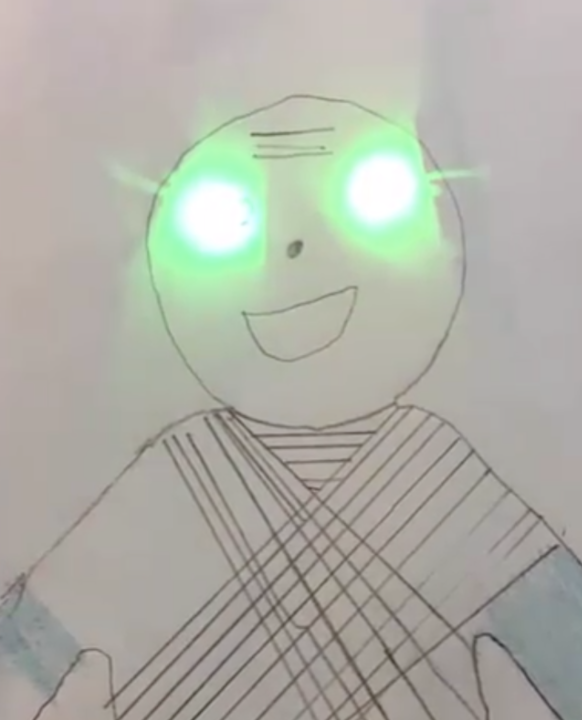
These kinds of effects allow you to place and illuminate a Sparkle or a single LED in any picture or model. A single LED can be connected to your Crumble like this.
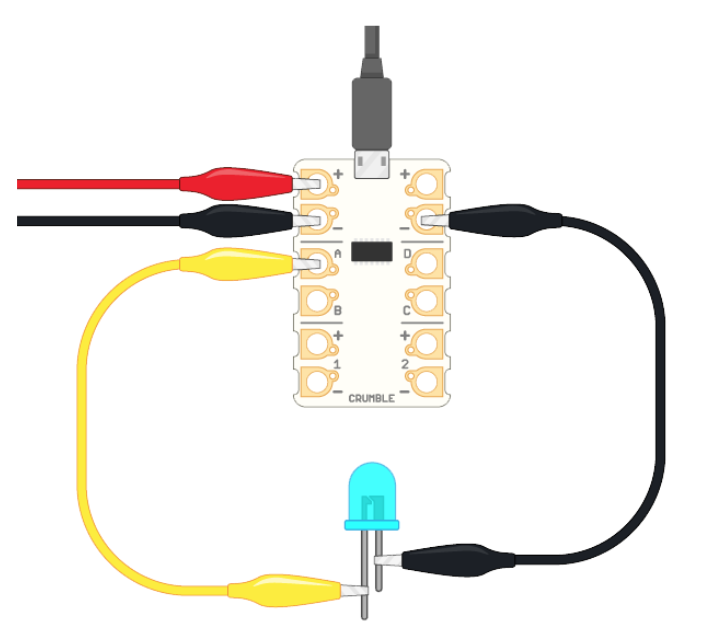
Image courtesy of https://projects.raspberrypi.org/en/projects/getting-started-crumble/4
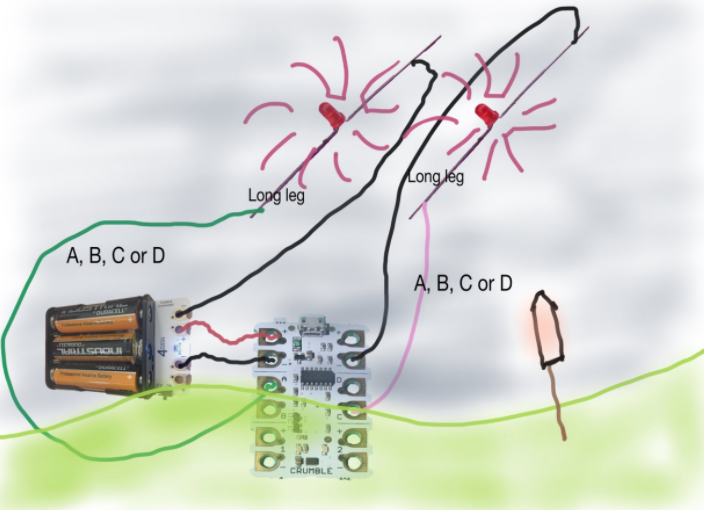
Be aware that an LED has polarity by having a long leg (+ve) and a short leg (-ve). Just like a battery, these need to be the right way round in your circuit or the LED will not light up.
So you can draw your picture and stick your LEDs to the back with some masking tape so they shine through the paper. The Cruble and battery pack can be hidden out of the way at the back. Try creating a frame for your art work to give it all some strength and allow it to stand up on its own.
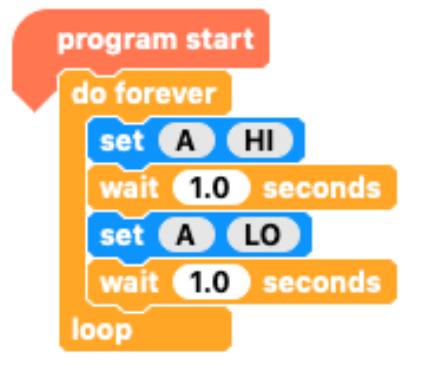
Some simple code like this will get the LED flashing.
Lighthouse project

This lovely project from Redfern electronics gives you everything you need with detailed guidance and lesson resources (see downloads at the bottom of the page) to build and code your own lighthouses.
Police lights project
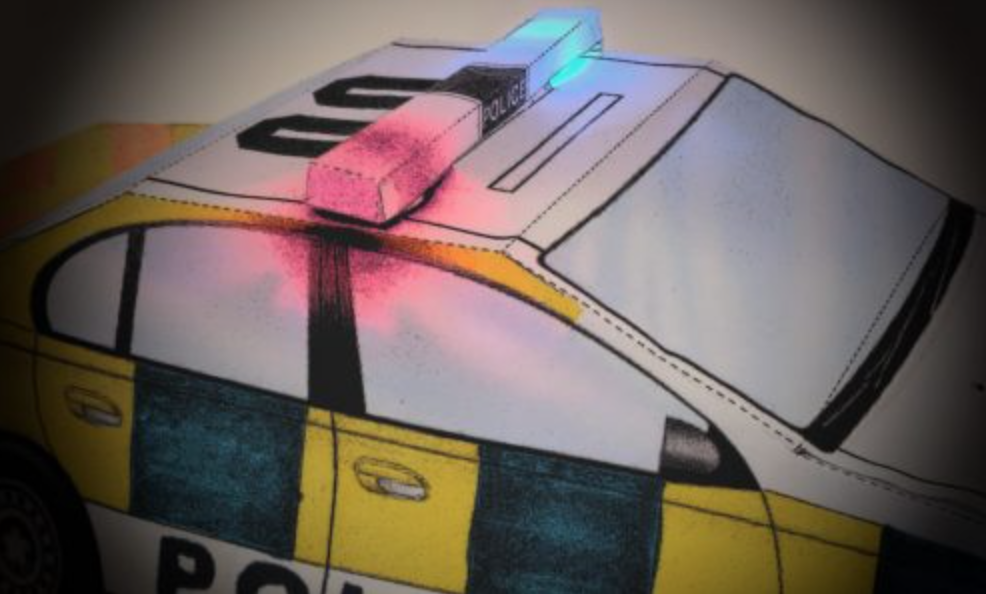
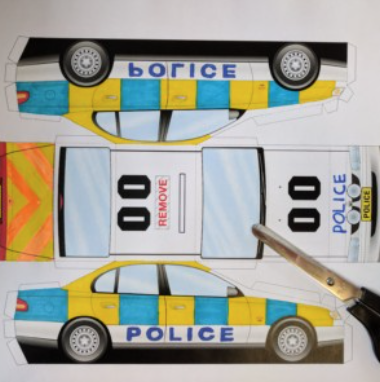
Alternatively, build and simulate the lights on a police car with this project from Redfern electronics.Again, everything you need is provided (see downloads at the bottom of the page).
7-segment display project
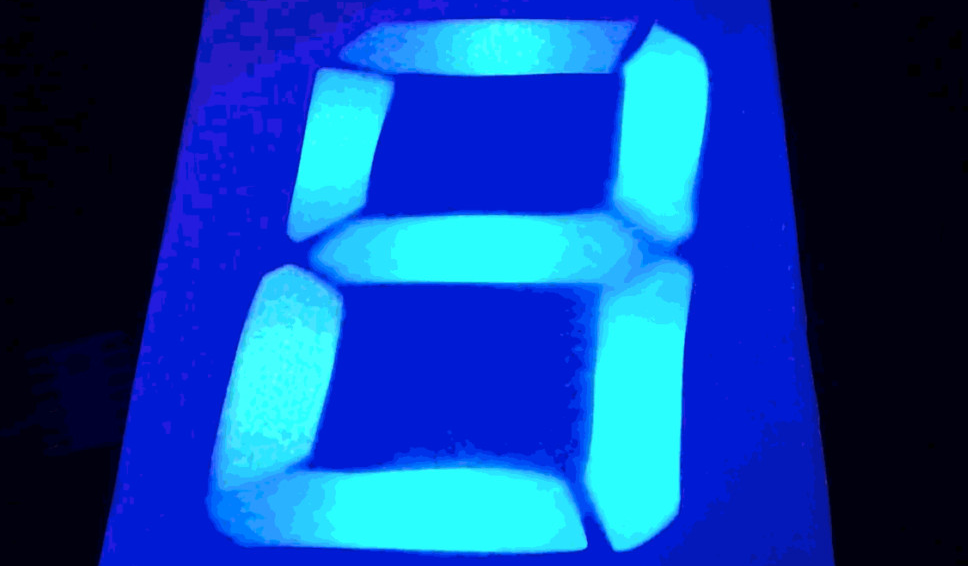
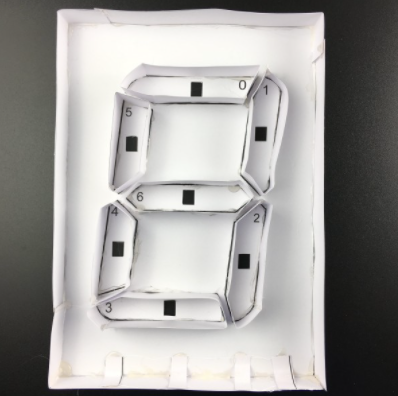
Another excellent, but slightly more complicated project from Redfern electronics. Build your own 7 segment LED display from paper! Can you make it into a countdown timer, or spell out words?!